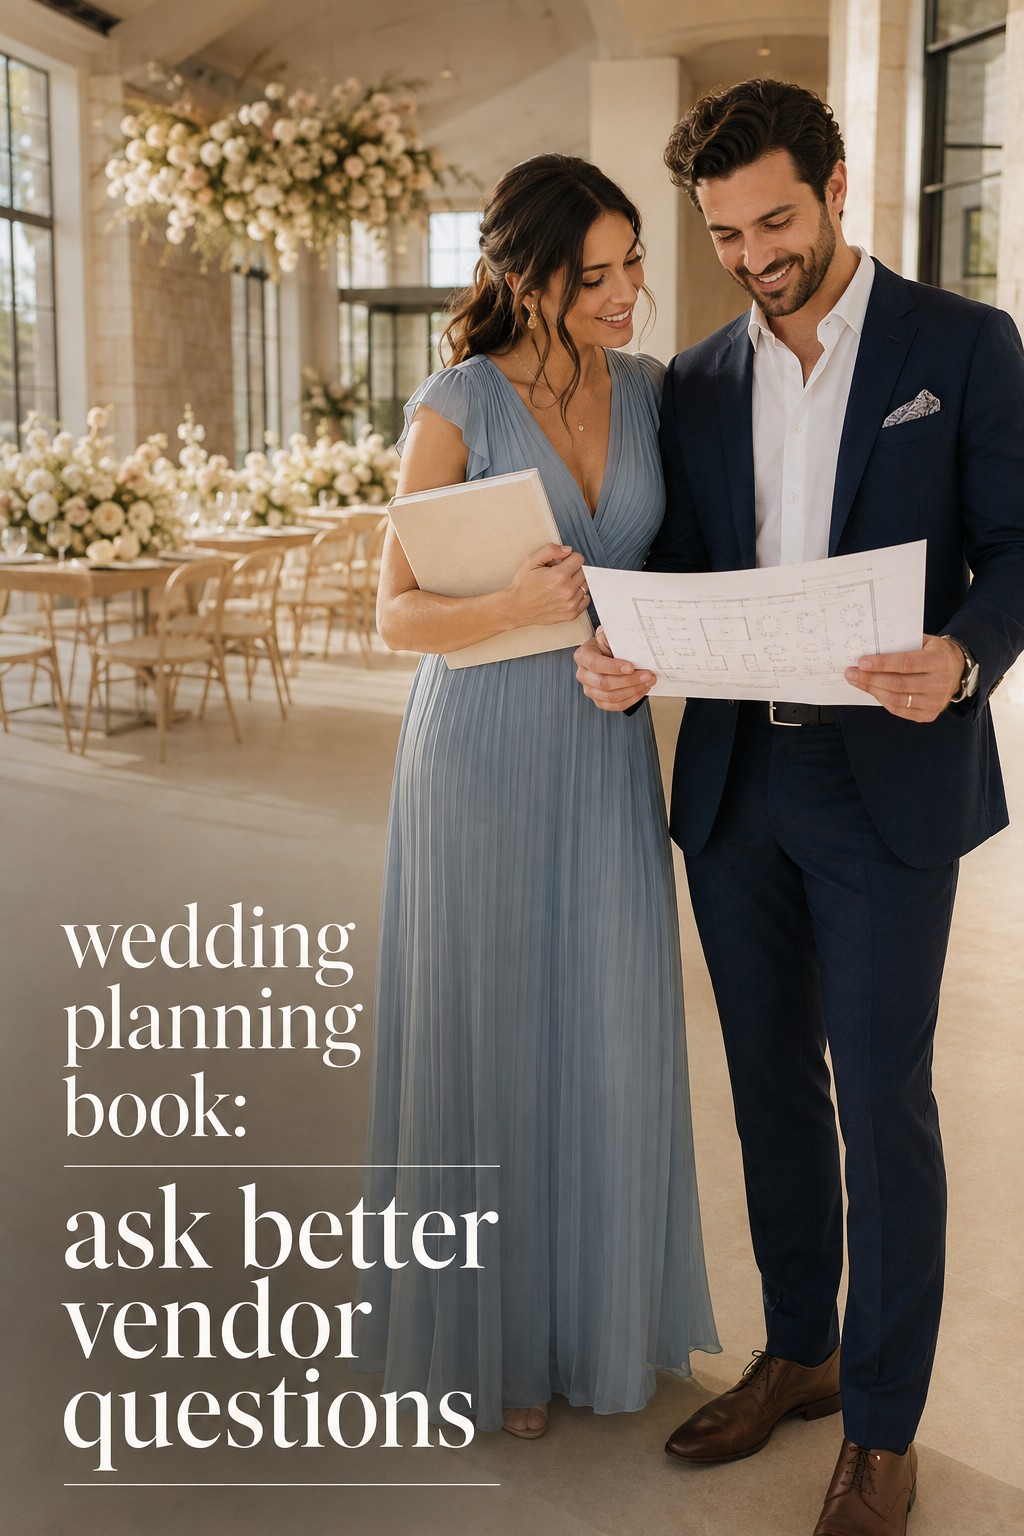
A detailed wedding planning checklist should do more than give you a long list of tasks. It should show what comes first, what depends on another decision, what can wait, and who owns the next step. That order matters because your guest count affects the venue, the venue affects the layout, the layout affects rentals, and the final guest count affects catering and seating.
Use this guide as a master framework, then adapt it to your wedding date, location, culture, faith tradition, guest needs, and budget. If you have less than a year, begin with the earliest unfinished section and compress the timeline. If you have more than a year, use the extra time for savings, research, travel planning, and thoughtful conversations rather than filling every week with small decisions.

Before you book anything: set the foundation
The first stage of wedding planning is a short alignment meeting. You do not need to choose flowers or stationery yet. You do need a shared understanding of the celebration you are trying to create. Talk about the approximate guest experience, the season, the level of formality, the locations that could work, and the people who may contribute financially or practically.
- Agree on an all-in budget range, including taxes, service charges, gratuities, attire, stationery, travel, and contingency money.
- Create a rough guest range rather than waiting for a perfect guest list.
- Choose a target season and identify dates that could work.
- Decide which traditions, religious elements, family customs, or cultural events need to shape the schedule.
- Choose one home for contracts, payments, guest information, ideas, and deadlines.
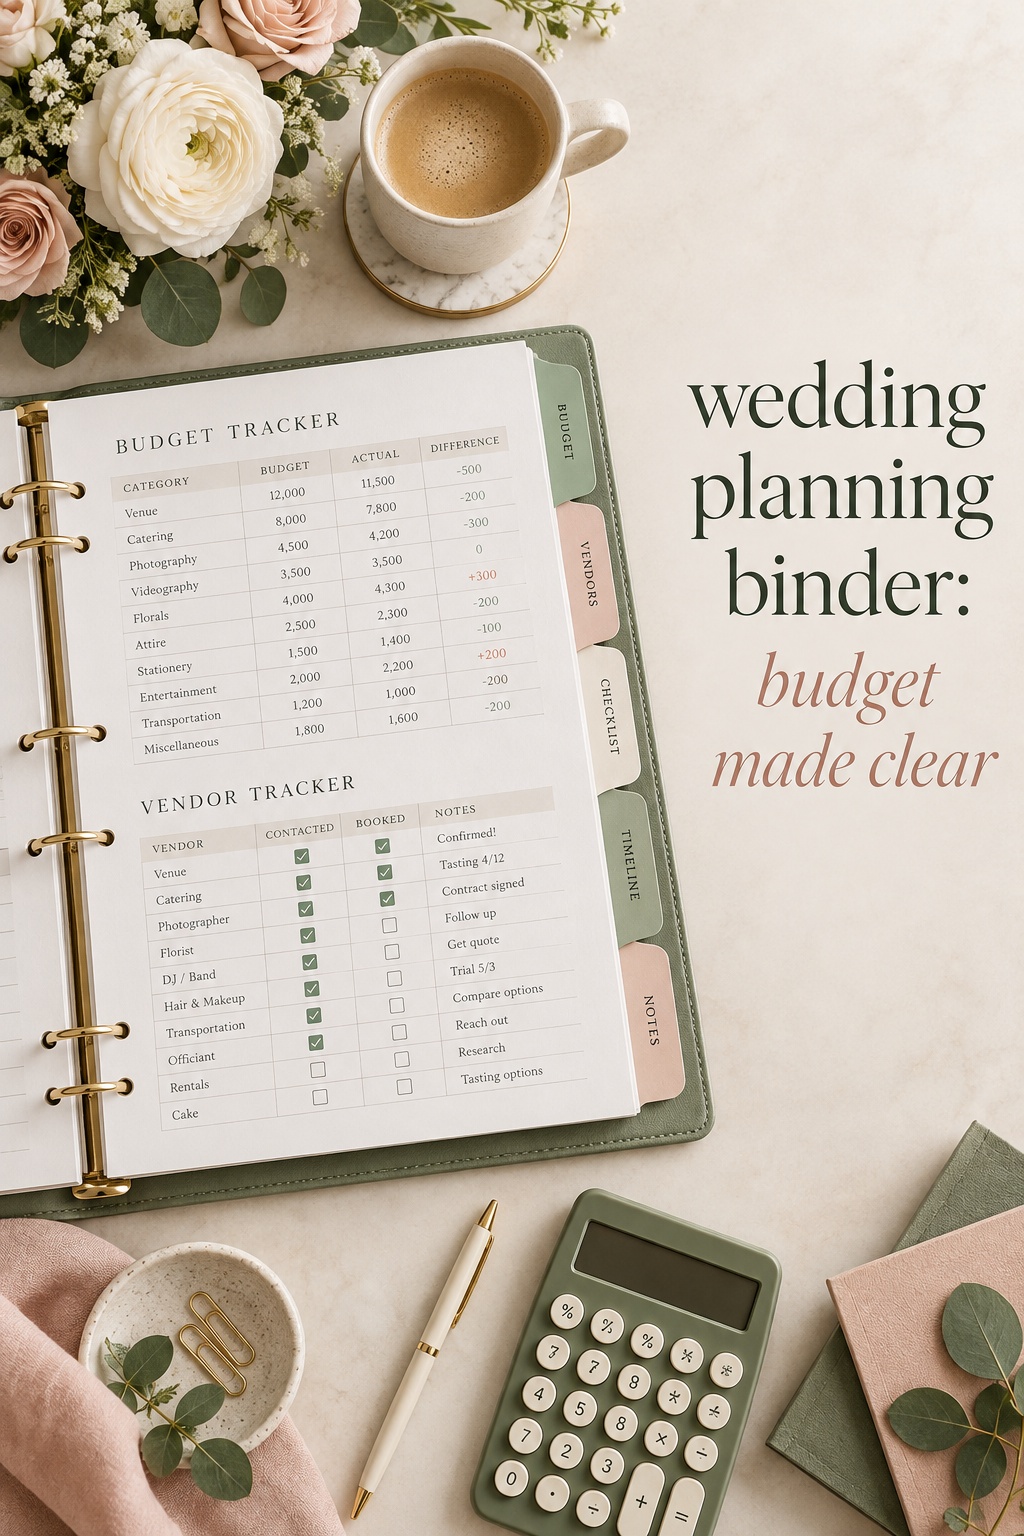
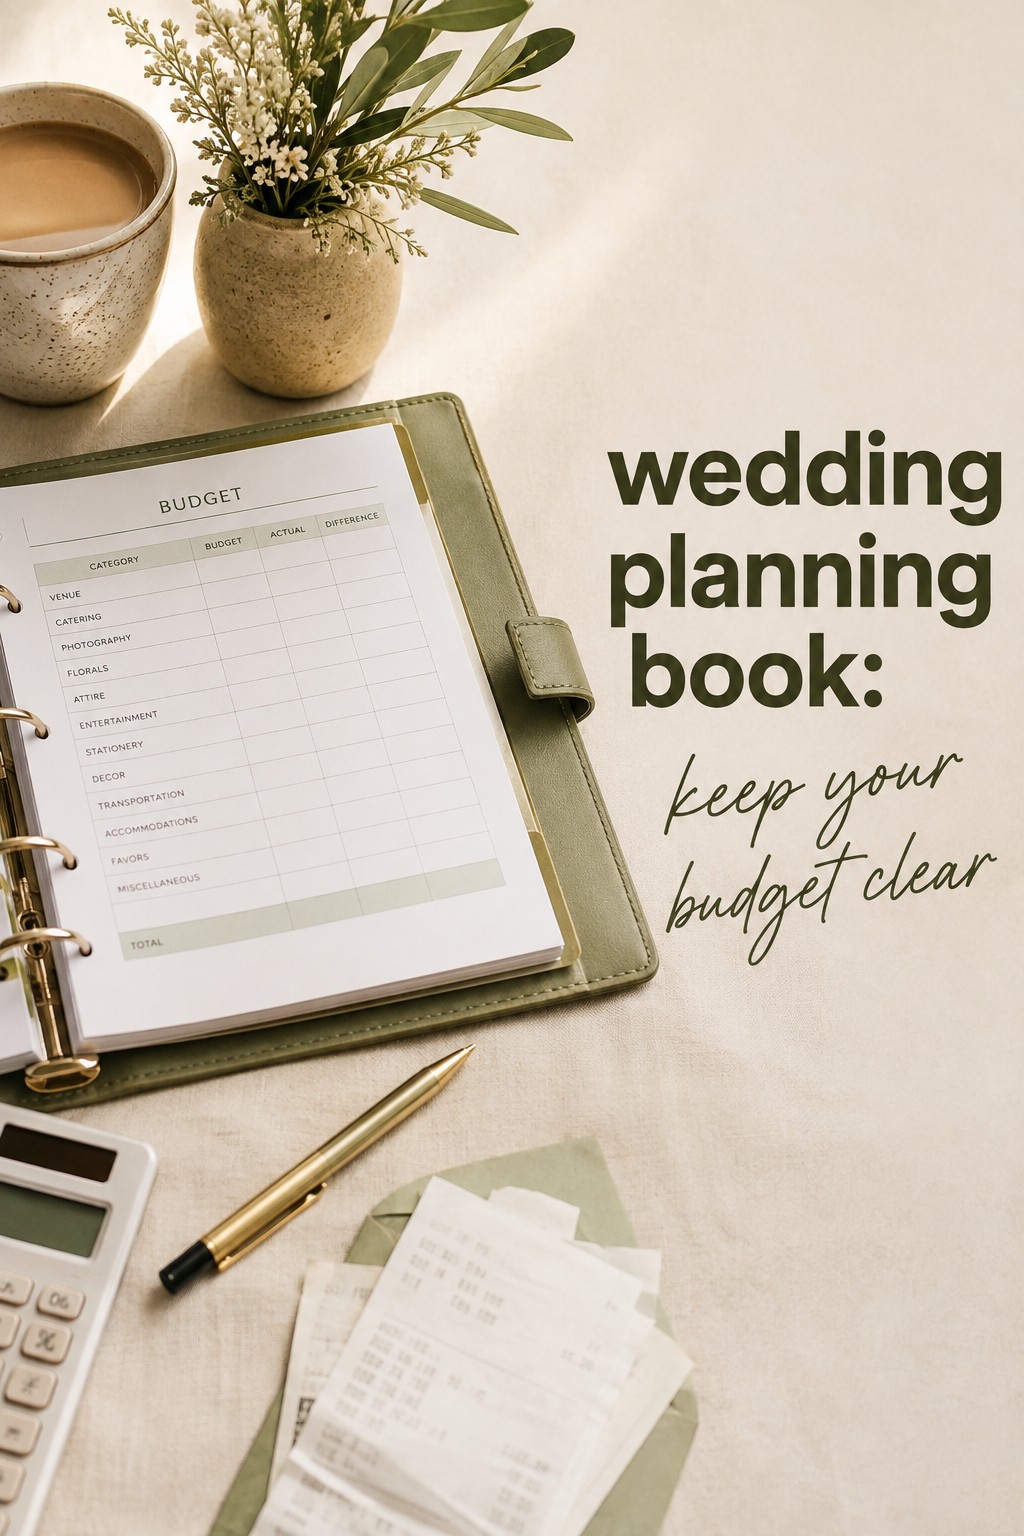
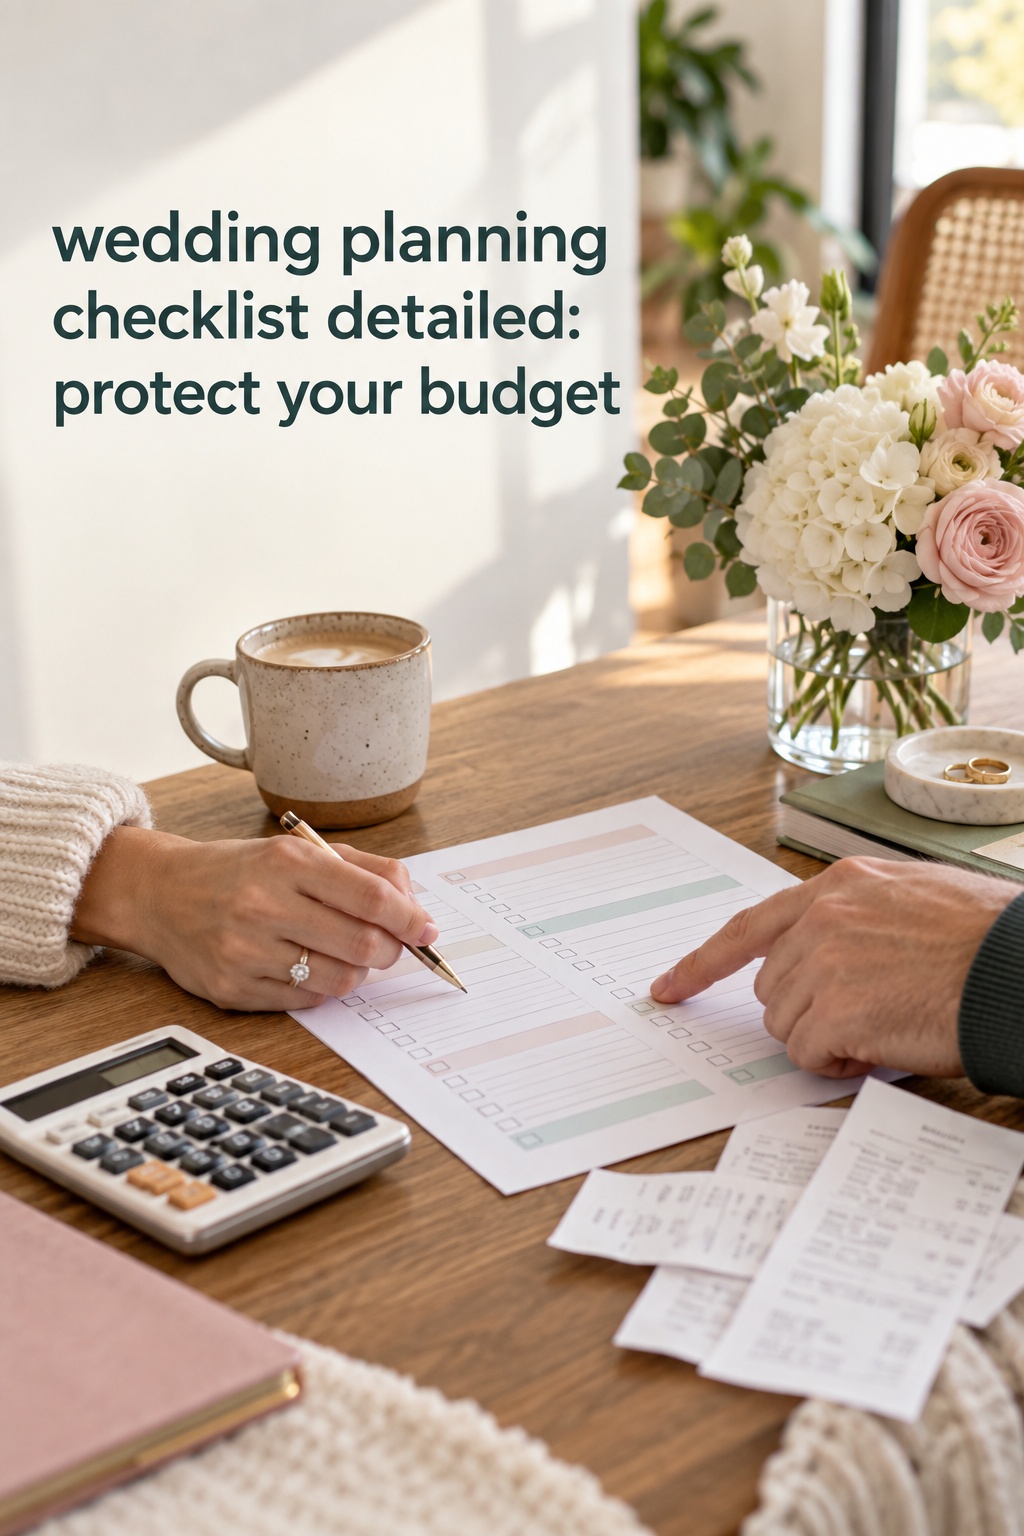
Make the budget usable by separating estimates from committed costs. An estimate is a planning assumption. A committed cost is supported by a signed agreement, invoice, or payment record. Keep both figures visible. When a category changes, record why it changed and which priority will absorb the difference. A budget that only shows a final total hides the decisions that create that total.
Build a preliminary guest list to the nearest ten. Include likely plus-ones, children, wedding party members, parents, and guests who may need travel support. You are not sending invitations yet. You are testing whether the wedding you imagine fits the spaces and costs you are considering. A guest range is one of the most useful tools in this entire checklist.
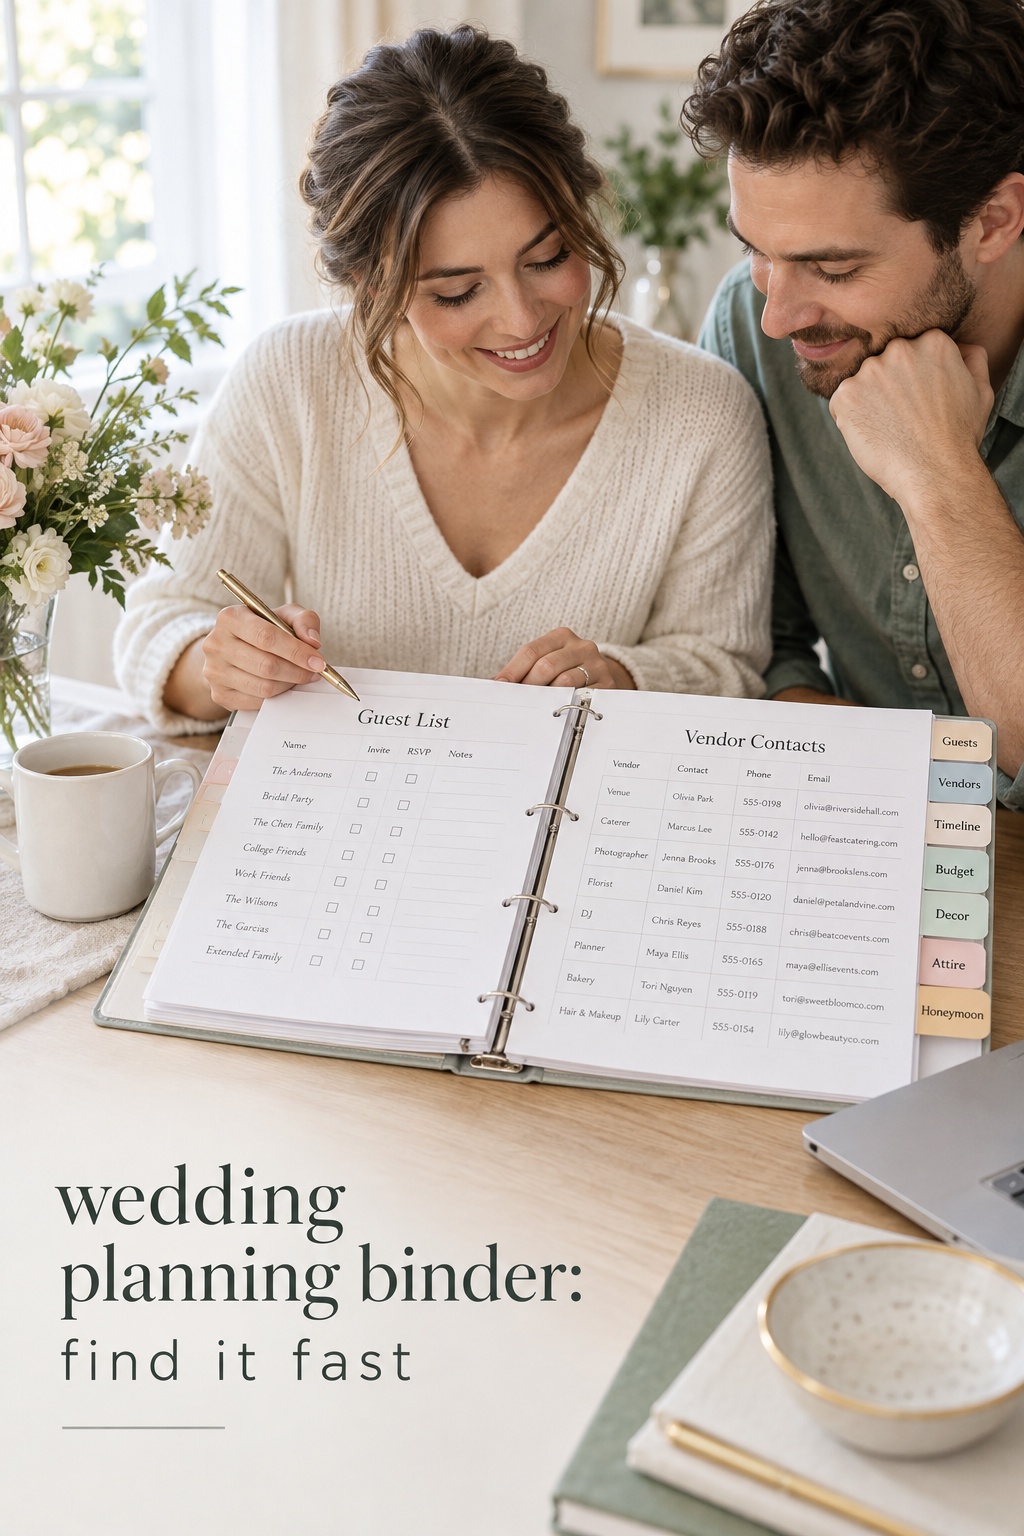
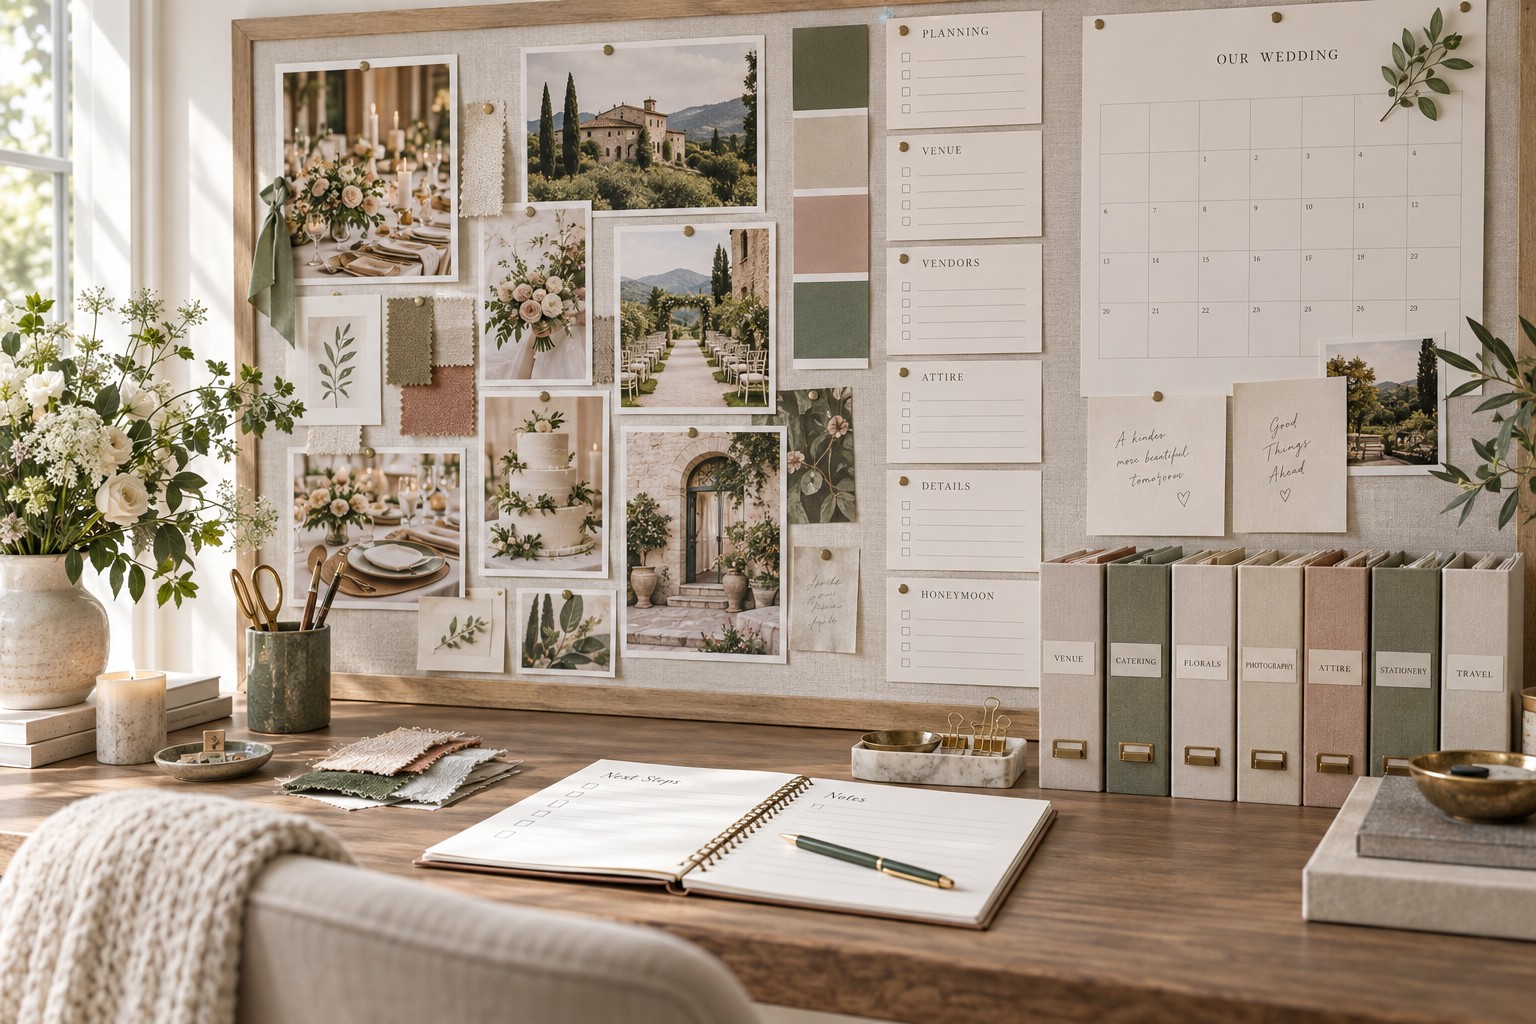
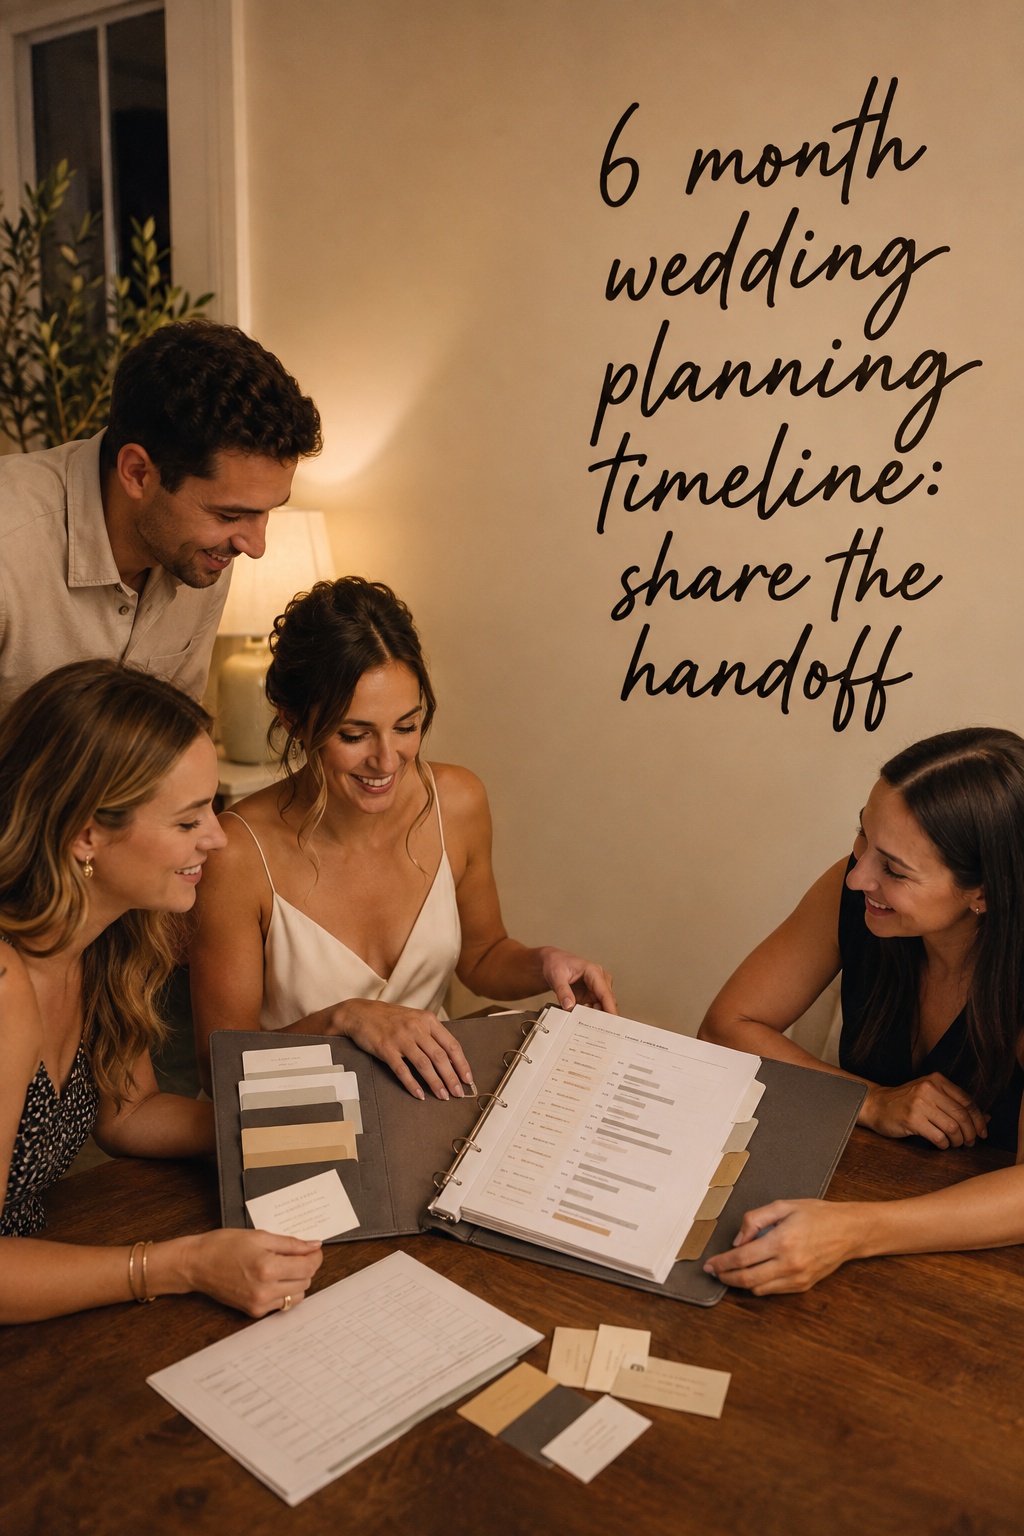
Set up a shared planning system before research multiplies. It can be a spreadsheet, binder, planning platform, or carefully organized folder. Use consistent fields for vendor name, contact person, service, quote, deposit, balance, due date, cancellation terms, insurance information, and next action. Add the date each decision was made. This simple record makes later conversations faster and reduces the chance of losing a promise in an email thread.
12 to 9 months before: secure the decisions that shape everything
Once the foundation is clear, investigate venues. Compare more than the ceremony room or the reception photographs. Ask about guest capacity, weather backup, accessibility, parking, transportation, noise restrictions, getting-ready space, vendor rules, setup and breakdown windows, overtime, catering requirements, bar service, rentals, security, cleanup, and payment deadlines.
- Tour a practical range of venues, including at least one option that challenges your first idea.
- Request an itemized proposal and a sample contract.
- Confirm the complete cost, not only the advertised rental fee.
- Check whether the date is held, soft-booked, or available only until a deadline.
- Review the cancellation, postponement, force majeure, and weather language before signing.
- Confirm the final date, ceremony location, reception location, and guest capacity in writing.
After the venue is secure, book the vendors whose availability matters most. For many couples, that means a planner or coordinator, photographer, videographer, caterer, entertainment, officiant, and florist. Your priorities may be different. The correct order is the one that protects the elements you care about most and respects the lead times in your region.
Read every vendor agreement before paying a deposit. Look for the services included, the number of hours, arrival and departure times, deliverables, revision limits, payment schedule, overtime, substitution policy, cancellation terms, postponement terms, insurance, meals, travel, and ownership or delivery of finished files. Save the signed contract and receipt together. Add every payment deadline to the shared calendar immediately.
This is also a good time to decide whether you need full planning, partial planning, or day-of coordination. A coordinator can be especially helpful when several vendors, multiple locations, complex family logistics, or a detailed guest experience are involved. The value is not only advice. It is the transfer of operational questions away from the couple during the final weeks and the wedding day.
Order or begin shopping for attire according to the actual lead time. Custom clothing, made-to-order dresses, suits, international shipping, and multiple alterations may require more time than expected. Ask about delivery, returns, care, and the number of fittings. Include shoes, undergarments, jewelry, accessories, and attire for anyone whose outfit needs coordination.
If many guests will travel, begin the first useful communication now. A wedding website or simple information page can hold the date, location, travel notes, hotel options, transportation information, and a way to ask questions. Avoid publishing details that are not confirmed. Clear early information helps guests make decisions without creating a flood of individual messages.

8 to 5 months before: build the guest experience
With the major commitments in place, move into the part of planning where many ideas become real choices. Refine the guest list, confirm the invitation approach, and decide what information guests need at each point. If the wedding has travel, multiple events, or a complicated schedule, make the communication plan part of the guest experience rather than an afterthought.
- Finalize the invitation wording, names, addresses, response method, and deadline.
- Prepare save-the-dates if the date and location are firm and guests need advance notice.
- Reserve hotel blocks or identify reliable lodging options when appropriate.
- Review ceremony structure, readings, music, family participation, and accessibility needs.
- Choose the broad design direction for stationery, flowers, rentals, signage, and attire.
- Confirm the menu direction, dietary process, bar plan, and cake or dessert approach.
- Reserve rentals, transportation, beauty appointments, and any specialist services with limited availability.
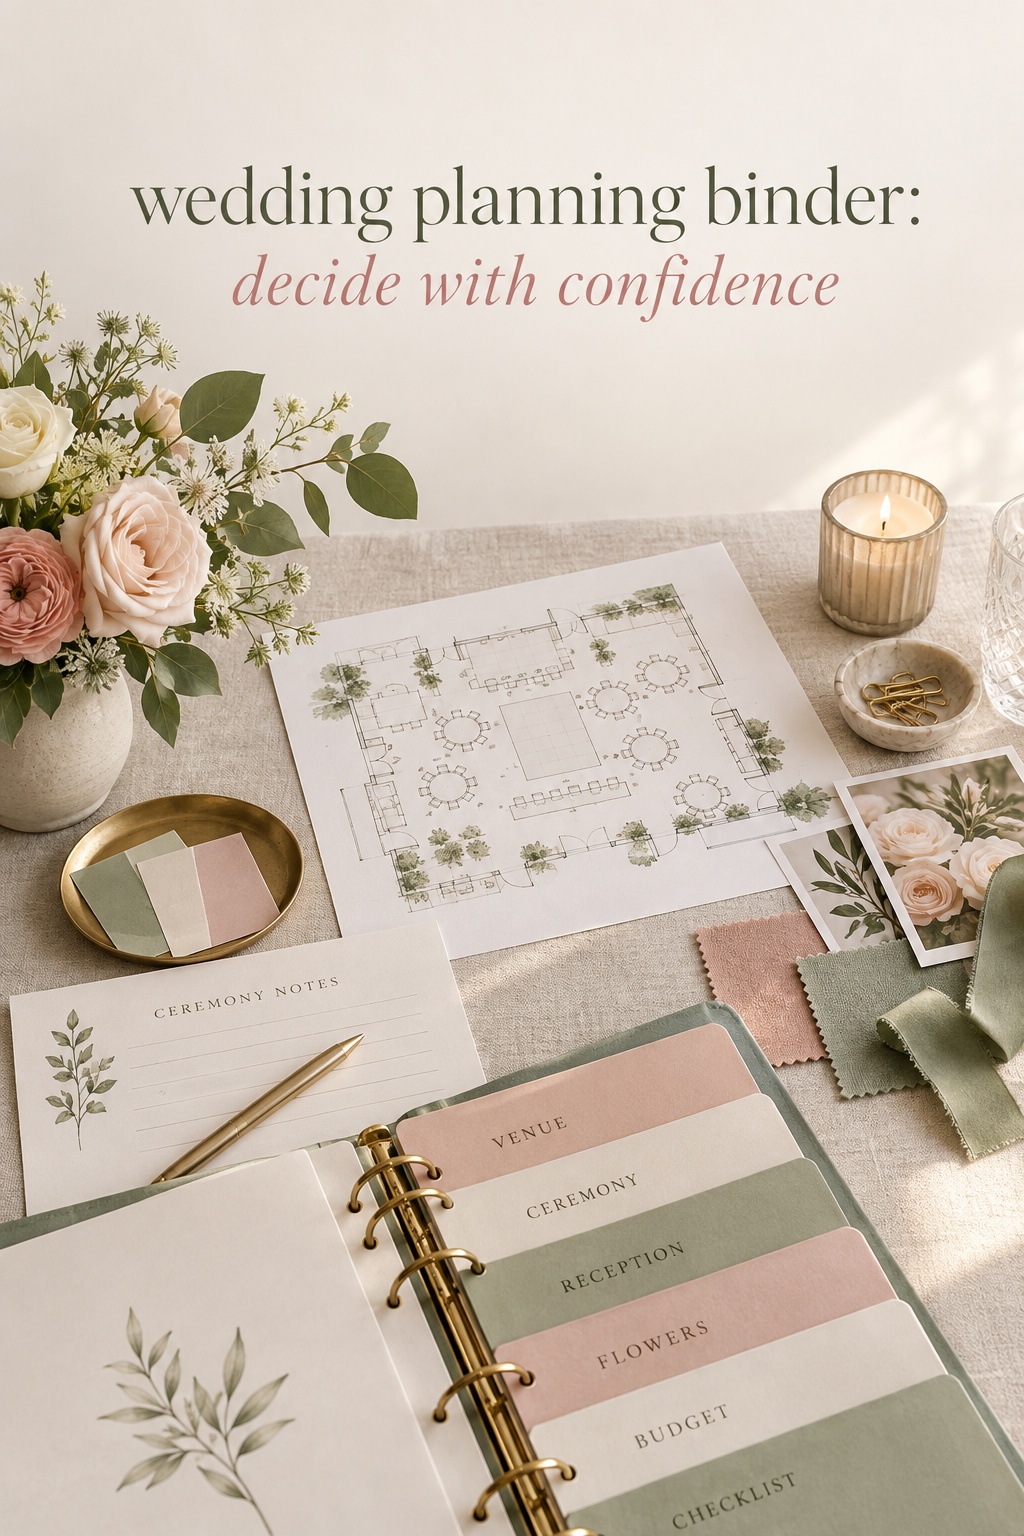
Keep design decisions connected to the venue and the guest flow. A beautiful idea may require a particular power source, load-in window, ceiling height, flame policy, linen size, or setup team. Ask the florist, rental company, caterer, and venue how the idea works in the real room. Practical questions protect the look you want from last-minute substitutions.
Use a decision log for choices that affect several people. Record the decision, the reason, the cost, the deadline, the owner, and the next action. For example, a menu decision may require a tasting, a dietary survey, a rental count, and a final approval date. Writing those links down prevents the common problem where everyone remembers the idea but no one remembers what must happen next.
Discuss ceremony and reception responsibilities early. Decide who will give readings, make announcements, hold rings, manage personal items, welcome guests, handle gifts, collect cards, and answer vendor questions. These roles should be offered with clear expectations about time, attire, travel, and emotional energy. A named role is easier to support than a vague request to help.
If you want one planning resource to keep these moving parts visible, The Wedding Command Center can be a useful place to organize the shared decisions, deadlines, and handoff details. Use it as a practical planning home, not as another source of inspiration to browse endlessly. The goal is to make the next action clear for both partners and trusted helpers.

4 to 1 months before: finalize the details and remove uncertainty
Four months before the wedding, your checklist should shift from discovery to confirmation. There will still be choices, but most of them should be informed by the venue, vendor agreements, guest communication, and budget. Review your open decisions every week and mark each item as complete, waiting on someone else, scheduled, or no longer needed.
- Send invitations according to the travel needs of your guests and the response timeline.
- Track RSVPs, meal selections, accessibility requests, children, plus-ones, and lodging questions.
- Schedule final attire fittings and check shoes, accessories, and garment care.
- Confirm ceremony readings, vows, music, rehearsal plans, and officiant requirements.
- Finalize menu selections, cake or dessert details, bar choices, rentals, and floral direction.
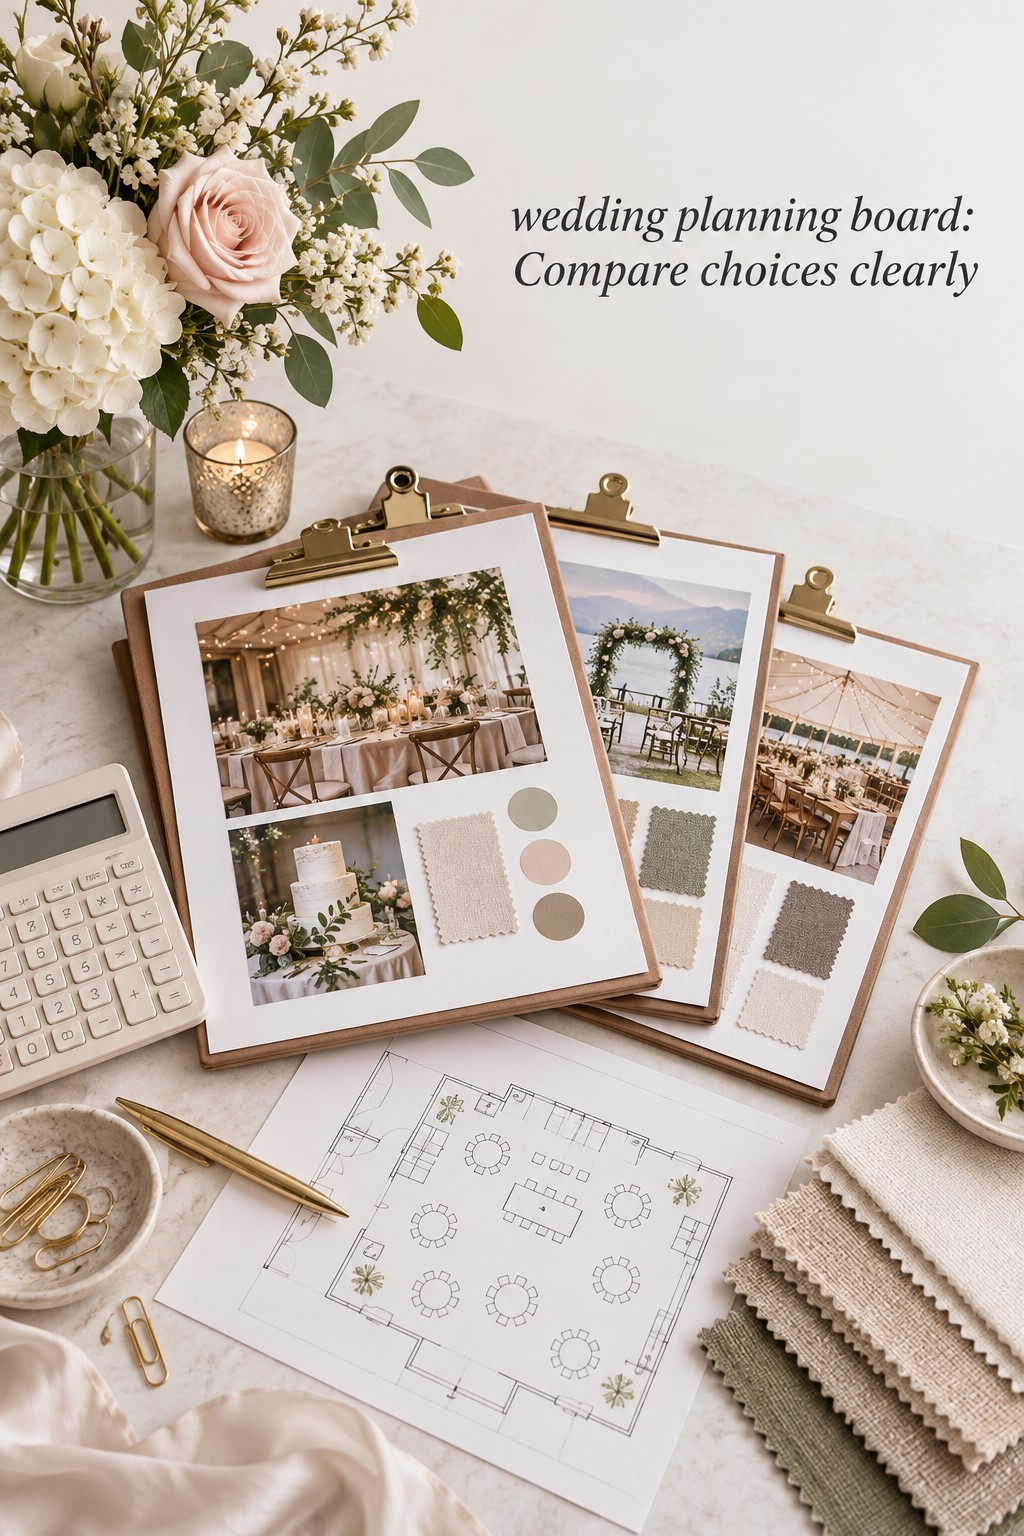
- Prepare a draft floor plan and identify the information needed for the final seating chart.
- Confirm transportation routes, pickup windows, parking, guest shuttles, and emergency contacts.
- Research marriage-license requirements for the exact location where the ceremony will take place.
Marriage-license rules are location-specific. Check the official local authority for identification, appointment requirements, waiting periods, application windows, fees, witnesses, officiant rules, and how long the license remains valid. Put the task on the checklist even if your officiant is helping. Legal paperwork deserves a named owner and a confirmed deadline.
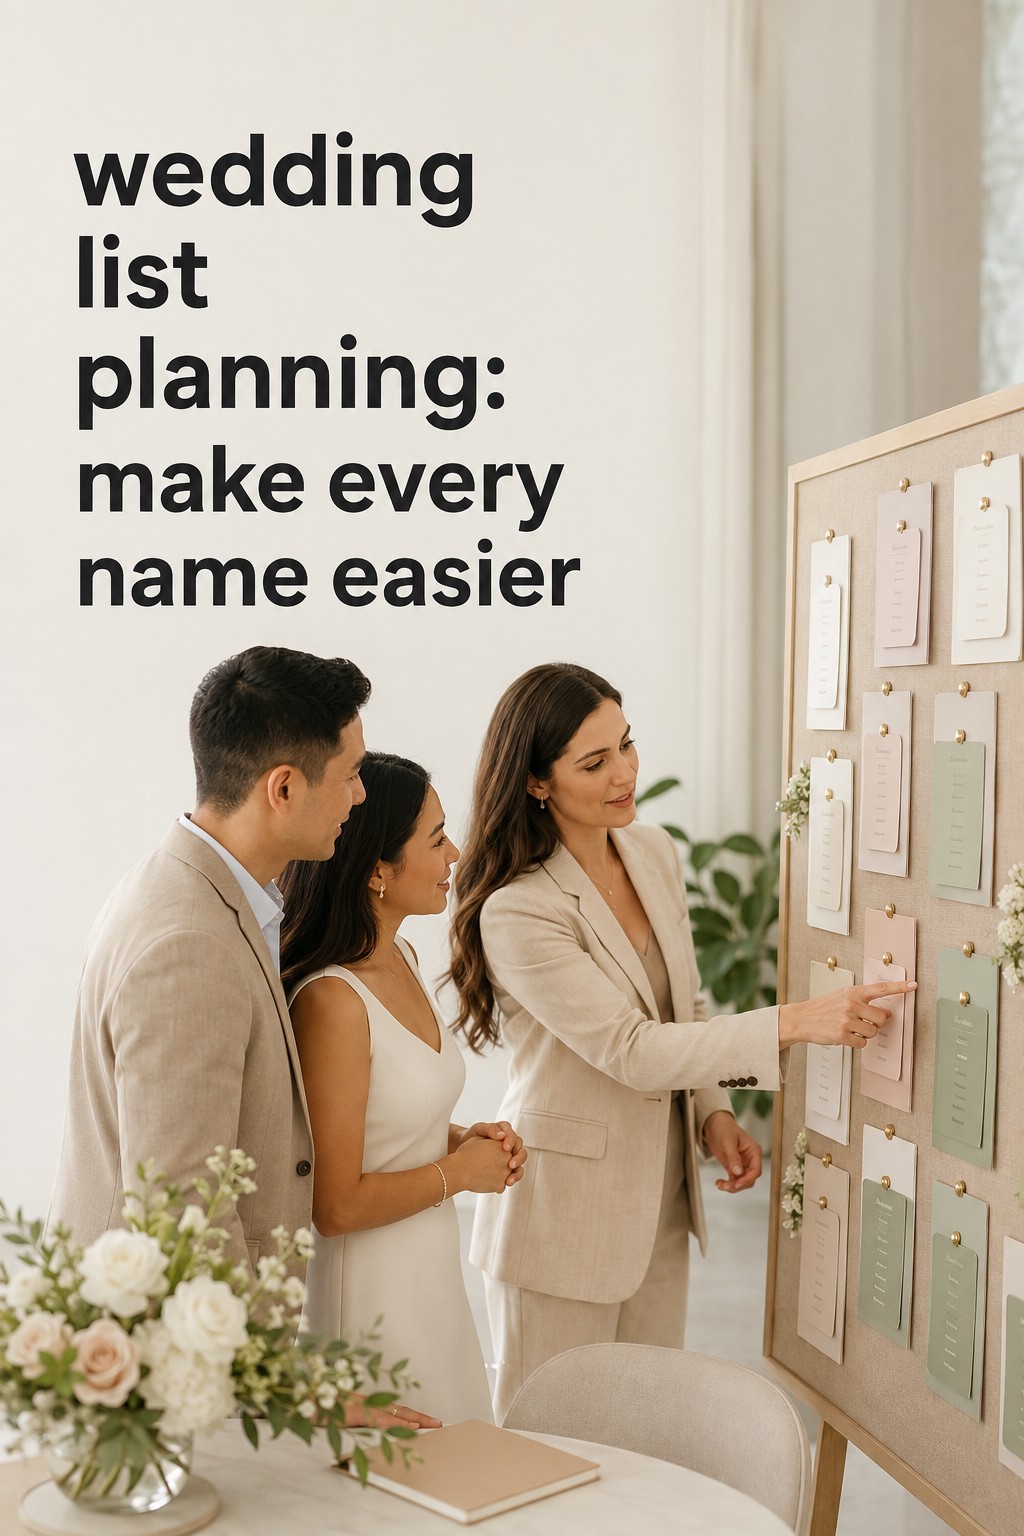
When invitations return, do not build the final seating chart too early. Start with a working chart if it helps you test tables and family dynamics, but wait for the response deadline and follow-up period before treating it as final. Keep a separate record of unanswered invitations. A seating chart made from assumptions usually has to be rebuilt.
Schedule a venue walkthrough with the people who will use the final plan. Bring the coordinator, venue contact, caterer, rental representative, or anyone responsible for setup when possible. Confirm the ceremony transition, guest arrival, vendor access, power, bathrooms, food service, rain plan, signage, photography locations, storage, cleanup, and who makes decisions if conditions change.
Create the day-of timeline by working backward from fixed anchors. Start with the ceremony time, venue access, sunset if photography depends on it, meal service, entertainment, transportation, and required departure time. Add generous transition space. A timeline that looks efficient on paper can feel rushed when it includes loading, parking, family photos, restroom breaks, outfit changes, and guests finding their seats.
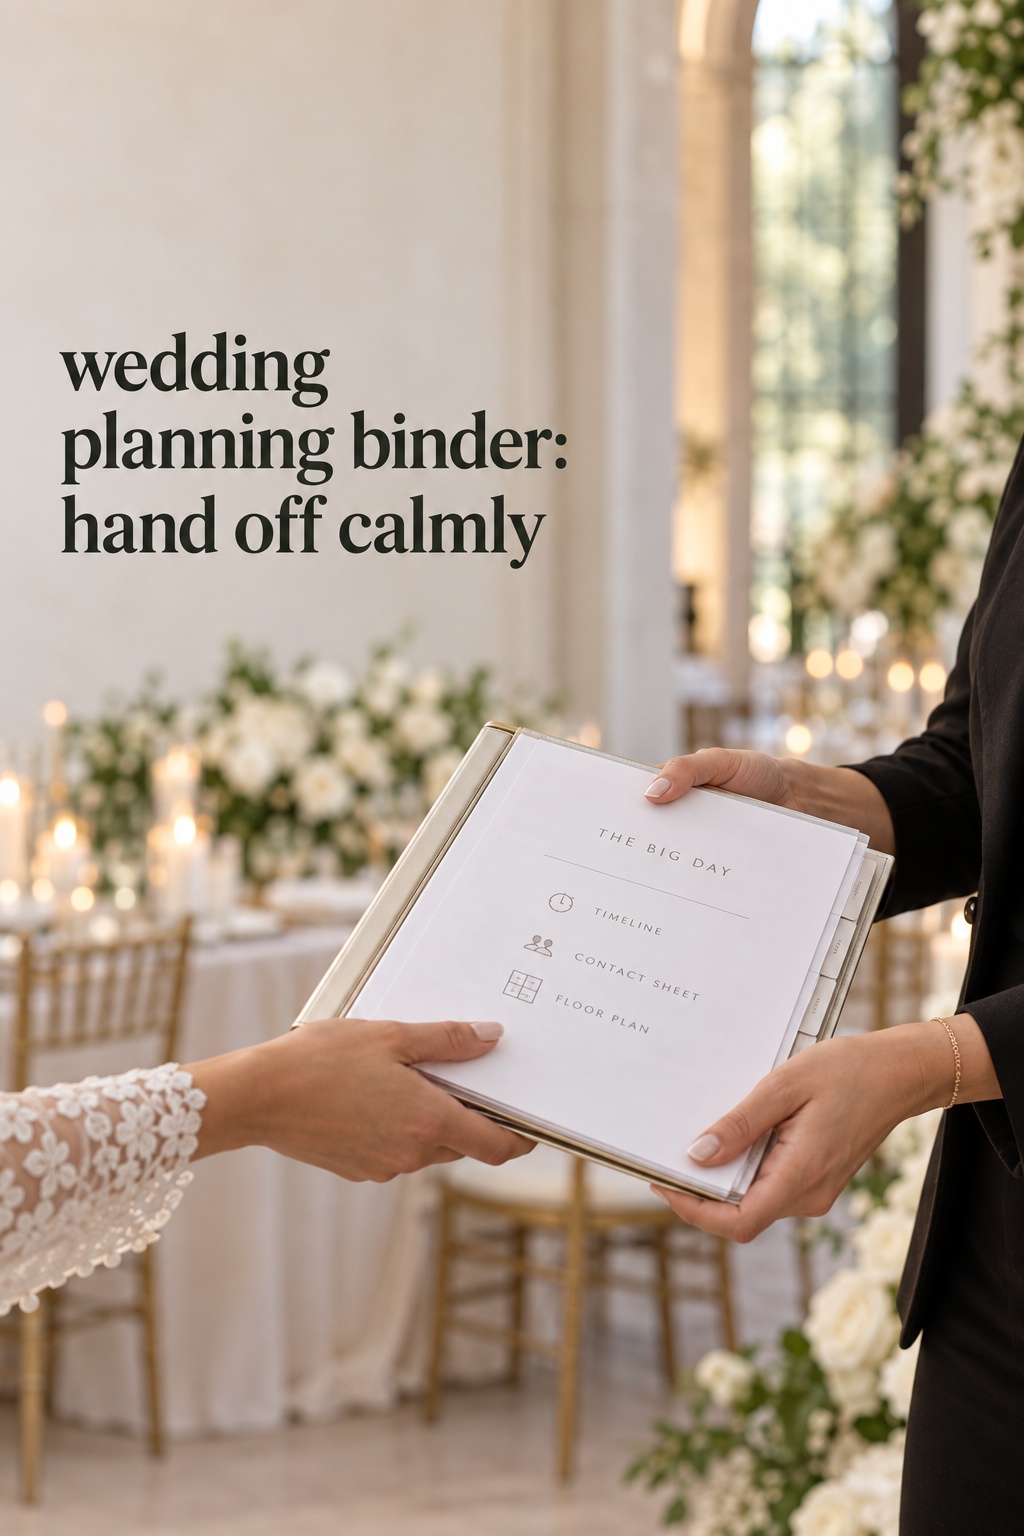
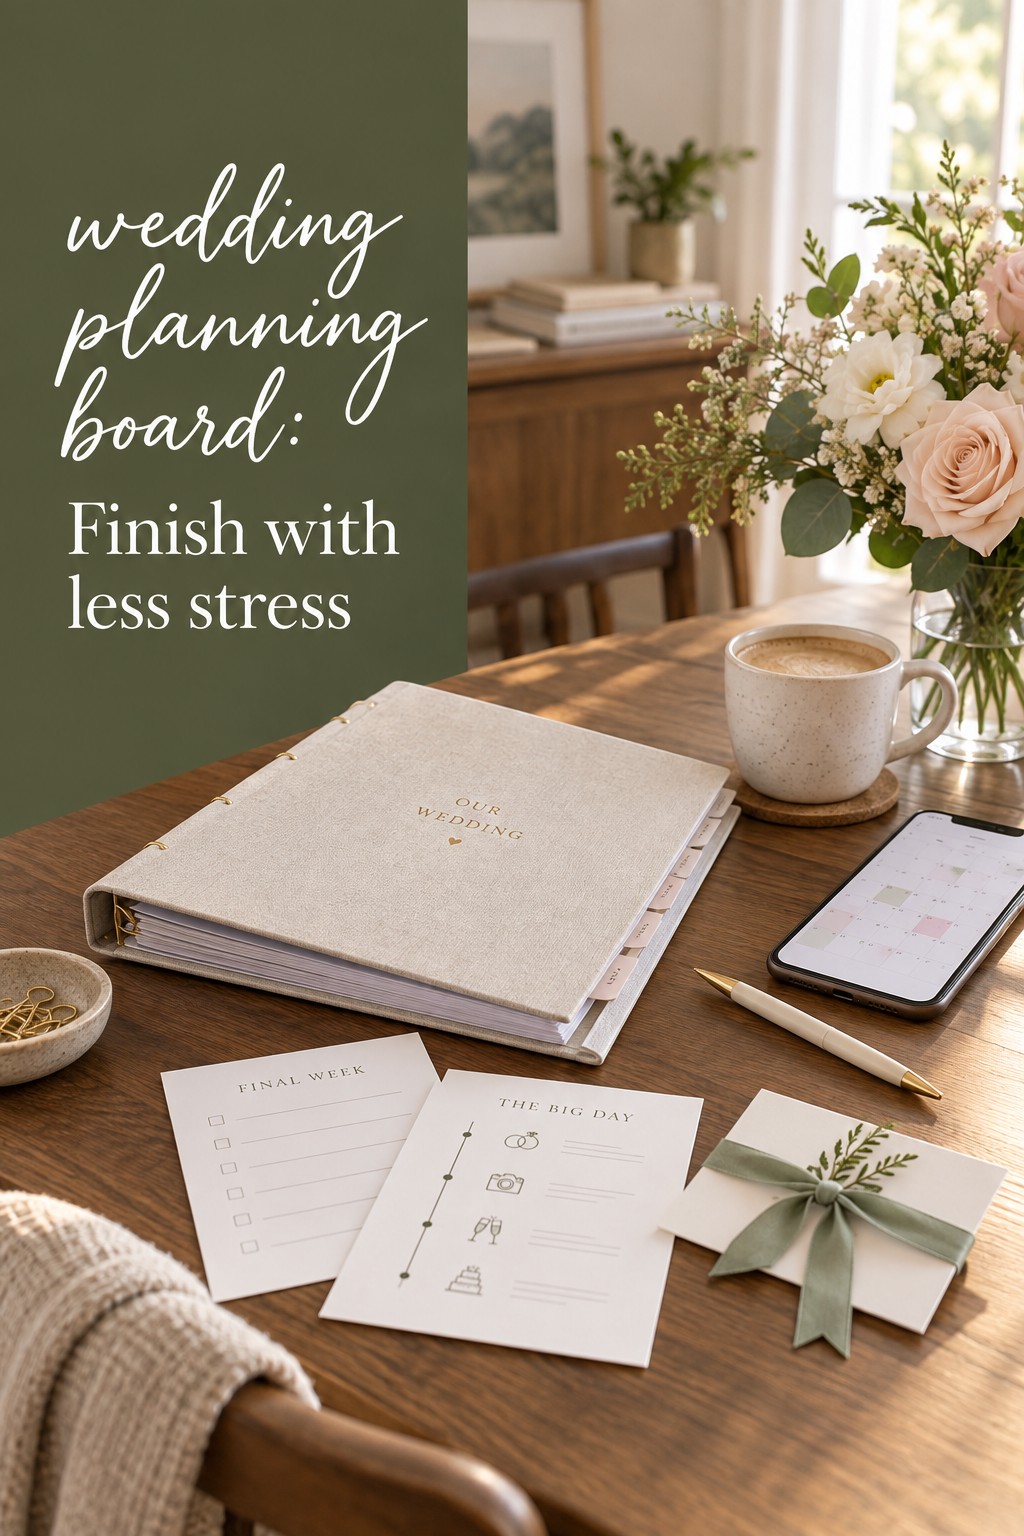
Prepare a concise vendor packet. Include the final timeline, venue address, contact list, floor plan, delivery instructions, setup responsibilities, meal information, ceremony order, photo priorities, transportation notes, and emergency contacts. Do not distribute private information widely. Give each person the version they need, and name one primary point of contact for questions on the day.
The final week, wedding day, and week after
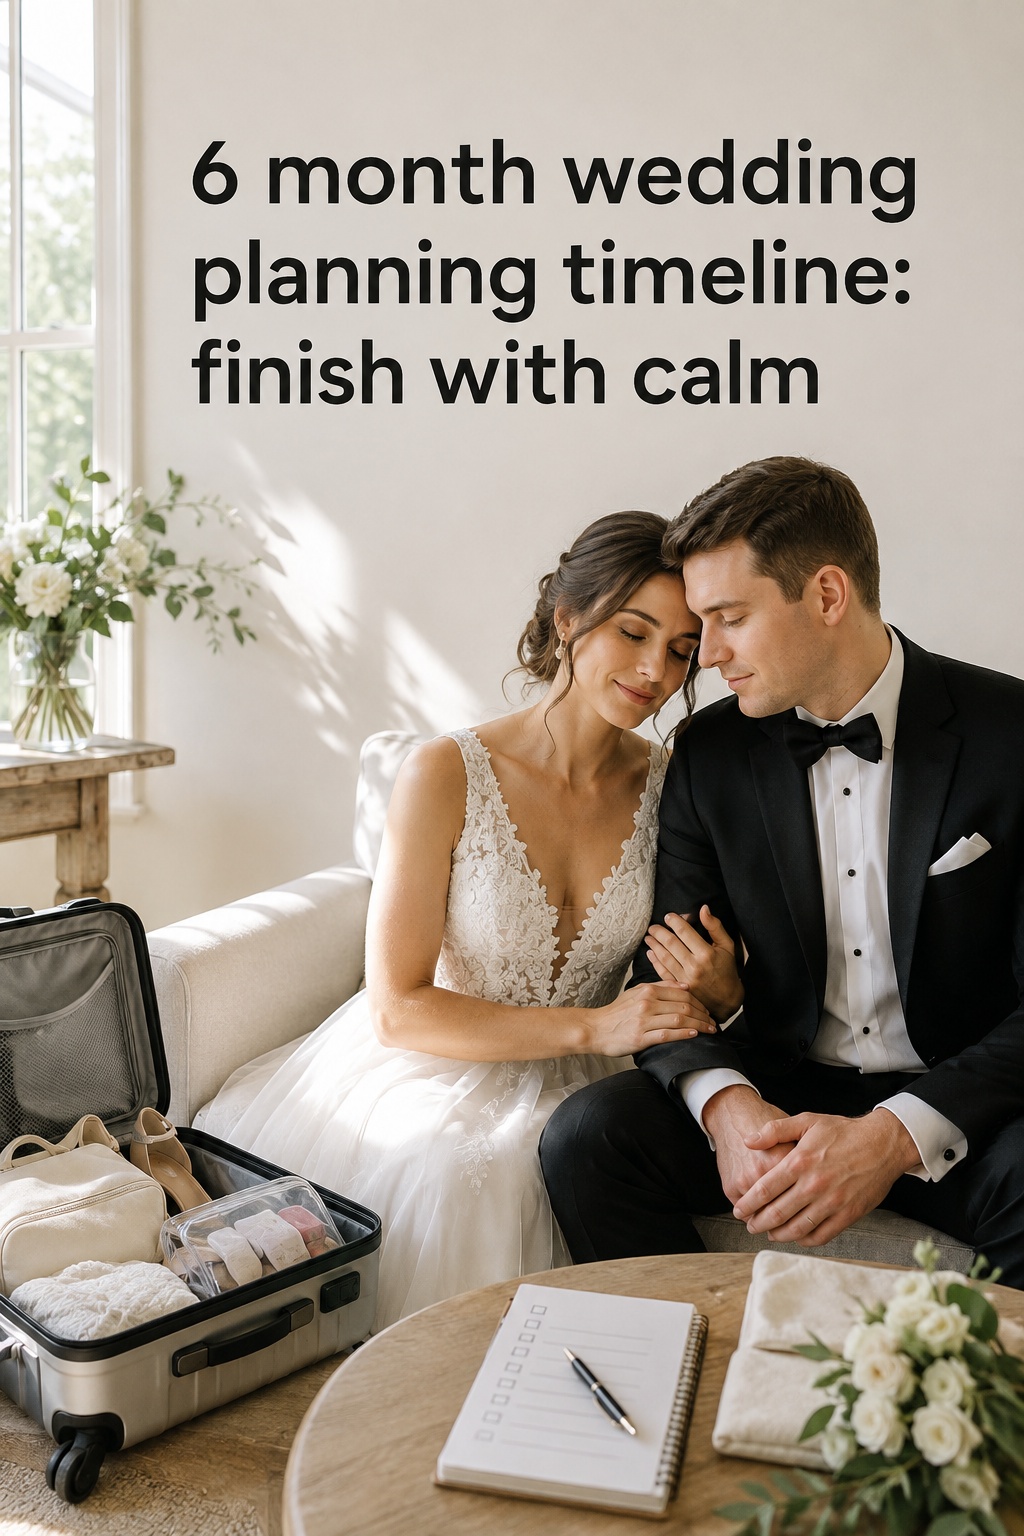
The final week is for confirmation, packing, and handoff. It is not the time to redesign the entire wedding because of one new idea. Confirm arrival windows with vendors, provide the final guest count, check balances and tips according to contracts, complete the marriage-license plan, pack personal items, and transfer operational questions to the coordinator or named contact.
- Share the approved timeline and contact tree with the people who need it.
- Confirm transportation, lodging information, rehearsal details, and weather decisions.
- Pack rings, documents, attire, accessories, medication, chargers, emergency supplies, and personal vows.
- Label décor, cards, gifts, signage, favors, and items that must return home.
- Give the point of contact a list of payments, deliveries, pickups, and items to collect.
- Eat regular meals, sleep when you can, and protect a little time with your partner.
On the wedding day, the couple should not be the default help desk. A coordinator, planner, trusted family member, or friend can answer routine questions and keep the handoff moving. Give that person authority to solve small problems within an agreed boundary. If every decision must return to the couple, the timeline will pull you away from the people and moments you planned to enjoy.
After the wedding, close the system gradually. Confirm rental returns, collect personal items, save final contracts and receipts, download photographs when available, return attire or arrange preservation, send thank-you notes, and document any outstanding deposits. If your name or legal documents are changing, handle that as a separate administrative project. You do not need to complete every post-wedding task in one weekend.
Mistakes that make a detailed checklist harder to use
- Starting with exciting details. Decor and cake are enjoyable, but the budget, guest range, date, and venue create the constraints for later choices.
- Tracking tasks without owners. A deadline without a person responsible will remain open until it becomes urgent.
- Using too many disconnected systems. Scattered notes, texts, email threads, and spreadsheets make it difficult to know which version is current.
- Comparing only headline prices. Include taxes, service fees, delivery, setup, meals, overtime, and required rentals before comparing vendors.
- Building the seating chart too soon. Wait for real RSVPs and follow up with guests who have not responded.
- Ignoring the handoff. A beautiful plan still needs a person, packet, timeline, and authority structure for the wedding day.
- Treating one timeline as universal. Adjust for a short engagement, destination travel, religious ceremonies, cultural celebrations, accessibility, and local legal rules.
The best wedding planning checklist is not the longest one. It is the one that helps you make the right decision at the right time, notice dependencies before they become emergencies, and share the work without losing the reason you are planning. Review it weekly, keep the next action visible, and let completed sections become space to breathe.

FAQ
What should be on a detailed wedding planning checklist first?
Start with the all-in budget, rough guest range, target season, possible dates, traditions or legal needs, and the type of guest experience you want. These decisions guide venue research and prevent you from choosing details that do not fit the actual celebration.
When should you book the venue and major vendors?
Book the venue as soon as your date, guest range, budget, and priorities are clear. Then secure vendors with limited availability, such as a planner, photographer, caterer, entertainment, or officiant. Lead times vary by location and season, so use real availability and contract deadlines rather than a generic rule alone.
How do you use this checklist if you have less than 12 months?
Begin with the earliest unfinished section and complete the foundation, venue, and core vendor work first. Compress research into focused decisions, ask vendors about rush timelines, and simplify optional details. Protect the date, legal requirements, guest communication, and the elements that matter most to you.
Who should own wedding planning tasks?
Assign ownership by outcome, not by occasional errands. One person can own vendor questions, another can own guest communication, and both can review budget changes and major contracts. Write down the owner, next action, and due date so responsibility stays visible and shared helpers know what they are agreeing to.
When should you finalize the seating chart?
Finalize the seating chart after the RSVP deadline, follow-up period, meal selections, and venue layout are clear. You can test table groupings earlier, but do not print place cards or treat the arrangement as final while important guest responses are still missing.
What belongs in a wedding-day handoff packet?
Include the final timeline, vendor contacts, venue address, floor plan, delivery and setup notes, ceremony order, photo priorities, transportation details, payment or pickup reminders, emergency contacts, and the person authorized to make decisions. Share only the information each recipient needs.