
A wedding binder can have every familiar tab and still leave you flipping through pages while a vendor waits for an answer. The frustrating part is rarely that you forgot to create a budget section. It is that a quote, a final decision, and an old draft all look equally current when you need one detail quickly.
Good wedding binder organization starts with a different question: how will you find and trust the right page when you are in the middle of a call, appointment, or planning conversation? Think of the binder as a reference system. It needs a short route from a question to an answer, a visible way to distinguish current information from old information, and a simple process for handling new paper.

This approach works with a binder you already own. You do not need to replace it, buy a stack of specialty supplies, or print every worksheet available. Keep the sections you use, then add a one-page map, consistent labels, and a few rules for filing and updating information. The goal is to make the next answer easy to locate and safe to act on.
Why a Wedding Binder Becomes Hard to Search
A binder usually becomes difficult to use gradually. One vendor sends a revised quote, a venue tour produces handwritten notes, a family member prints a seating draft, and a payment confirmation gets tucked into the nearest pocket. Each paper makes sense on its own. Together, they create uncertainty about where the current answer lives.
That uncertainty is different from having too many pages. A thick binder can be easy to use if its navigation is consistent. A slim binder can still be confusing if the same decision appears in several sections or if old pages are mixed with approved ones. Before reorganizing, notice the questions you repeatedly ask: What time is the venue access window? Which quote includes delivery? Who is confirming the final guest count? Where is the approved floor plan?
Write down five real questions that have slowed you down recently. For each one, note where you looked first, where the answer actually was, and whether you trusted that page. This small audit reveals the weak points in your system. Perhaps vendor information is split between contracts and notes. Perhaps a page has no date. Perhaps a printed budget summary cannot be distinguished from last month’s snapshot.
Use those observations to define the binder’s job. It should help you retrieve active planning information and understand its status. It does not need to store every source file, duplicate a live guest database, or preserve every abandoned idea. A quote may be useful as a paper reference, while the signed agreement remains in a secure digital folder. The paper version should point to the authoritative record when more detail is needed.
There is no universal number of sections or pages that makes a binder organized. A couple planning a small dinner may need only a few active categories. A multi-day celebration may create more handoffs and records. Start from the questions you need to answer, then give those answers predictable locations. That keeps the structure tied to your actual planning rather than to a template’s page count.
Design a Retrieval Map Before Adding Pages
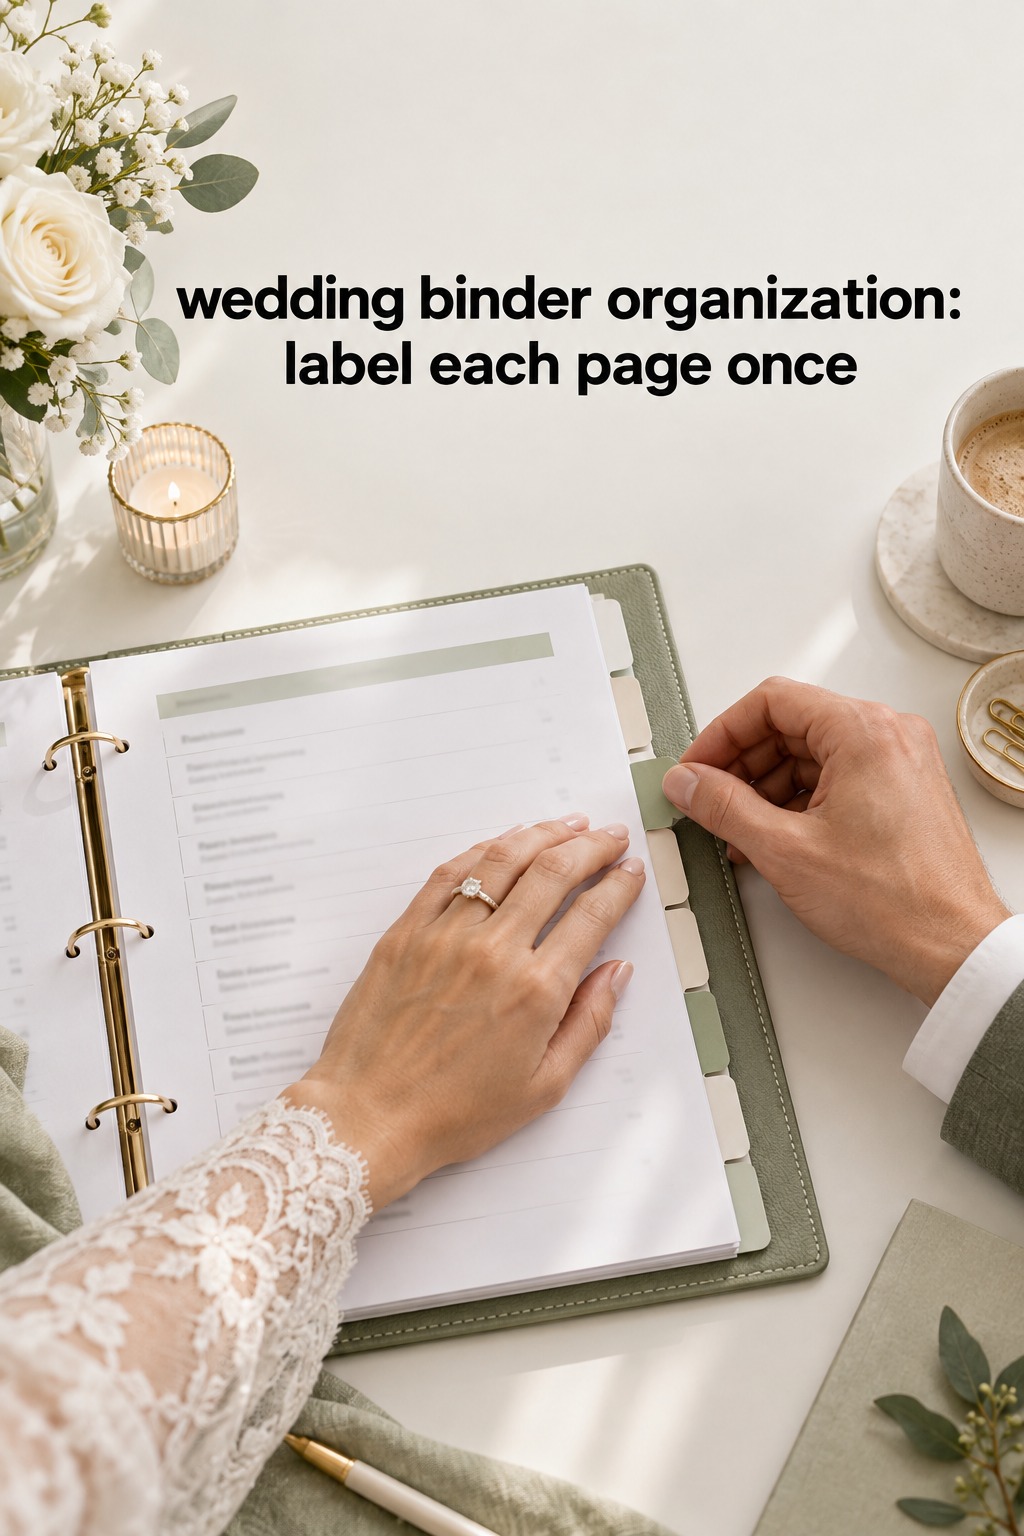
Make one index page and put it inside the front cover or immediately after it. Keep it short enough to scan. List each tab, the kind of question it answers, and the page range or page code where the current reference begins. For example: “Venue, access and rules, V-01 to V-06” or “Payments, due dates and proof, PAY-01 to PAY-04.” The label should help someone choose where to look, not merely repeat a broad category name.
Give important pages a stable identity. A simple code can combine a short section label and a number: VEN-01 for venue overview, VEN-02 for access notes, and VEN-03 for the current room layout. VEND-01 might be a vendor contact sheet, while VEND-02 identifies a specific photographer’s quote summary. The code stays the same when you replace a page, so a note can still say “See VEN-02” without relying on a page’s changing position.
Keep the code system small. If it takes a paragraph to explain, it is too complicated for a planning binder. Use abbreviations you and your partner recognize, avoid assigning a new color to every vendor, and do not build a separate code for every temporary note. The purpose is to reduce search time. A label that looks clever but requires decoding adds one more step.
Add cross-references when a decision affects more than one area. A venue contract may set the access time, which affects the vendor arrival schedule. Instead of photocopying every page into every tab, add a small note at the relevant locations: “Access window: see VEN-02” and “Vendor arrival plan: see DAY-03.” The main record stays in one home, while related sections point to it.
For records that change often, use a reference line rather than copying the full data. A printed budget snapshot can show its export date and point to the live budget file. A guest-count summary can name the current source file and its last update. If you keep a digital counterpart, use a matching file name such as “VEN-02 venue access, updated September 28.” A consistent title makes paper and digital records easier to connect.
Use visible labels for the most common retrieval paths. Put a narrow tab or index flag on the sections you open most often, such as venue, vendors, and payments. If you use color, assign it a meaning that will remain stable, such as one color for decisions waiting on you and another for a page that will be handed to a helper. Color should support the printed label, not replace it.
Before printing new labels, ask another person to use your index to find two answers. Watch where they hesitate. If they choose the wrong tab, revise the index language. A wedding planner, partner, or trusted helper does not need to learn your private shorthand to use the binder. Clear labels make the system useful to the people who may need it during a busy moment.
Route Every New Document Through One Clear Path
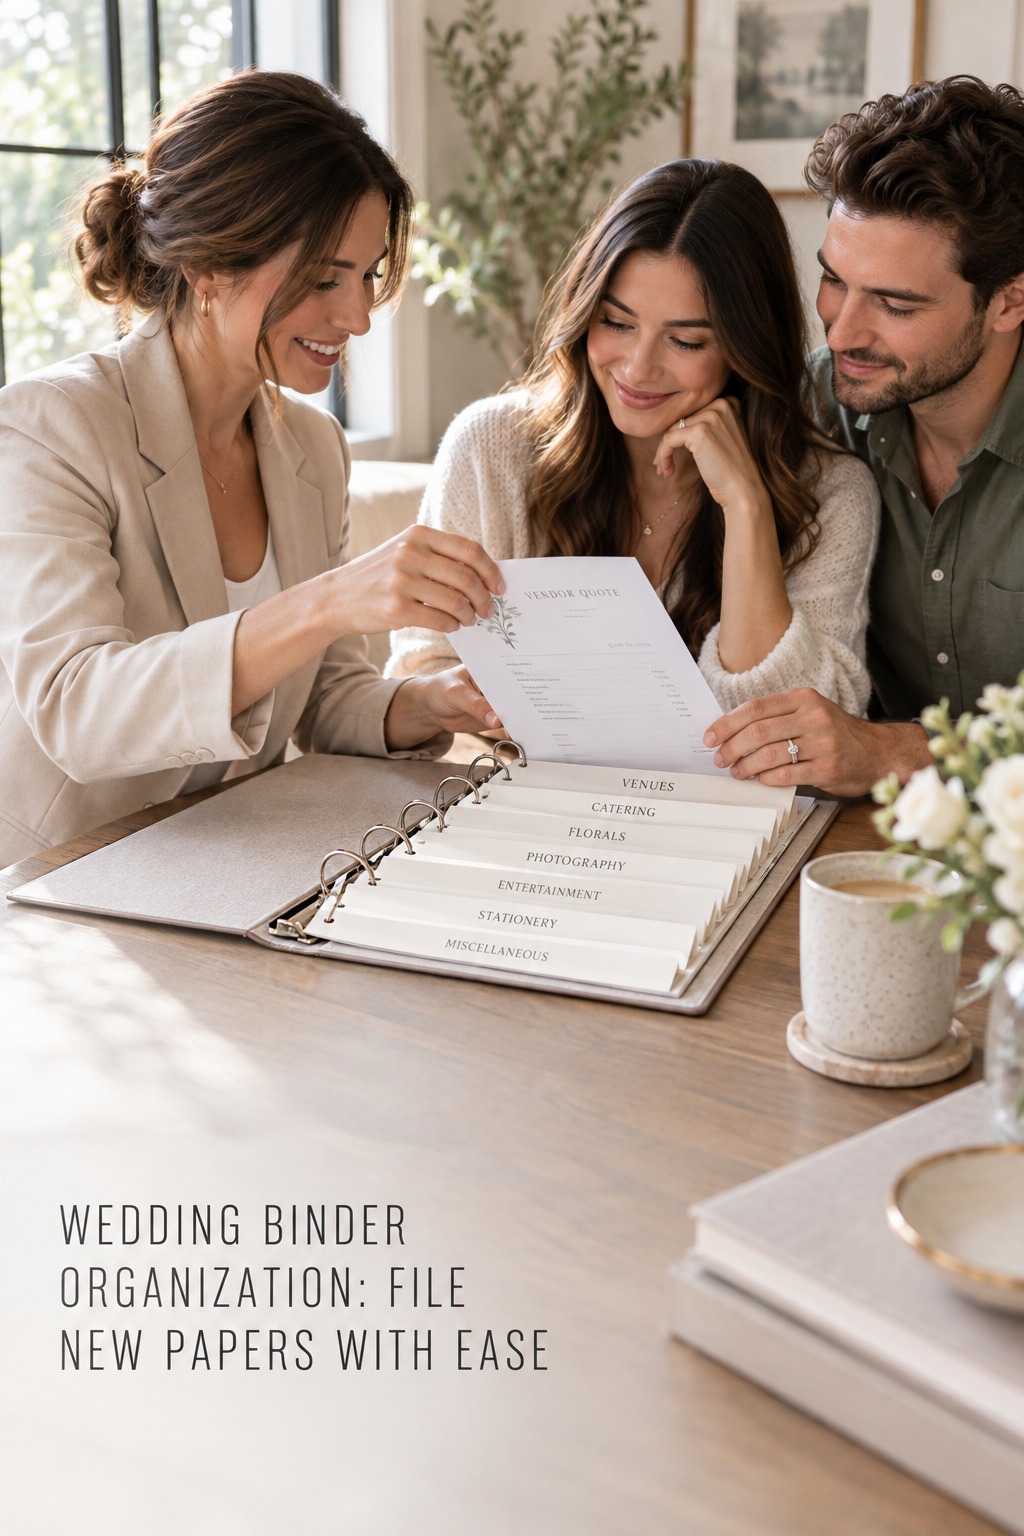
Loose paper tends to accumulate when every new item requires a fresh decision about where it belongs. Create one temporary intake pocket or envelope and use it only for items that have not yet been processed. This is not a permanent miscellaneous section. It is a short holding place for the next review, so a receipt or note does not disappear between a bag, desk, and binder.
When you review the intake pocket, give each paper one of four outcomes: file it as a current reference, record its information in the authoritative digital source, keep it temporarily while a decision is open, or discard it after confirming that it is not needed. Add a date and a clear owner to open items. If a quote needs a reply, the paper should lead to a next action rather than silently becoming part of the archive.
Use the same routine for information that begins digitally. If an email contains an important detail, save the original message or attachment in the relevant digital folder, then add a short reference to the binder only if you will need it during a meeting or while away from a screen. A binder should be a useful index and working copy, not a second inbox that requires every email to be printed.
For a vendor quote, the paper summary can show the vendor name, quote date, total, included services, expiration date if stated, next question, and page code. Keep the full proposal in its source format where you can search the details. When you choose a vendor, mark the summary as “booked” and add a pointer to the signed agreement. When you decline, mark it “closed” or move it to an archive so it cannot be mistaken for a live option.
For receipts and payment confirmations, capture enough context to identify what was paid, when, by whom, and for which vendor. If the official record is digital, note where it lives and whether the binder copy is only a convenience. Avoid putting full card details, account numbers, or unnecessary personal information in a binder that travels to appointments. Keep sensitive originals or records in a secure place.
Make filing possible in less than a minute. Keep a pen, a few blank sheets, and one simple label method with the binder. You might write the page code and date at the top when you create a note, then transfer the information to a permanent page during your weekly review. If the process requires elaborate decoration or multiple apps, it will be tempting to postpone it.
A one-page intake checklist can keep the routine steady: date the item, identify its owner, note its status, choose its permanent home, link related pages, and remove the temporary copy when the permanent record is ready. You can place this list in the inside cover. The same steps work for a printed contract, a floor-plan revision, an appointment note, or a document from a family helper.
Make the Current Version Obvious
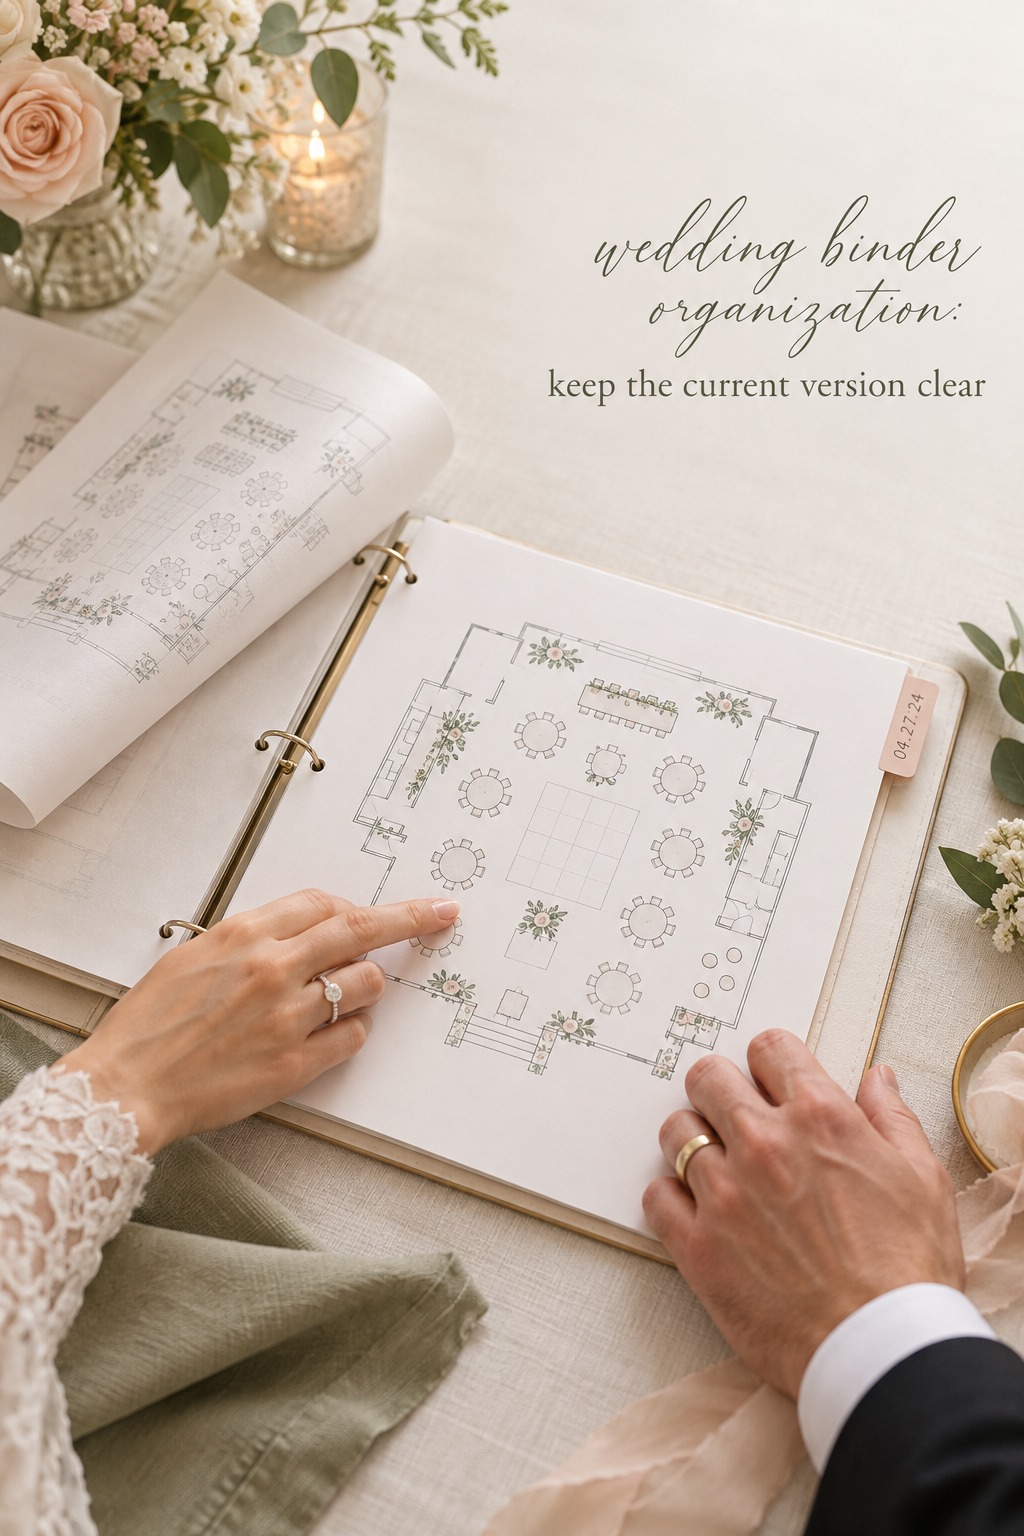
When plans change, do not rely on memory to tell an old page from a current one. Add a small control line to pages that may be revised: status, date updated, and owner. “Draft, September 12, Jamie” and “Approved, September 28, both partners” are more informative than a stack of nearly identical sheets with no context. You can adapt the exact labels to fit your routine.
Keep a short status vocabulary and use it everywhere. A practical set might be “working,” “waiting,” “approved,” and “superseded.” Working means the page is still being edited. Waiting means someone else needs to respond. Approved means it reflects the current decision. Superseded means another version replaced it. Avoid statuses that overlap or sound final when they are not.
When a page changes, update the current copy first, then move the previous version to a clearly labeled archive or remove it if there is no reason to retain it. If you keep an old version for context, mark it “superseded” across the top and add the date it stopped being current. Do not leave two active-looking versions next to each other. That is an invitation to use the wrong information.
For decisions that affect several people, keep a small decision log. Record the date, what was decided, who approved it, the reason if it will help later, and the pages that need updating. A short entry can prevent the same discussion from reopening because someone found an old note. It can also remind you to update a vendor brief, seating draft, and event timeline after one choice changes.
Agree on one owner for each frequently changing record. One partner may own the guest-count summary while the other maintains vendor questions. Both can contribute, but the owner checks that a confirmed change reaches the current copy. Ownership is not about controlling the plan. It is a practical way to make sure an update has a destination and someone notices when two records disagree.
Use paper for what paper helps you do: annotate a venue plan, compare options during a meeting, or give a helper a dated reference. Keep detailed spreadsheets, long email threads, and frequently changing lists in a digital home when that is easier to maintain. A printed page should show when it was made and where to verify more detail. This is consistent with the paper and digital distinction discussed in Big Day Binder’s printable planner guide.
If you want a more structured shared planning resource alongside the paper index, The Wedding Command Center may be worth considering. Keep the binder’s role clear: it is the quick paper reference, and any digital workspace should hold only the information you intend to keep current there. Avoid copying the same full record into several places unless someone is responsible for reconciling them.
Test the System in Real Planning Moments
A binder is organized when a person can use it, not when the tabs look attractive. Try a short retrieval drill with questions you are likely to hear: What is the venue’s load-in window? Which vendor still needs a response? What is the latest approved floor plan? When is the next payment due? Give yourself a minute to find each answer and confirm the date or status before acting.
Notice both the search path and the confidence you have in the answer. If you need to check a pocket, flip between tabs, and compare two versions, add a cross-reference or clarify the status line. If the information is not meant to live on paper, improve the pointer to its digital home. You do not need to print more pages to make a binder easier to search.
Run the drill before a venue tour or vendor meeting. Put the relevant pages near the front or add a temporary flag that can be removed afterward. Bring a short question list and a blank notes page with its section code already written at the top. After the meeting, transfer decisions to the current record and update any related references. The binder should support the conversation and capture what changed.
A weekly reset can take ten minutes. Empty the intake pocket, process new documents, check whether any “waiting” items need follow-up, remove superseded copies from active sections, and review the index for changed page locations. Once a month, ask whether the current tabs still match the questions you ask most often. Combine unused sections instead of adding more tabs by default.
Before sharing the binder with a planner, family member, or day-of helper, make a slim, dated set of pages for that person. Include only what they need, note the page codes that answer likely questions, and state who can approve changes. A planning binder and a handoff packet serve different moments. A small, current extract is easier to use than handing over every draft and note from the engagement.
Post-it’s wedding planning binder guide offers a basic example of visible section tabs and flags. You can keep that simplicity while making the system more dependable with page identities and version labels. The best design is the one you will use when you have little time, a full inbox, and someone waiting for a clear answer.
Sources and Methodology
This guide was developed from a review of US English search results and published wedding binder guides. The source review showed that many pages focus on supplies, section lists, and starter templates. This article narrows the advice to page retrieval, document intake, and keeping one version visibly current. The two linked examples are included for their basic approaches to tabs and paper planning references.

FAQ
How do I organize a wedding binder so I can find things quickly?
Start with a one-page index that says what each tab answers, then add short page codes, dates, and cross-references to related records. Test the index with real planning questions and revise labels when another person hesitates. A predictable route matters more than adding more sections.
Should I number every page in my wedding binder?
Number the pages that people may need to reference again, such as vendor summaries, venue rules, payment schedules, and approved layouts. You can leave temporary brainstorming sheets unnumbered. Stable codes by section are often more useful than relying on a page’s physical position, because pages can be moved or replaced.
How can I stop old wedding planning documents from confusing us?
Put a status and update date on records that change. When a new version is approved, label the previous one as superseded and move it to an archive or remove it if you do not need it. Keep only one version in the active section and record who owns future updates.
What information should stay digital instead of going in the binder?
Keep information digital when it changes often, needs formulas or search, or several people update it. A live guest list, detailed budget, long vendor email thread, or editable task tracker may fit better online. The binder can hold a dated snapshot and a clear reference to the current source.
Do I need color-coded wedding binder tabs?
No. Clear words and consistent placement are enough for many couples. If color helps you scan, give each color one stable meaning and keep the written label beside it. Avoid assigning colors to so many topics or people that you need a key every time you open the binder.
How often should I update a wedding planning binder?
Process new papers after meetings and set a brief weekly reset for open items, current copies, and the index. You can also review the system before a major appointment or handoff. The right schedule is frequent enough that loose papers do not pile up and the active pages remain trustworthy.
Leave a Reply