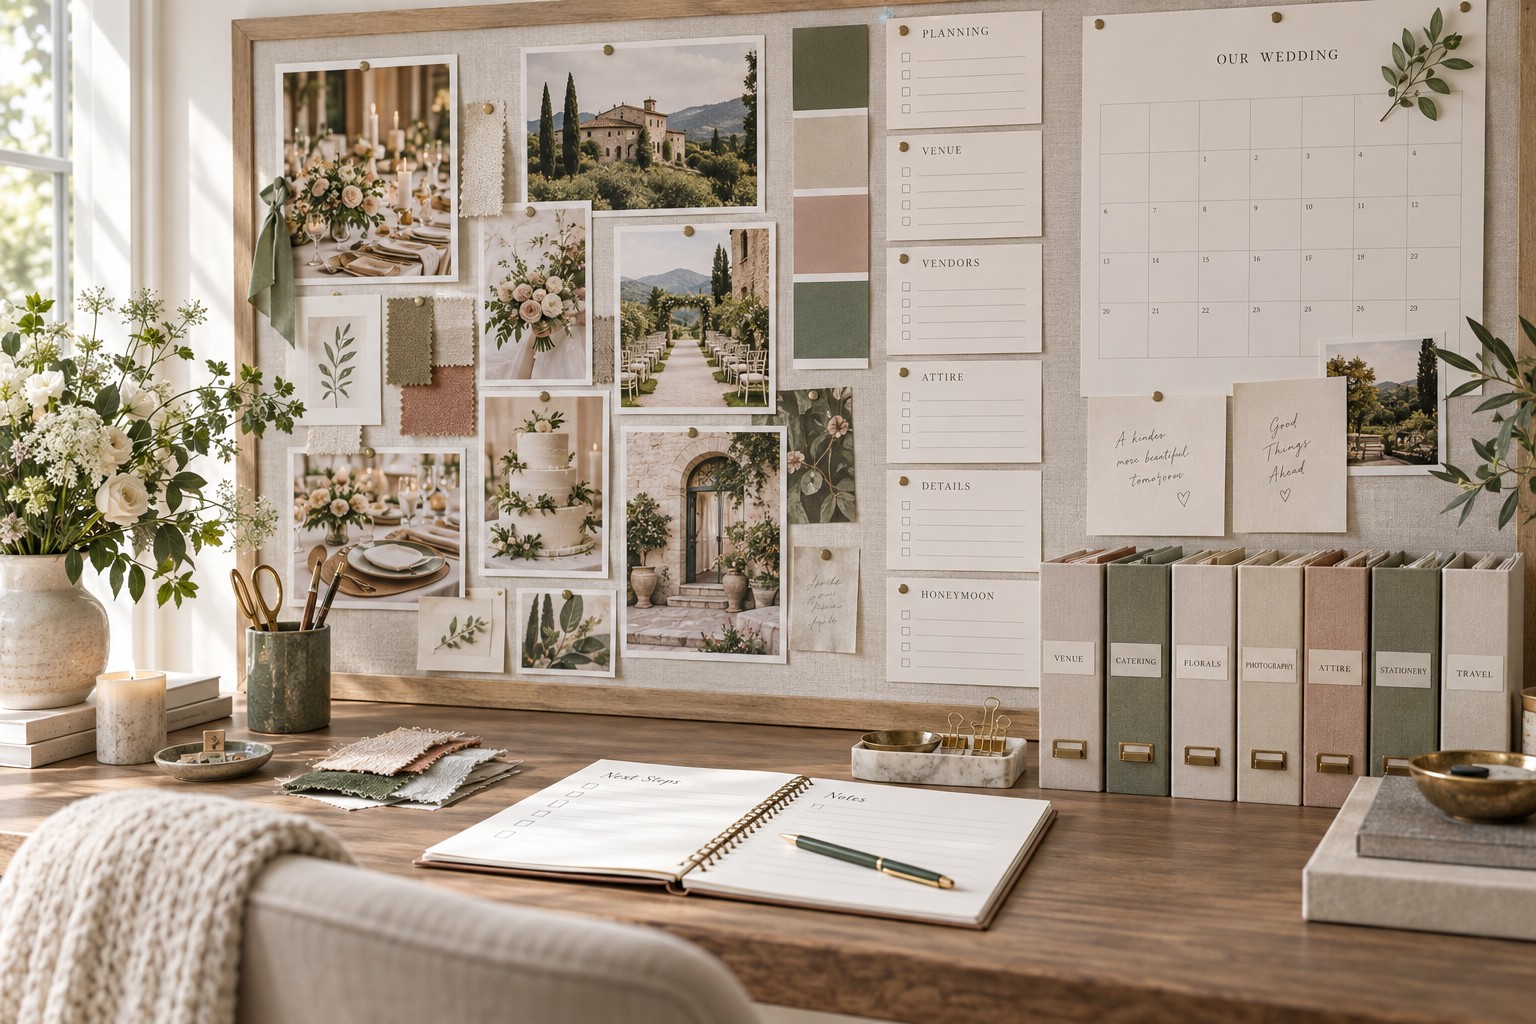
A wedding planning board can be beautiful, but its real job is to make decisions easier. The best version gives you one place to see the feeling you want, the work that has to happen, the people responsible for it, and the dates that cannot slip.
It should help you move from “I love this” to “This is our choice, this is what it costs, and this is what happens next.” That does not mean you need a complicated project-management system. A cork board, a notebook spread, a Pinterest board, or a shared digital workspace can all work. The difference is the structure behind it. Instead of collecting every pretty idea you see, build a practical wedding planning board with a clear visual direction, a small set of active decisions, and a reliable weekly reset.
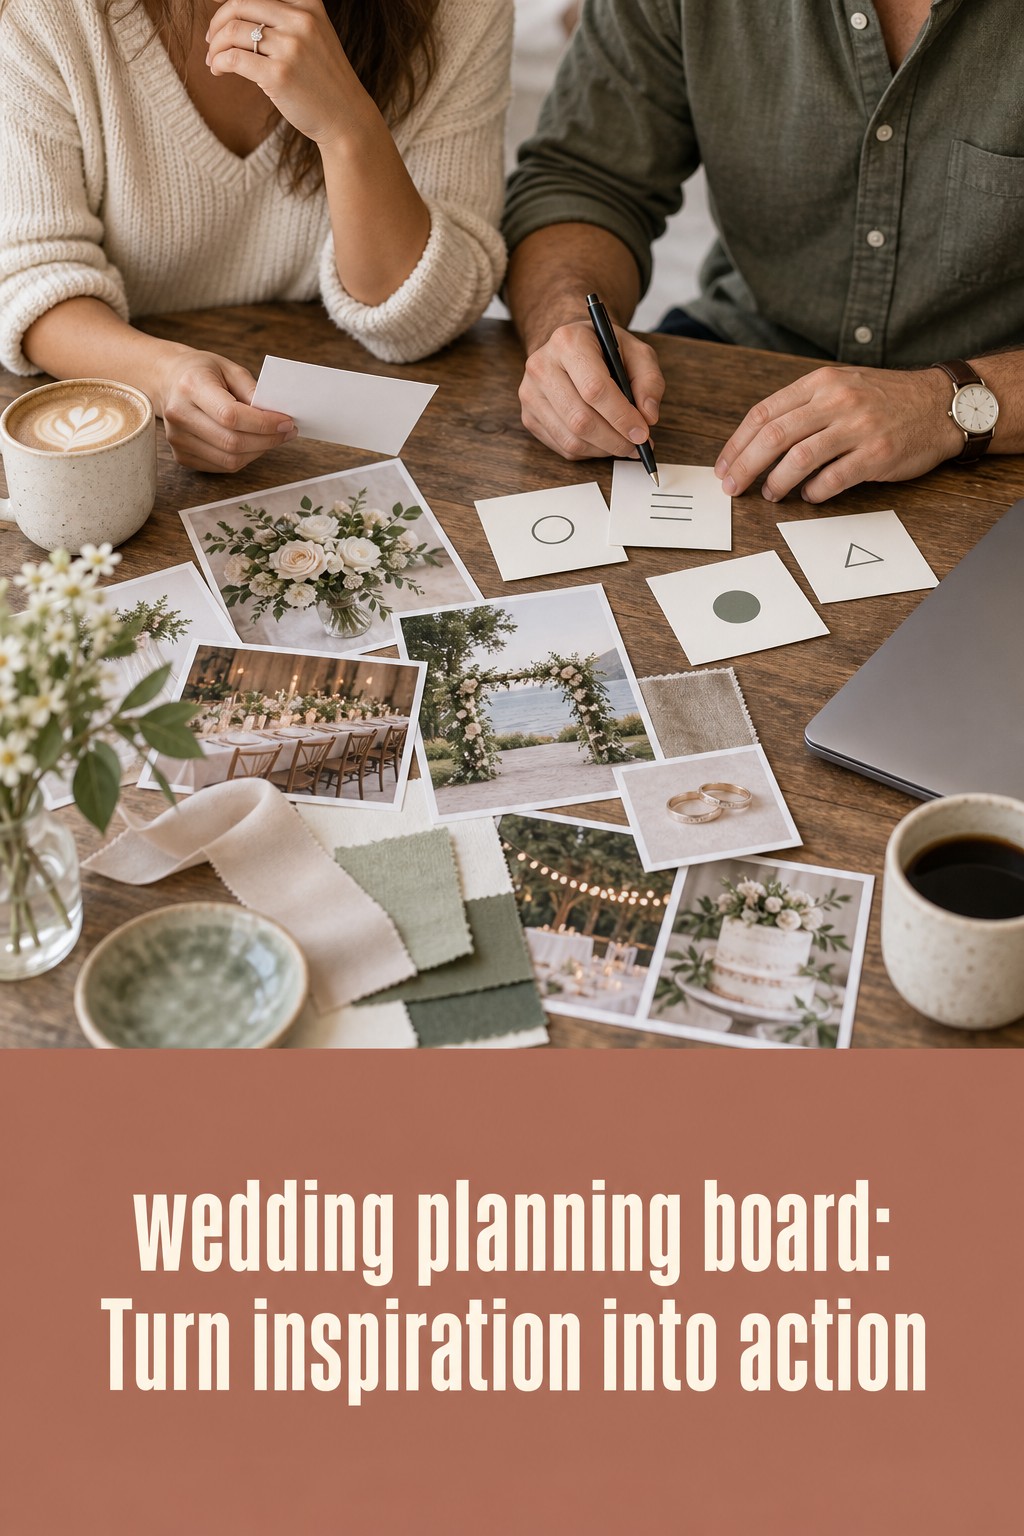
Start with the building blocks of your wedding planning board
Before choosing the board format, decide what the board must hold. A visual mood board and a task board solve different problems. One helps you recognize your style; the other helps you remember that a photographer needs to be booked, an invitation proof needs approval, or a marriage-license appointment has a deadline. A useful wedding planning board connects both.
Think of your board as five connected zones. They can be five sections on a wall, five columns in a digital workspace, or five pages in a binder.
- Vision: the words, colors, textures, and reference images that describe the experience you want.
- Decisions: choices still being compared, such as ceremony location, meal format, floral direction, or attire.
- Tasks: specific actions with one owner and one useful due date.
- Vendors: contact details, proposals, questions, signed agreements, and payment milestones.
- Dates: the wedding date, guest-facing deadlines, appointments, contract deadlines, and day-of timing.
Keep the zones connected with a simple rule: every important visual should lead to a decision, and every decision should lead to a task. If you save a photo of a candlelit dinner, note what you actually like about it. Is it the warm light, the low centerpieces, the long table, or the relaxed feeling? Then add a next step, such as asking your venue about candle rules or requesting a quote for low floral arrangements.
Write a short anchor statement at the top of the board. “An intimate garden dinner with warm light, seasonal flowers, and plenty of time with our guests” is more useful than “romantic wedding.” It gives you a filter for future ideas. If a new pin does not support the anchor statement, it goes into an archive instead of onto the active board.
Create the visual direction without overwhelming yourself
Start with a wide gathering phase, but give it a limit. Spend one or two focused sessions collecting references from real weddings, stationery, fashion, interiors, restaurants, gardens, and travel. A wedding does not have to look like another wedding to teach you something. A hotel lobby may show you a color relationship. A still-life photograph may show you the right texture. A favorite restaurant may reveal the kind of table atmosphere you want.
Then edit hard. A board with 150 competing images creates more anxiety than clarity. Keep the references that repeat a feeling or answer a planning question. Aim for a small, representative set rather than a complete catalog. You might keep three ceremony references, three reception references, two attire references, two stationery references, and a few detail references for flowers, lighting, favors, or dessert.
Label each image with a useful note. Instead of “pretty,” write “soft cream and muted green,” “long family-style table,” “asymmetrical bouquet,” or “simple serif invitation with generous spacing.” These notes help you communicate with vendors and make it easier to compare proposals later.
- Color: choose a lead color, one or two supporting colors, and a neutral.
- Material: identify linen, paper, stone, glass, wood, silk, or brushed metal.
- Shape: notice whether references are structured, rounded, loose, architectural, or delicate.
- Light: decide whether the mood depends on daylight, candlelight, string lights, flash, or a mix.
- Energy: describe the experience in guest terms, such as lively, unhurried, playful, formal, or intimate.
Check every strong idea against your actual venue and guest experience. A tall floral installation may be perfect in a high-ceiling ballroom and awkward in a low-ceiling restaurant. A wide outdoor ceremony setup may look wonderful online but create a difficult walk for older relatives or guests using mobility aids. A dark palette may need additional lighting to photograph well. This is where a wedding planning board becomes practical: it keeps inspiration connected to constraints.
Once you see patterns, reduce the board to three style words. “Warm, collected, garden-inspired” or “clean, coastal, celebratory” is enough. Use those words when reviewing décor, attire, paper goods, and vendor proposals. If a choice fits one word but fights the other two, pause before spending money.
Turn inspiration into a planning workflow
The most important part of a wedding planning board is the handoff from ideas to action. Create a card, sticky note, or row for each meaningful task. A task should begin with a verb and describe one outcome. “Research photographers” is a project. “Shortlist three photographers whose work matches our warm, documentary style” is a task you can finish.
Give each task four labels: owner, due date, status, and dependency. The owner may be you, your partner, a family member, or a planner. The due date should reflect when the task must be completed, not when you hope to think about it. The status can stay simple: to do, in progress, waiting, decided, or done. A dependency explains what has to happen first. For example, the invitation design may wait for the ceremony time and venue address.
- Budget: confirm your comfort limit, priority categories, payment dates, and a small contingency.
- Guest list: build a working list, record address needs, and note guests who require travel or accessibility support.
- Venue: capture capacity, noise rules, weather backup, setup windows, included rentals, and restrictions.
- Vendors: compare availability, service scope, price, contract terms, insurance, and communication style.
- Guest experience: track transportation, hotel information, ceremony flow, food needs, and clear directions.
Use a “next three” rule for the active work area. At the end of each planning session, choose the three actions that matter most before the next review. This prevents the board from becoming a wall of guilt. Completed tasks can move to an archive or a finished column. The active area should show what deserves attention now.
A shared tool is especially helpful when two people plan together. Keep the board as the source of truth, then use your calendar for appointments and reminders. Avoid scattering final decisions across text messages, email threads, screenshots, and separate notes. If a vendor decision is made in email, add the final answer to the board and link or file the supporting document where both partners can find it.
If you work with a professional planner, share the board early. The board does not replace a planner’s expertise, but it gives them a quick view of your priorities, open questions, and visual language. The Wedding Command Center can also be useful as a planning resource when you want a dedicated place to organize decisions, tasks, and details alongside your broader wedding vision. Use it to support your process, not to add another disconnected list.
For physical boards, keep sensitive information private. Do not post contracts, home addresses, payment details, or guest contact information in a visible room. Use labeled folders or a private digital file for those records. The board can display a reminder such as “review photographer contract” without displaying the contract itself.
Choose the format and maintain it through the finish line
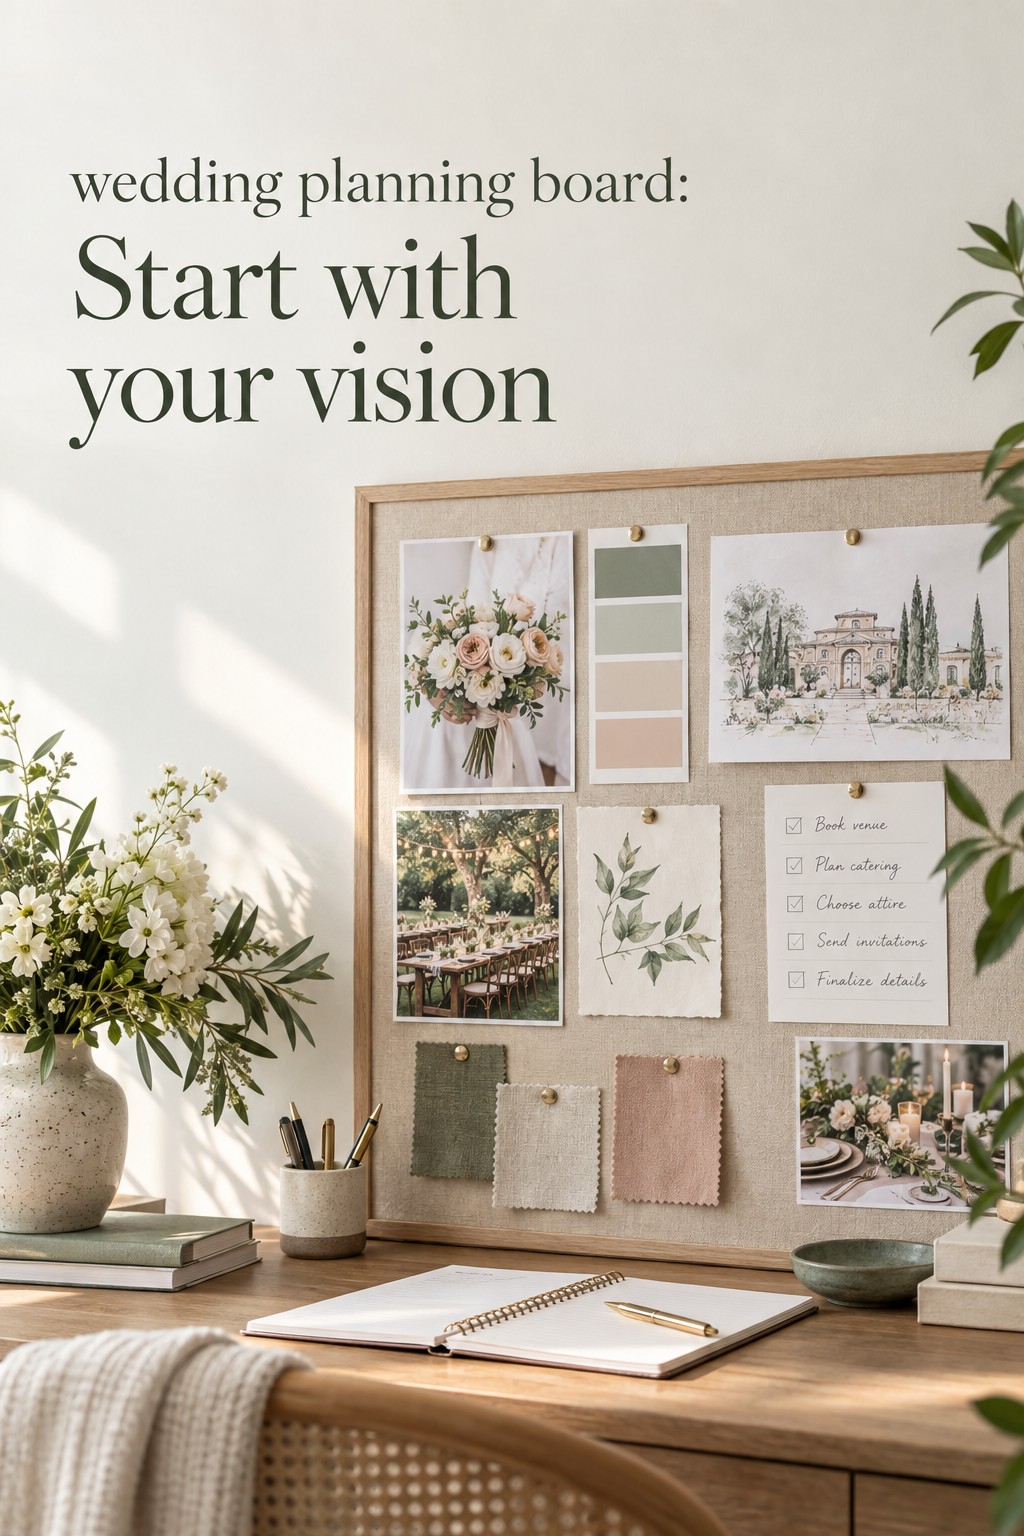
A physical wedding planning board is tactile, visible, and satisfying to rearrange. It works well for couples who think spatially or want planning to feel separate from a screen. Use color-coded notes for categories, but add words so the system remains understandable. Leave a clear area for current tasks and keep your inspiration section compact.
A Pinterest board is excellent for collecting visual references and sharing a mood with vendors. It is less effective as the only system for deadlines, contracts, and ownership. Use sections such as venue, florals, attire, paper, tables, beauty, and guest experience. Add a short description that states what you are trying to achieve, then move final decisions into a separate planning space.
A digital kanban board is a strong choice when you are planning as a team. Columns can follow status, while labels identify category and owner. Keep card titles specific, attach documents privately, and create recurring reminders for payments or monthly reviews. If the board becomes too detailed, archive old cards and return to the next-three rule.
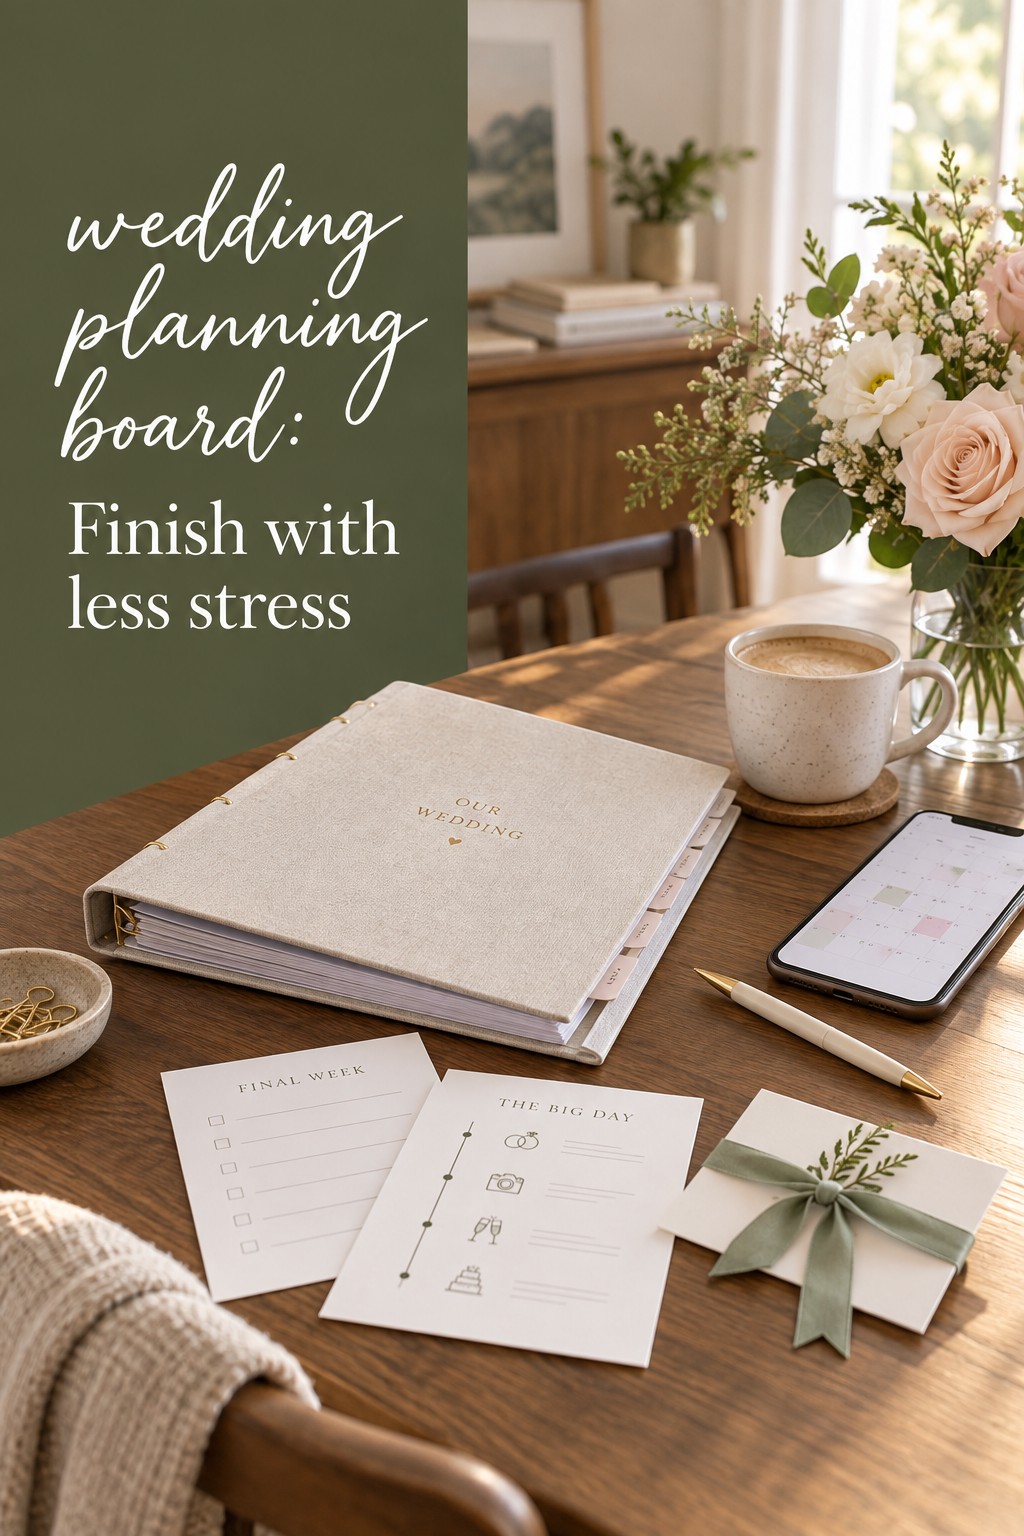
A binder or planner is ideal when you want a portable record for appointments. Divide it into vision, budget, guests, venue, vendors, attire, ceremony, reception, and final-week details. Put a one-page dashboard at the front with the wedding date, current budget snapshot, next three tasks, and urgent questions. That dashboard becomes your analog home screen.
Schedule a 20-minute weekly reset. First, remove finished tasks. Second, update anything waiting on a response. Third, check the next four weeks for deadlines. Fourth, choose your next three actions. Finally, look at the vision section and ask whether recent decisions still support the anchor statement. This small ritual catches forgotten details before they become emergencies.
- Do not save inspiration without recording what you like about it.
- Do not give one task multiple owners. Choose one person responsible for moving it forward.
- Do not use due dates as decoration. Tie them to contracts, guest communication, production time, or the wedding timeline.
- Do not keep every option active forever. Set a decision date and define the information you need before choosing.
- Do not confuse a full board with a complete plan. A calm, current board is more valuable than a crowded one.
Your wedding planning board should become quieter as the wedding approaches. Early on, it holds possibilities. Later, it holds confirmed choices, final questions, and a short list of actions. That change is a sign that the system is working. The goal is not to plan every minute of your engagement. The goal is to make the next right decision visible, then give yourself room to enjoy the celebration you are creating.
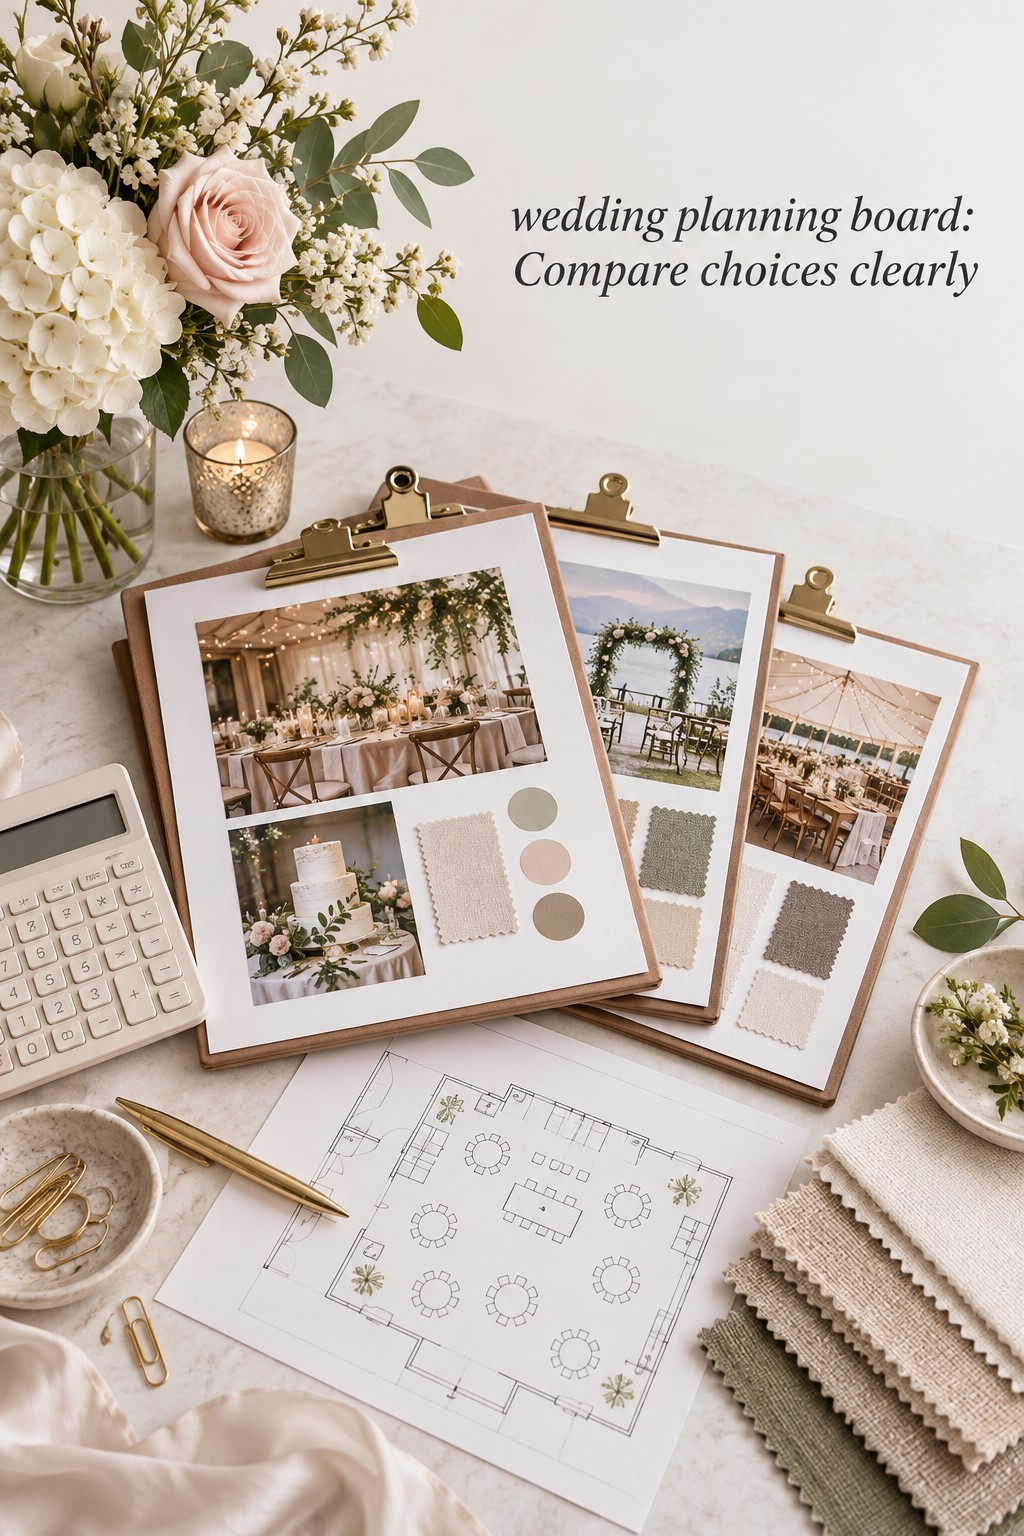
Make better decisions with a small set of board rules
A board becomes especially valuable when several options look equally appealing. Create a decision card for each choice and compare the same criteria every time. For a photographer, you might compare image style, coverage hours, turnaround time, personality, travel cost, and contract terms. For a venue, compare guest capacity, total cost, weather plan, accessibility, catering rules, and setup time. A consistent comparison keeps one exciting photo or one persuasive sales call from deciding the whole wedding.
Give each decision a deadline that protects a later milestone. Stationery cannot be finalized until the guest list and addresses are stable. The seating plan cannot be finished until RSVPs are in. A floral proposal may need to wait until the venue confirms what rentals and installation time are included. Put these relationships on the board in plain language. “Waiting for final guest count” is more useful than leaving a card in a vague holding area.
Your budget zone should show priorities, not just totals. Mark the categories that create the biggest guest experience or carry the most emotional value. A couple might prioritize food, photography, and live music, then choose simpler paper goods and fewer floral varieties. Another couple might care most about a ceremony setting, fashion, and a long dinner. The board is not there to tell you what a wedding should cost. It is there to make trade-offs visible before a deposit is paid.
Use a short “why” note for major choices. Write why you selected the venue, why a particular vendor fits, or why you declined an option. This protects you from reopening settled decisions every time a new idea appears online. It also helps a partner, parent, or planner understand the decision without repeating the entire conversation. When something changes, update the note rather than creating a second unofficial version.
Delegation also works better when the board defines the finish line. “Ask my sister for help” is not a completed task. “Sister confirms three welcome-table items and returns the list by May 10” is clear. Include the budget limit, preferred style, delivery location, and any restrictions that person needs. Then move the card to waiting and set a follow-up date. This keeps generous offers of help from turning into another source of uncertainty.
As the wedding gets closer, create a final-week view. Add confirmed vendor arrival times, payment reminders, attire pickups, emergency contacts, packing lists, ceremony materials, and the person responsible for each handoff. Keep this view separate from inspiration so it can be printed or shared with the people who need it. If you have a planner or coordinator, ask what information they want in the final handoff and mirror that structure.
Finally, preserve a small archive. Save the references that shaped your choices, completed contracts in their private folder, and a record of final versions for menus, programs, seating, and signage. An archive prevents clutter on the active board while keeping useful context available. It can also become a meaningful record of how an early idea became the celebration you actually held.
FAQ
What should go on a wedding planning board first?
Start with your wedding date or target season, venue constraints, budget priorities, guest-count range, and a short anchor statement. Add only a few visual references that explain the feeling you want. These basics give every later task and design choice a useful context.
Is a wedding planning board the same as a mood board?
Not exactly. A mood board focuses on visual direction, while a planning board also tracks tasks, dates, decisions, vendors, and owners. You can combine them in one hybrid board, but keep the inspiration area separate from the action area so neither becomes difficult to use.
How many images should a wedding vision section include?
There is no perfect number, but a small edited collection is usually stronger than an endless feed. Keep enough images to show recurring color, texture, shape, light, and energy. If two images communicate the same idea, keep the clearer one and archive the other.
Can I use Pinterest as my entire wedding planning system?
Pinterest works well for visual discovery and sharing inspiration, but it is not ideal as the only place for deadlines, contracts, payment dates, or task ownership. Pair it with a checklist, calendar, binder, or shared task board that records confirmed decisions and next actions.
How often should we update our wedding planning board?
Use a short weekly reset and update the board whenever a meaningful decision is made. During busy periods, such as invitation production or the final month, review it more often. Keep the process brief and focus on current tasks, waiting items, deadlines, and newly confirmed information.
What is the best wedding planning board format for a couple?
The best format is the one both partners will actually check and update. Choose a physical board for visible, hands-on planning, Pinterest for inspiration, a digital kanban board for shared tasks, or a binder for portable records. Many couples get the best results from combining one visual tool with one task and calendar system.
Leave a Reply