Wedding planning can feel disorganized even when you are doing something every day. A quote arrives by email, a parent sends a screenshot, a vendor mentions a deadline during a phone call, and an important decision ends up on a sticky note. The problem is rarely a lack of effort. It is that the information has no dependable home.
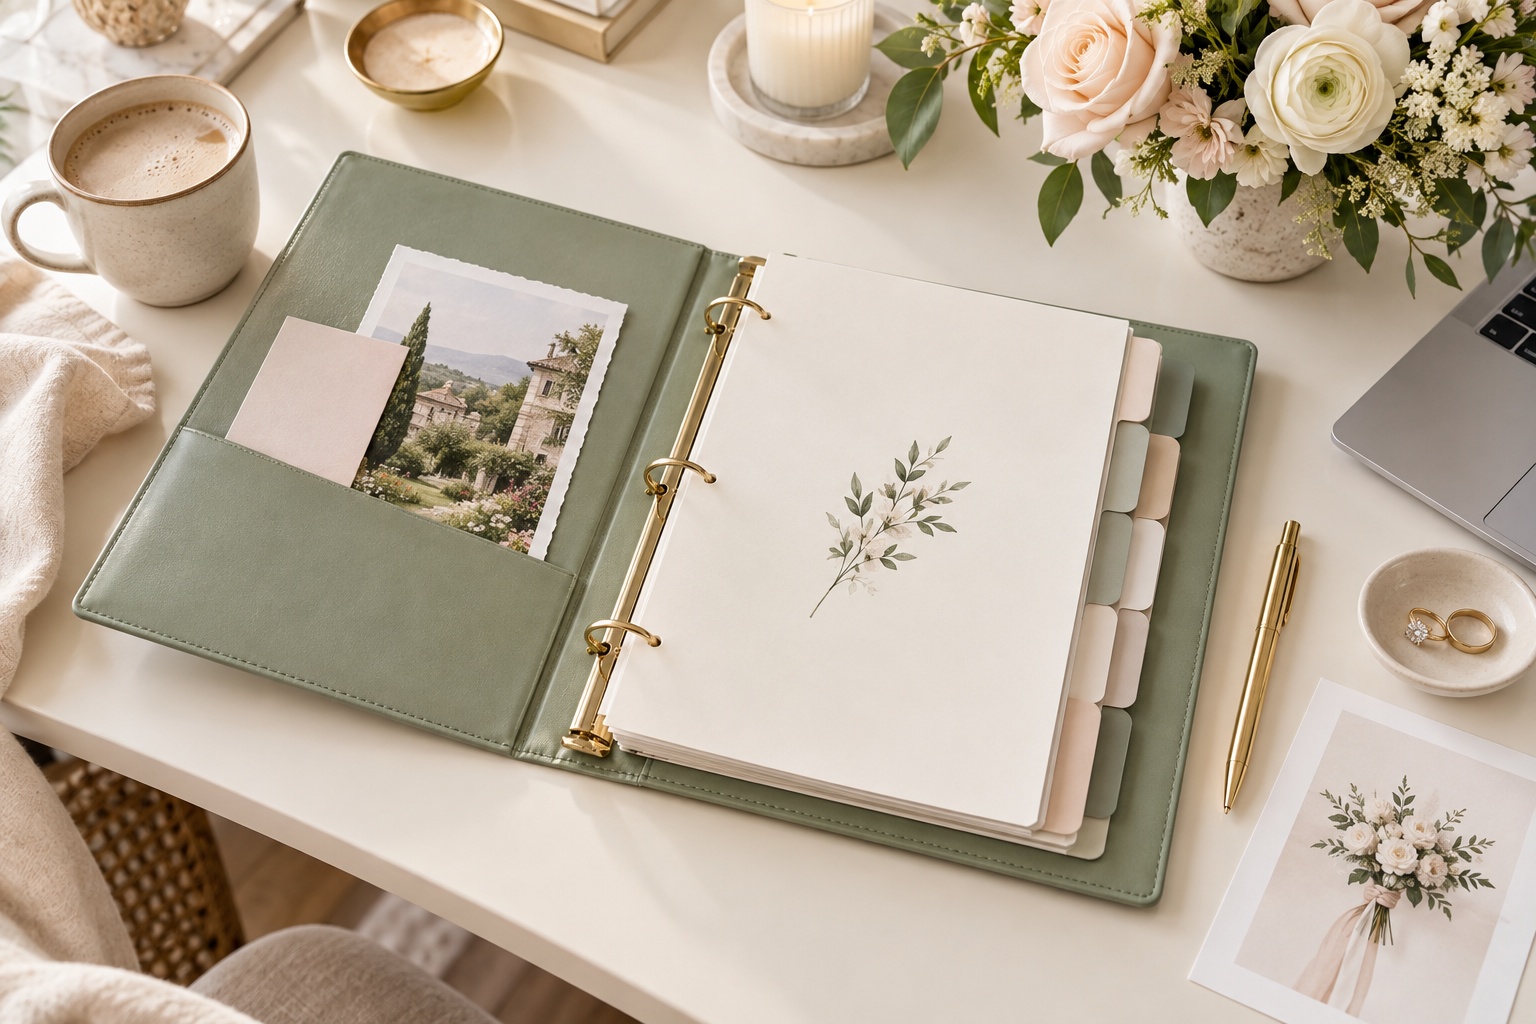
A wedding planning binder gives your plans a visible center. It can hold meeting notes, approved inspiration, printed contracts, timelines, and the questions you want to ask next. It should make decisions easier to find, not become another oversized project to maintain. The most reliable setup uses the binder for stable, discussion-ready information and a digital master for details that change often.

Start by Solving the Real Planning Problem
Before buying dividers, decide what your wedding planning binder must do. Its job is to answer common questions quickly. What have we decided? What still needs a decision? What did the vendor promise? What is due next? Where can our planner or partner find the information without asking us to search through messages?
That definition keeps the binder useful. A binder that tries to contain every email, every inspirational image, and every version of every guest list will become heavy and confusing. A binder that contains only final contracts will be too thin to support the planning process. Aim for a working record of decisions, conversations, and handoffs.
Use one simple status language throughout the binder. For example, write “to decide,” “shortlist,” “booked,” “paid,” or “final.” Add the date to important notes. These small labels help you tell the difference between an idea and a commitment. They also make old pages easier to archive when plans change.
Choose a binder size that matches your planning style. A sturdy 1.5- to 2-inch three-ring binder is enough for many couples at the beginning. A larger binder may be helpful for a large guest count, a destination wedding, or a planner who needs extensive printed materials. Start smaller if you can. Extra space encourages random filing.
Add a front pocket for items that need attention at the next meeting, a back pocket for papers that need to be filed, and a pencil pouch for a pen, highlighter, measuring tape, and a few sticky notes. A label on the spine matters more than a decorative cover because the binder should be recognizable on a shared desk or in a venue meeting.
Keep originals of legal documents, signed contracts, and irreplaceable receipts in a secure location. Place a clearly labeled copy in the binder when it helps with planning. This gives you the convenience of paper without turning a portable planning tool into the only place where critical documents exist.
Build Sections That Match How Decisions Happen
The best wedding planning binder sections follow the way a couple moves through the work. Begin with an overview, then place money and people near the front, followed by suppliers, design decisions, event details, and the final handoff. You can add or remove tabs as your wedding becomes more specific.
Start with a dashboard. Put the wedding date, venue, ceremony and reception locations, guest-count range, planning contacts, and the next three decisions on one page. Include a small “last updated” line. This page is not meant to contain every detail. It is a quick orientation sheet for you, your partner, family members, and your planner.
Make the next section priorities and vision. Write a short description of how you want the day to feel, followed by non-negotiables and flexible areas. This prevents the binder from becoming a collection of attractive ideas that do not fit the budget, venue, season, or guest experience. Keep only inspiration that supports an actual decision.
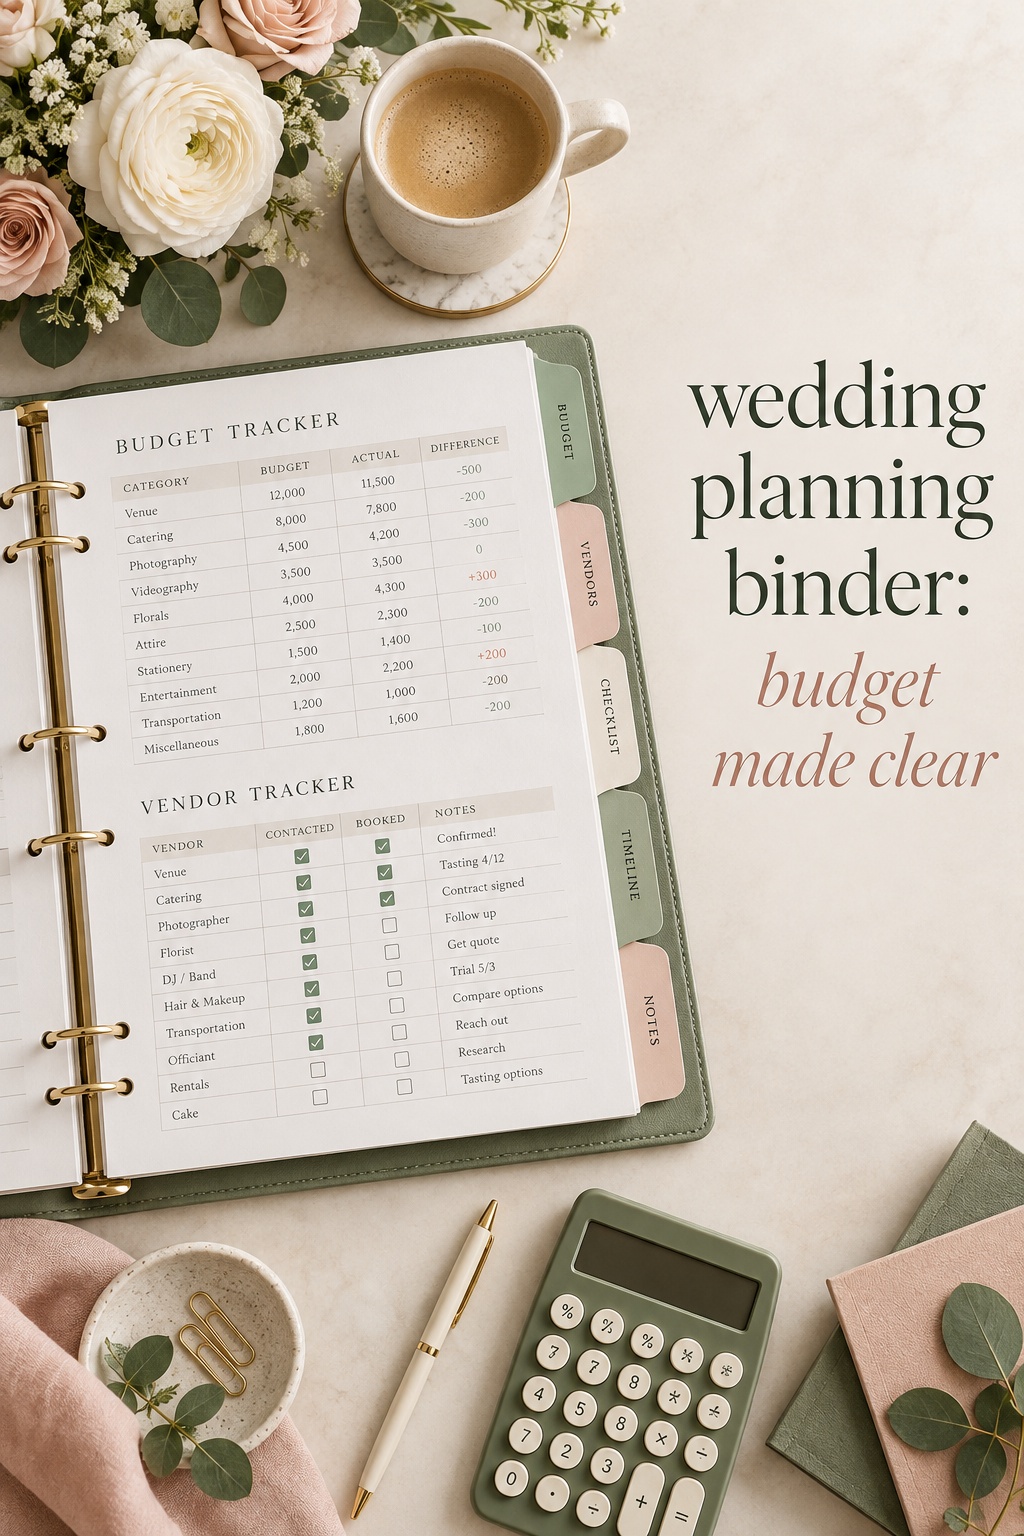
Use a budget section for approved numbers and questions, not for every rough estimate you have ever received. A useful printed budget snapshot shows the category, estimated cost, actual cost, deposit paid, balance due, payment date, and notes. Add a contingency line. If the live budget is in a spreadsheet, print a dated snapshot before major meetings and write the date on the page.
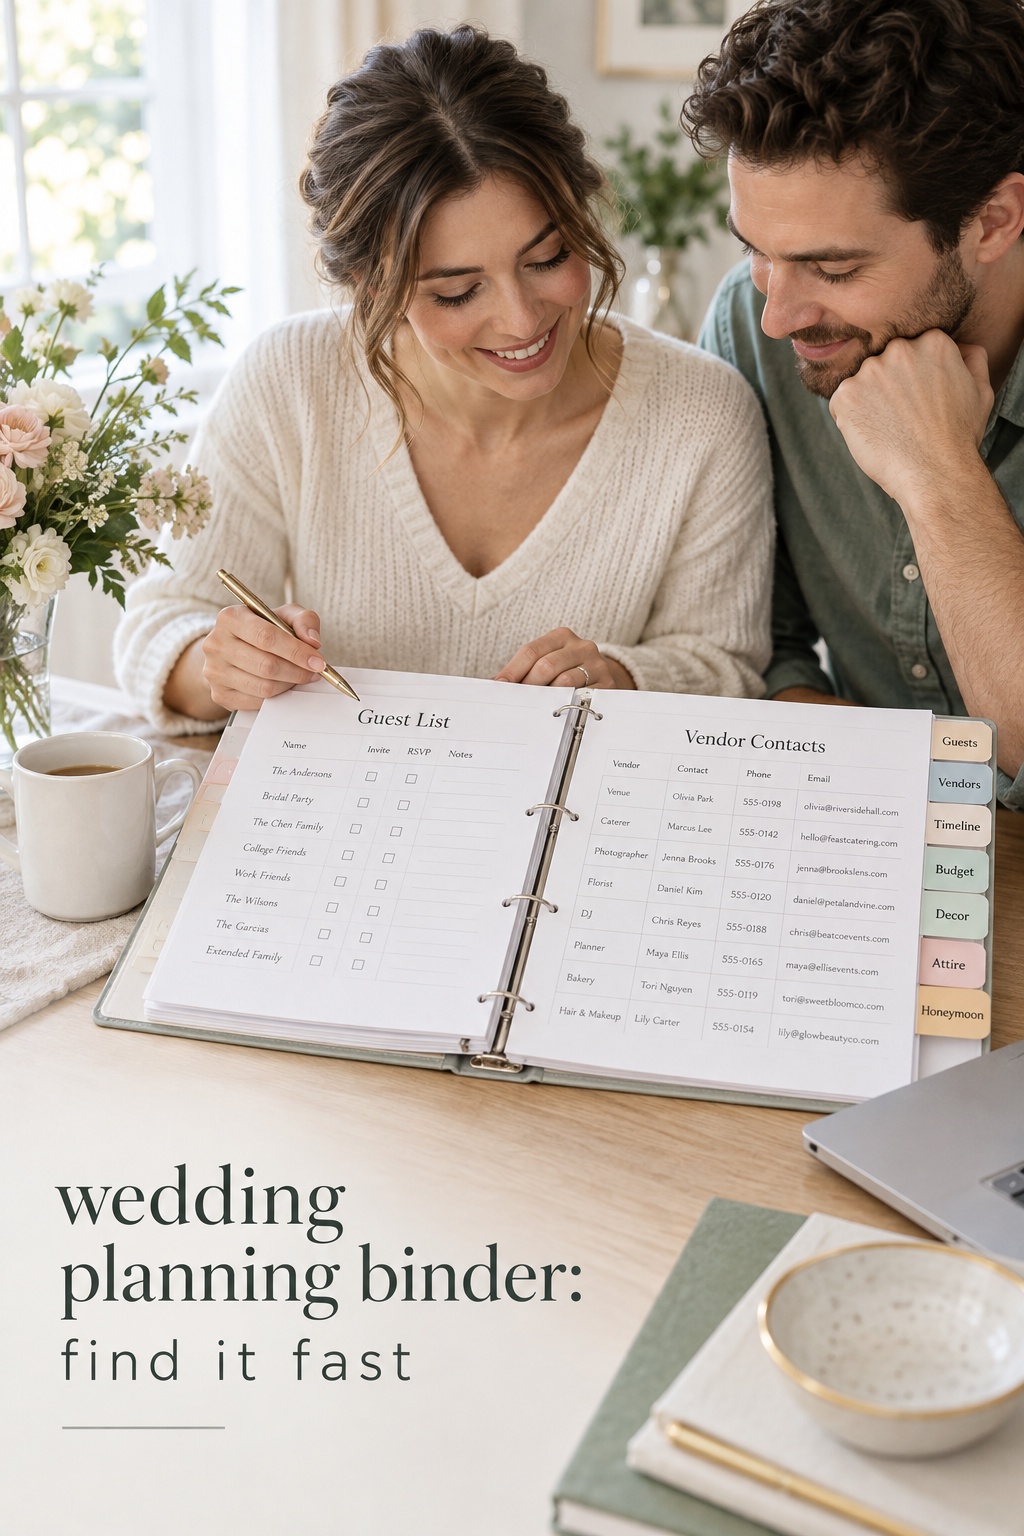
Give the guest list its own divider, but keep the master list digital when possible. The binder can hold the current guest-count summary, RSVP deadline, meal-choice instructions, family grouping notes, and a printed list for a specific meeting. Avoid repeatedly hand-editing addresses or RSVP changes on paper. That is how two versions start to disagree.
Create a vendor section with one page per booked vendor and a comparison page for vendors you are still considering. Record the category, company, primary contact, phone number, email, website, contract status, deposit, balance, arrival needs, and next follow-up date. Add a short note about why you chose a vendor. That context is valuable when someone else joins the planning conversation.
Keep a contracts and payments section separate from general vendor research. File a copy of each signed agreement, followed by a one-page summary of payment dates, cancellation terms, included services, overtime rules, and outstanding questions. The summary should help you prepare for a call. It is not a replacement for reading the contract.
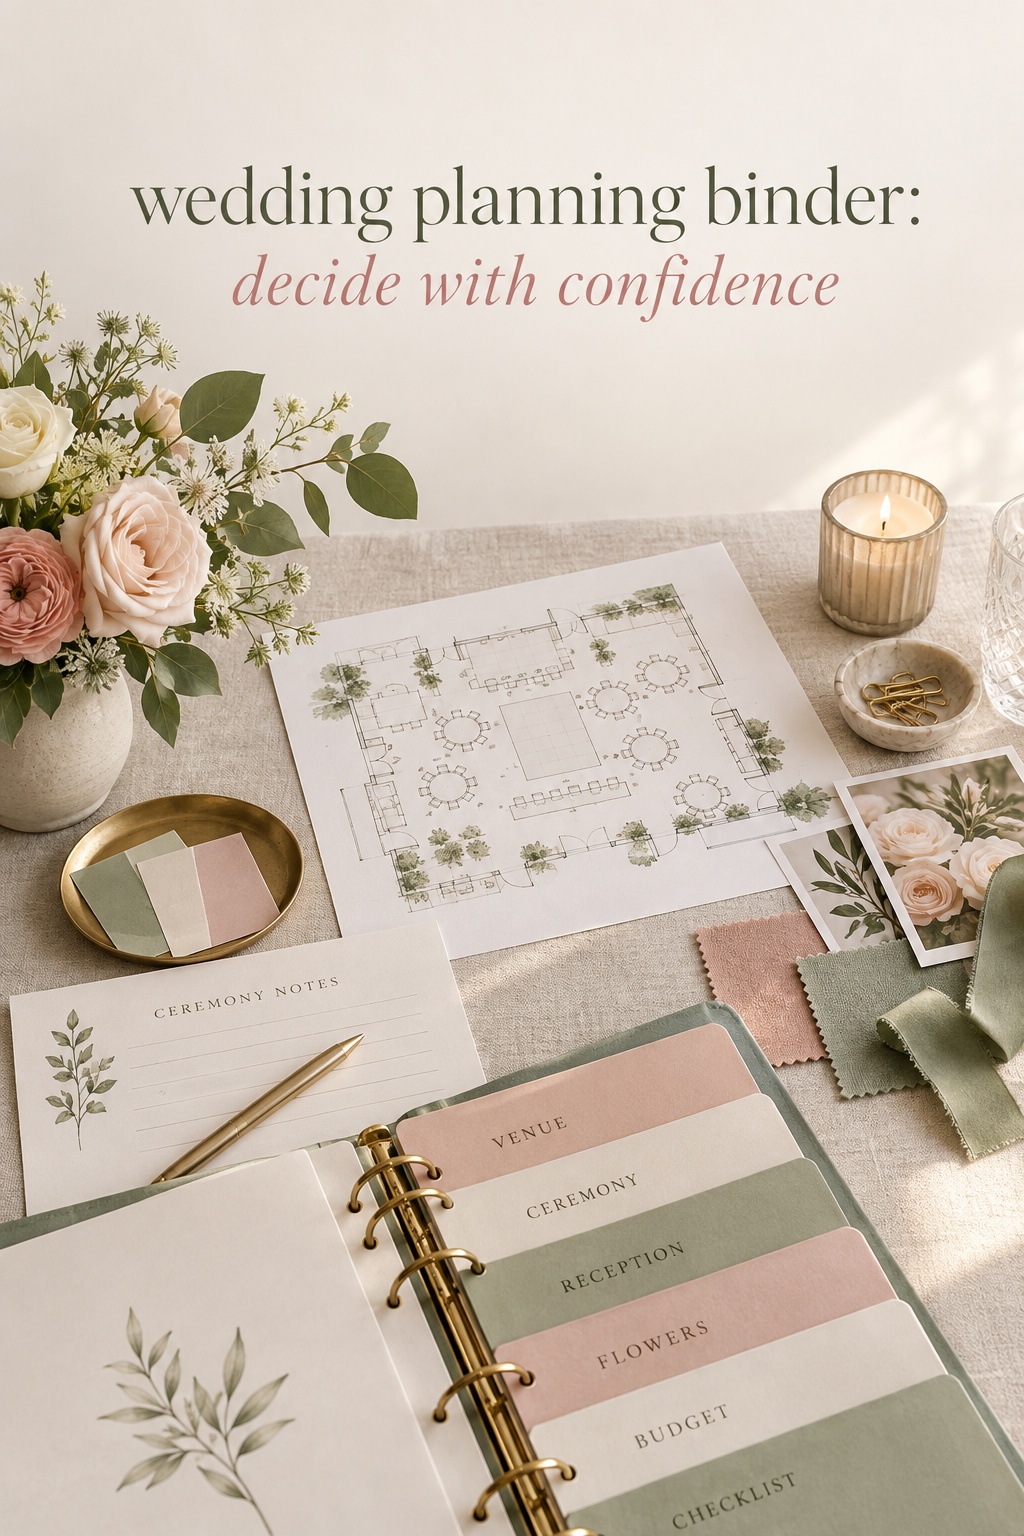
Use design and decor for approved direction. Include color references, fabric or paper samples, rental notes, floral priorities, lighting ideas, signage wording, and a list of items you already own. Put the decision beside the inspiration. “Approved for ceremony aisle” is more useful than a page of unlabelled photos.
Add dedicated tabs for attire, ceremony, reception, stationery, transportation, accommodations, and honeymoon only when the category has enough material to deserve its own home. Otherwise, group related topics. A slim binder with clear categories is easier to review than a thick binder with a divider for every possible wedding detail.
The Wedding Command Center can be useful as a planning resource when you need one place to coordinate tasks, decisions, and responsibilities. If you use it alongside a binder, decide which system is the live source for changing information. The binder should then hold the summaries and printouts that make meetings and handoffs easier, rather than duplicate every task.
Use the Binder With a Digital Master
A paper binder and a digital planning system solve different problems. Paper is calm, visible, and easy to discuss around a table. Digital files are searchable, shareable, and better for data that changes. Your system becomes much less stressful when each detail has one clear source of truth.
Keep the live guest list, budget calculations, RSVP status, vendor payment tracker, and master planning checklist in the digital system. These areas contain frequent edits, formulas, or information that several people may update. Use the binder for dated snapshots, meeting agendas, approved decisions, samples, and notes that benefit from physical review.
At the start of each planning month, review the digital master and replace outdated binder pages. Mark the new snapshot with the date and the initials of the person who prepared it. Remove old versions instead of stacking them behind the new page. If you need a history of changes, store it in a digital archive or a clearly labeled “previous versions” pocket.
Prepare for meetings with a short agenda. Place the agenda in the front pocket, then pull only the relevant pages forward. A venue meeting may need the floor plan, guest-count range, catering questions, and budget snapshot. A florist meeting may need the approved mood direction, ceremony priorities, reception table count, and delivery timing.
After every meeting, record decisions while they are fresh. Write what was agreed, who owns the next action, the due date, and where the final confirmation will be stored. If a vendor confirms something verbally, send a follow-up email and file the written response. Your binder can hold the note, but the written confirmation should remain easy to retrieve.
Use color carefully. One color can identify actions for you, another can identify actions for your partner, and a third can flag a deadline. Too many colors turn pages into visual noise. Consistent labels, dates, and page titles are more powerful than a complicated color code.
Protect private information. A binder may include budgets, phone numbers, addresses, travel details, and copies of contracts. Decide who can take it home and where it is stored. If you share digital files with family or vendors, give them access only to the pages or folders they need. Collaboration should not require exposing every planning detail.
Prepare a Separate Day-of Handoff
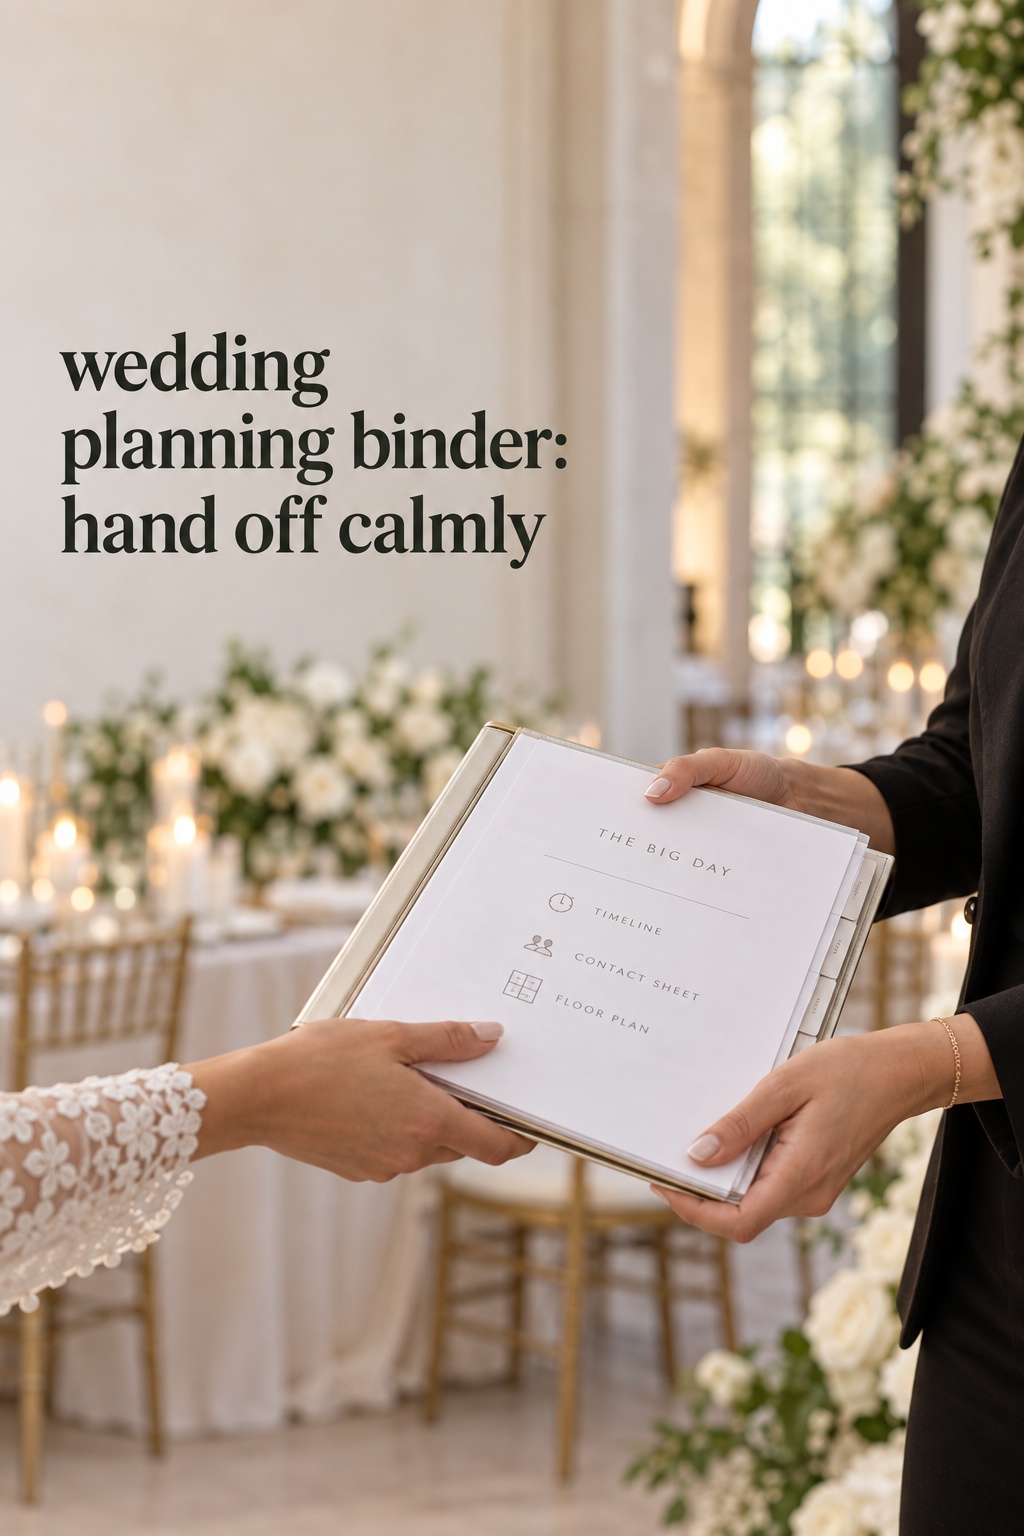
Your planning binder is for the engagement. Your day-of packet is for the people who will execute the plan while you are getting married. These tools overlap, but they should not be identical. The day-of packet needs concise, final information and clear responsibilities. It usually does not need your full budget, early vendor comparisons, or months of discarded inspiration.
Start the handoff with a one-page event overview. Include the date, venues, emergency contacts, planner or coordinator contact, transportation contact, guest-count estimate, and the location of the couple during key parts of the day. Add a note stating who is authorized to make decisions if an issue appears.
Include the final timeline with vendor arrival windows, setup responsibilities, ceremony cues, meal service, speeches, photography priorities, transportation departures, and cleanup. Add realistic buffer time. A timeline that assumes every transition is instant will create pressure even when the vendors are doing everything correctly.
Add a vendor contact sheet and a venue logistics page. Record loading instructions, parking, access codes, power needs, rental delivery, trash procedures, end-of-night responsibilities, and the person who receives personal items. If the venue has a preferred order of operations, include it. Practical details are often more valuable than another decor image.
Include final versions of the floor plan, seating chart, family photo list, ceremony order, music preferences, meal notes, allergy information, and special accessibility needs. If you have a do-not-play list, place it with the music information. If the wedding is outdoors, note the sunset time and the rain plan so the coordinator and photographer can work from the same assumptions.
Use labeled envelopes for tips, petty cash, rings, marriage-license logistics, or items that must be handed to a specific person. Do not put loose cash or legal originals into a binder that travels through many hands without assigning a responsible person. The handoff should clarify custody as well as timing.
Give the coordinator or trusted helper time to review the packet before the wedding week. Ask them to identify missing answers, unrealistic timing, and decisions that still depend on the couple. A calm handoff is a final planning meeting, not a last-minute delivery of a thick mystery folder.
Mistakes That Make a Wedding Binder Harder to Use
The first mistake is filing without a review rhythm. Even a beautiful binder becomes unreliable when pages are not dated or replaced. Schedule a short weekly planning check-in and a monthly binder reset. During the reset, remove outdated pages, update the dashboard, and move completed decisions into a final section.
The second mistake is treating Pinterest inspiration as a plan. Keep a small inspiration section, but give every page a purpose. Note the element you like, the part that may fit your event, the estimated cost, and the decision it supports. This turns scrolling into useful design research.
The third mistake is storing every paper because it feels safer. Excess paper hides the pages you need and makes meetings slower. Scan or photograph useful records, keep the final version, and recycle duplicates after checking that they are not the only proof of a payment or agreement.
The fourth mistake is allowing multiple people to edit the same paper system without a rule. Decide who owns updates to the budget, guest list, and timeline. Everyone can contribute notes, but one person should be responsible for transferring confirmed changes into the source of truth.
The final mistake is building the binder for appearance instead of access. Pretty dividers are welcome, but the real test is speed. Can your partner find the next payment date? Can your planner find the final floor plan? Can a parent see only the pages relevant to their task? If yes, the binder is doing its job.
FAQ
What should go in a wedding planning binder?
Include a planning dashboard, priorities, budget snapshots, guest-count information, vendor contacts, contract summaries, approved design direction, meeting notes, decision pages, and relevant event logistics. Keep originals of legal or irreplaceable documents somewhere secure, and use the binder for labeled copies when helpful.
How many sections should a wedding planning binder have?
Begin with six to eight sections, such as overview, priorities, budget, guests, vendors, contracts, design, and event details. Add separate tabs for attire, ceremony, reception, transportation, or honeymoon only when the material becomes substantial. Fewer clear sections are easier to maintain than many empty ones.
Should a wedding binder be digital or physical?
A combined system is usually the most practical. Use a digital master for changing data such as RSVPs, formulas, payments, and shared task ownership. Use the physical binder for dated snapshots, samples, meeting agendas, approved decisions, and handoff materials that are easier to review on paper.
When should I start a wedding planning binder?
Start as soon as you have a date or a short list of active planning decisions. The early version can be small, with an overview, budget, guest estimate, venue notes, and a next-actions page. Add sections as you book vendors and make decisions instead of printing every possible worksheet at the beginning.
What belongs in a day-of wedding binder?
A day-of binder should contain final contacts, the event overview, a realistic timeline, venue logistics, floor plan, seating chart, family photo list, ceremony order, music notes, meal and accessibility details, rain-plan information, cleanup responsibilities, and clearly assigned custody of personal items or payments.
How do I keep a wedding planning binder organized?
Date important pages, keep one digital source for changing information, remove outdated printouts, and review the binder weekly or monthly. Put meeting materials in the front pocket before an appointment and file decisions afterward. A consistent update habit matters more than the binder’s size or decoration.
Leave a Reply