
Getting engaged can make the future feel wonderfully clear for about five minutes. Then the questions arrive: What should we do first? How much can we spend? When should we book the venue? Do we need a planner? A search for a step by step wedding planning guide is often a sign that you do not need more inspiration. You need an order of operations.
The good news is that wedding planning becomes much easier when each decision unlocks the next one. You do not need to choose napkin colors before you know the guest-count range. You do not need to compare every photographer before you have a date and venue region. This guide gives you a practical sequence, explains why the sequence works, and shows what to do when your timeline, budget, or energy changes.

Think of the process as a series of planning gates. At each gate, make only the decisions that control what comes after it. Keep one shared planning document, assign an owner to every open task, and protect one weekly planning session. A wedding can be personal and beautiful without becoming a second full-time job.
First, stop planning everything at once
The most common planning friction is not a lack of ideas. It is too many open decisions competing for attention. Couples save venues, dresses, flowers, stationery, playlists, and ceremony readings at the same time, then feel behind because none of those ideas has become a decision. The solution is to separate collecting from choosing.
Create one simple planning hub before you research another vendor. It can be a spreadsheet, a shared document, or a dedicated planning system. Give it sections for budget, guest list, venue, vendors, design, guest communication, timeline, and questions. Every link, quote, contract, and decision should have one home. If a family member sends a recommendation in a text message, move the useful information into the hub so it does not disappear.
Next, sort every task into three categories: decide, research, or later. Decide means the choice controls other work, such as a budget limit or guest-count range. Research means you need facts before choosing, such as venue capacity or vendor availability. Later means the choice matters but cannot improve the next decision. This small sort prevents a low-impact detail from stealing time from a high-impact question.
- Decide: priorities, budget boundaries, guest-count range, date flexibility, and location.
- Research: venues, contracts, vendor availability, travel needs, and legal requirements.
- Later: small decor details, favors, signage wording, and final playlist edits.
Finally, set a weekly rhythm. Use one meeting to make decisions, update the budget, assign follow-ups, and close old browser tabs. Keep the rest of the week for normal life. If you use a planning tool such as The Wedding Command Center, treat it as the place where your decisions, deadlines, and responsibilities stay visible. The point is not to create more administration. It is to make the plan easier for both partners to share.
Step 1: Set the decisions that control the budget
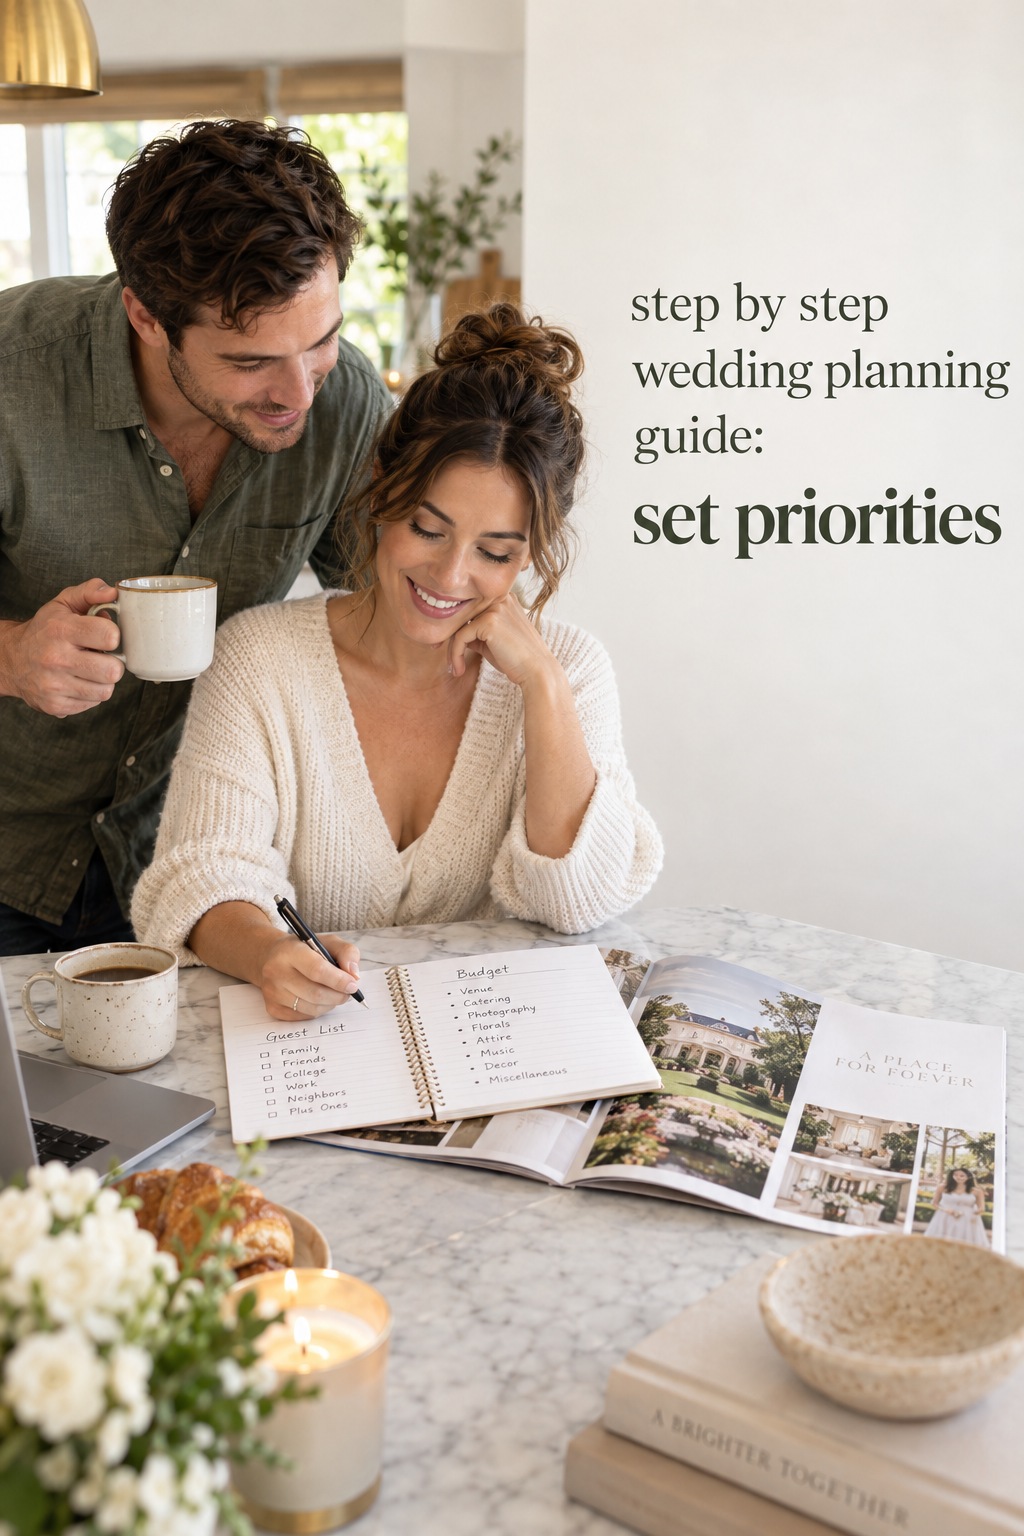
Before contacting venues, agree on what the celebration must feel like. Use three short lists: our must-haves, our nice-to-haves, and our not-for-us items. A must-have might be a specific city, a relaxed dinner, live music, or space for a cultural tradition. A nice-to-have can happen if the budget and venue support it. A not-for-us item saves time by ending research that was never a fit.
Now define the financial boundary. Write down the total amount you can responsibly use, who may contribute, when contributions will arrive, and what happens if a contribution changes. Do not treat an unconfirmed promise as available money. A clear budget is not a prediction of every final invoice. It is a decision tool that tells you which choices are safe to explore.
Use ranges at the beginning. Estimate a comfortable guest-count range rather than pretending you know the final number. Create broad categories for venue and food, photography and video, attire, florals and decor, music, stationery, transportation, beauty, ceremony needs, lodging, and a reserve for surprises. The exact categories will change, but the act of naming them exposes trade-offs early.
Guest count is one of the strongest budget controls, so build a first-pass list before falling in love with a venue. You do not need a perfect seating plan. You need a realistic conversation about immediate family, close friends, work connections, children, plus-ones, and guests who may travel from far away. Note where the list is firm and where it is still flexible.
Choose a planning horizon without treating it as a deadline for perfection. A longer engagement gives you more availability and time to save. A shorter one can work when you make decisions quickly and accept that some choices will be simpler. If your date is flexible, list three acceptable seasons or date windows. Flexibility can help with availability, but only use it if both partners genuinely agree.
At this stage, make a one-page decision brief. Include the approximate guest count, total budget boundary, preferred location, date flexibility, three must-haves, three items you will not prioritize, and the person responsible for each next conversation. This brief becomes a filter for every proposal. If a venue looks beautiful but fails a must-have, it is not a near miss. It is useful information.

Step 2: Lock the date, venue, and major vendors
The venue is not just a backdrop. It affects capacity, catering, ceremony flow, rental needs, travel, weather plans, setup time, and the type of vendors you can hire. That is why venue research belongs before most detailed design decisions. Ask for the complete pricing and rules, not only the attractive starting rate.
For every venue, compare the same questions: What is included? What is required? Which dates are available? Is there a preferred vendor list? Can outside catering come in? What are the payment dates and cancellation terms? How long do you have access to the space? Where do guests park or stay? What is the rain plan? Who manages the room flip, cleanup, and end-of-night departure?
Read the contract before treating a venue as chosen. Put every deposit, deadline, restriction, and open question into your planning hub. If a clause is unclear, ask for an explanation in writing. This is also the moment to identify insurance or permit questions that depend on the venue and location. For legal or local requirements, confirm details with the appropriate local authority rather than relying on a generic checklist.
Once the venue and date are secure, book the vendors whose availability controls the experience. Priorities often include photography, music, catering if it is separate, planning or coordination support, and any specialist service tied to your ceremony or cultural traditions. The exact order depends on your celebration, but the principle is consistent: secure the scarce, high-impact resources before fine-tuning the look.
- Ask each vendor for a complete proposal, service scope, payment schedule, and cancellation terms.
- Confirm who will actually be present on the wedding day and who is your point of contact.
- Record arrival time, setup needs, meal requirements, power needs, and venue restrictions.
- Compare proposals against the same priorities instead of comparing only the headline price.
If you are considering a planner, decide what kind of help would remove the most friction. Full planning supports the whole process. Partial planning helps with selected decisions. Month-of or day-of coordination focuses on execution and handoff. A planner cannot replace every decision, but the right support can protect your time, clarify vendor communication, and give you a realistic view of what remains.
Keep the design conversation connected to the venue. Save inspiration that reflects the light, architecture, season, and guest experience you actually have. A mood board should help you communicate a direction, not pressure you to reproduce a staged photo. Choose a few visual words, such as warm, garden-inspired, modern, or understated, then let those words guide later choices.
Step 3: Build the guest experience and design details
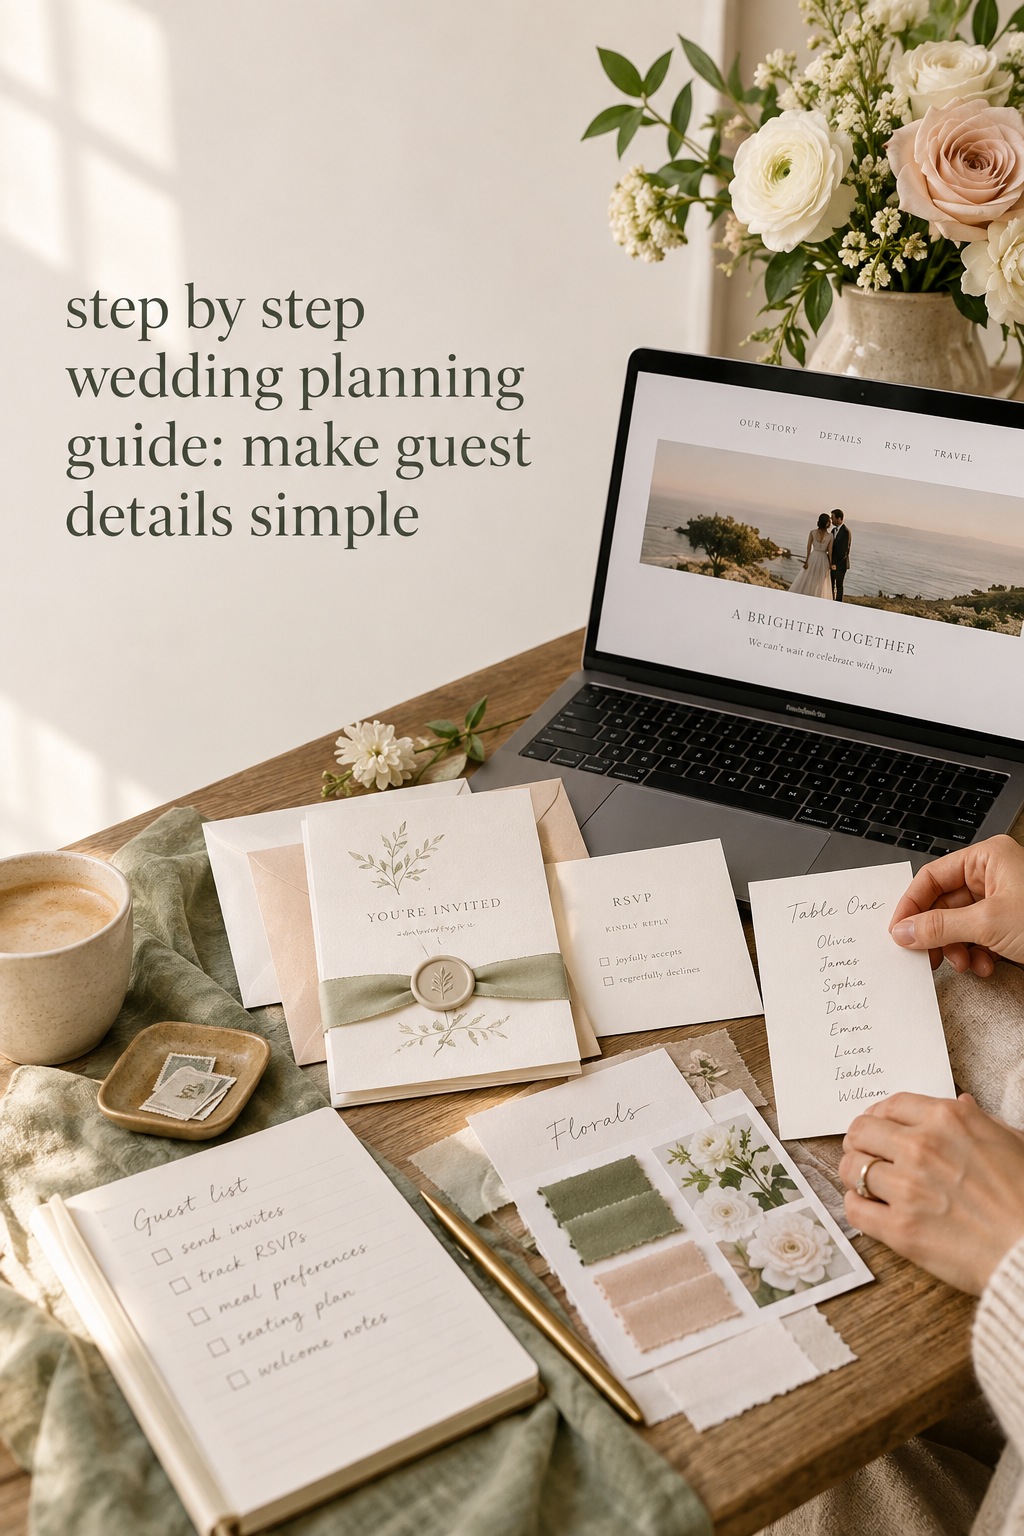
After the foundational bookings are complete, shift from private decisions to guest-facing communication. Create a guest list that shows names, household groupings, mailing details, invitation status, RSVP status, meal information, accessibility notes, and travel considerations. Keep a record of who owns each update. One accurate list is safer than several partial versions.
Decide how guests will receive information. A wedding website can hold travel notes, schedule details, dress guidance, registry information, and updates that would otherwise be repeated in messages. Your invitation and website should agree on the basics. If information changes, update the central source first, then tell guests where to find the new version.
Plan the ceremony and reception as a sequence of experiences. Consider how guests arrive, where they wait, what they need to know, how the ceremony transitions, when food is served, how speeches are paced, and where older guests or children may need comfort. These decisions are more useful than collecting isolated decor ideas because they reveal what the room and timeline need to support.
Then work through attire, beauty, flowers, rentals, stationery, signage, cake, favors, and personal details. Give each category a purpose. Attire should support comfort and movement. Flowers should support the ceremony and tables that guests actually see. Signage should answer a question. A favor should be meaningful or useful, not simply another item to transport.
Use decision deadlines instead of vague reminders. “Choose invitations” is difficult to act on. “Compare three invitation suites, confirm wording, and approve the proof by Thursday” is clear. Break any task that takes more than one session into a result, an owner, a due date, and the next action. This keeps a large wedding from becoming a cloud of unfinished intentions.
Review the plan with the people who will execute it. Ask your photographer where family photos should happen. Ask the caterer how service affects speeches. Ask the venue when vendors may enter. Ask the coordinator which decisions must be complete before the final month. The best planning documents are built from these connections, not from isolated lists.
Step 4: Turn the plan into a final-month operating system
The final month is not the time to reinvent the wedding. It is the time to close loops. Confirm guest responses, finalize the seating approach, approve production details, share the latest timeline, verify balances, and identify who answers questions while you get ready. If a task is still undecided, choose the simplest option that protects the guest experience and your priorities.
Create a final vendor contact sheet with names, phone numbers, arrival times, responsibilities, balances, special instructions, and emergency contacts. Send one current version to the coordinator or designated point person. Do not make the couple the only communication channel. Your wedding day should not depend on you answering every text while getting dressed.
Build the wedding-day timeline from the fixed points backward. Start with the ceremony or reception start, then add guest arrival, photography, getting ready, transportation, setup, meal service, speeches, dances, and departure. Add realistic buffers. A timeline that works only if every person is early and every transition is perfect is not a useful timeline.
- Four weeks out: close major guest and vendor questions, review contracts, and confirm the design order.
- Two weeks out: finalize the timeline, seating information, ceremony materials, and personal packing list.
- One week out: hand off documents, prepare payments and tips, confirm transportation, and protect rest.
- Wedding week: follow the handoff plan, solve only true decisions, and let the designated team manage routine questions.
If you are behind, do not start with guilt. Run a reset meeting. List every unfinished task, mark it essential, helpful, or optional, assign an owner, and give each essential task a next action. Remove optional items that add work without improving the guest experience. Contact vendors with a concise update rather than waiting until every detail is perfect.
If the budget changes, return to your must-haves. Protect what creates the experience you care about and simplify what guests will barely notice. If the guest count changes, revisit food, seating, rentals, invitations, and transportation together. If a vendor cancels, ask the venue, coordinator, and trusted network for replacements before searching randomly. A calm response is usually more valuable than a perfect first plan.
Common mistakes that make planning harder
Booking before confirming the budget is one of the costliest mistakes. A beautiful proposal can still be wrong if it creates pressure in every later category. Confirm the total boundary and payment timing before signing. Another common mistake is building the guest list after choosing a venue. Capacity changes the venue search, catering, rentals, and the feeling of the day.
Couples also lose time by assigning tasks without defining ownership. “We need to handle transportation” is not an assignment. “Jordan will request two quotes by Tuesday and add the best option to the budget” is. Shared responsibility is helpful, but shared vagueness leaves every task open.
Do not confuse a full inspiration board with a plan. Inspiration can show a direction, but it does not answer availability, cost, capacity, setup time, or guest comfort. Translate each favorite image into a practical question. What part matters? The color, the texture, the layout, the lighting, or the feeling? Then find an option that fits your real event.
Finally, avoid making the couple the help desk. Choose a coordinator, family contact, wedding party lead, or trusted friend to answer routine questions. Tell guests where current information lives. Protecting your attention is not selfish. It is part of making the plan work.
Sources and methodology
This guide was shaped by comparing current step-by-step wedding planning resources from US-facing wedding publications and planning services, including The Knot’s planning sequence and WeddingWire’s stress-reducing framework. The original contribution here is the decision-gate method: each stage is organized around the choices that control the next stage, with a reset process for couples who fall behind.

FAQ
What is the first step in wedding planning?
Start with a shared decision brief. Write down your approximate guest-count range, budget boundary, preferred location, date flexibility, must-haves, and items you will not prioritize. This gives you a filter before you contact venues or collect more inspiration.
How early should we start planning a wedding?
Start when you are ready to make the foundational decisions, not when you have every detail imagined. More time can provide more availability and saving flexibility, while a shorter engagement can work with a focused process. The realistic timeline depends on your date, location, guest count, and vendor availability.
Should we choose the venue or guest list first?
Work on them together. Create a realistic guest-count range before touring venues, then use venue capacity and cost to refine the list. Choosing either one in isolation can create expensive rework later.
Do we need a wedding planner?
Not every couple needs full planning support. Consider what is causing the most friction. Full planning helps with the entire process, partial planning supports selected decisions, and coordination support focuses on execution and vendor handoff. The useful question is which kind of help would protect your time and reduce risk.
What should we do if we are behind on planning?
Run a reset meeting. List all unfinished tasks, label each essential, helpful, or optional, assign one owner, and define the next action. Remove optional work that adds little value, then contact the venue and vendors about the remaining essential decisions. Progress comes from narrowing the list.
How can we keep wedding planning from taking over our lives?
Protect one weekly planning session, keep one source of truth, and stop researching when the session ends. Give each task an owner and deadline so decisions do not remain in your head. A clear handoff to a coordinator or trusted contact can also keep routine questions away from the couple.
When should we create the wedding-day timeline?
Build a working version after the venue and major vendors are booked, then finalize it during the last month. Start with fixed moments and work backward, adding travel, setup, photography, meals, speeches, and realistic buffers. Share the final version with the people who will execute it.
Leave a Reply