
Planning a wedding in 90 days is less about doing everything at once and more about making the right decisions in the right order. A short engagement can be exciting, focused, and deeply personal, but it leaves little room for waiting on replies, changing direction repeatedly, or treating every detail as equally urgent. This 3 month wedding planning checklist gives you a practical way to compare your options, protect your budget, and keep the final weeks calm.
Start by accepting one important reality: your date, guest count, venue, and budget affect almost every later choice. If one of those changes, the rest of the plan may need to change too. The goal is not to recreate a year-long wedding timeline in a quarter of the time. The goal is to create a celebration that fits the time, money, availability, and energy you actually have.
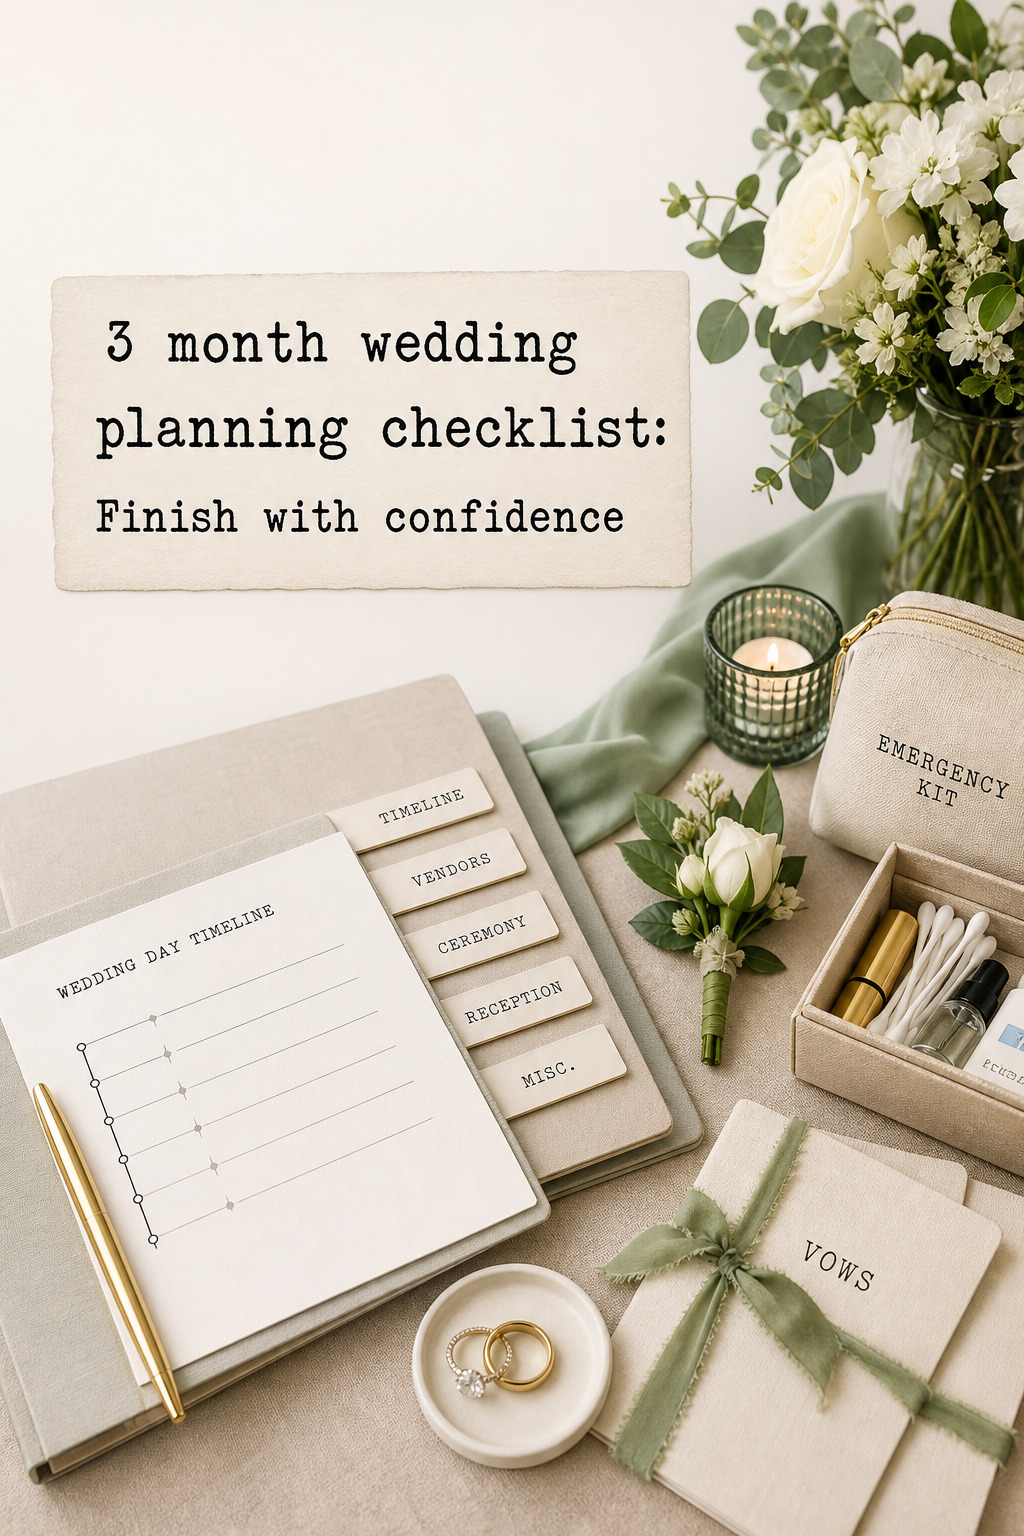
1. Make the four decisions that control the rest
Before you compare flowers, invitations, or signature cocktails, settle the four decisions that set the boundaries for your wedding. They are not separate boxes on a checklist. They are a connected decision system.
- Date: Choose a date that gives you realistic vendor availability. Consider a Friday, Sunday, weekday, or off-season date if a Saturday in peak season leaves you with too few options.
- Guest count: Create a working list before booking a venue. A smaller guest list can open more locations, lower catering costs, and make a short timeline easier to manage.
- Budget: Set a total ceiling, then reserve a contingency for rush fees, alterations, shipping, local taxes, and last-minute replacements. A fast plan needs breathing room.
- Format: Decide whether you want a ceremony and reception, an intimate dinner, a courthouse ceremony followed by a party, or another format that matches your priorities.
Compare options by asking which choice solves the most problems at once. An all-inclusive venue may reduce the number of contracts, rentals, and delivery windows you need to coordinate. A restaurant reception may simplify food, staffing, furniture, and cleanup. A smaller wedding may preserve your preferred photographer or allow you to spend more on the parts guests experience most.
Write down your non-negotiables and your flexible points. For example, you may want a certain ceremony setting and photographs with immediate family, while remaining flexible about the menu format, reception day, or floral variety. This list becomes a filter whenever a vendor is unavailable. It also prevents a rushed decision from turning into a series of expensive changes.
For a shared planning system, keep one current source of truth for the budget, guest list, vendor contacts, contracts, deadlines, and open questions. The Wedding Command Center can be useful here as a planning resource when you need one place to see what has been decided, what still needs an owner, and which deadline comes next. The benefit is not having another beautiful document. The benefit is reducing the number of places where an important detail can disappear.

2. Follow the 12-week checklist by priority
Weeks 12 to 10: lock the foundation
In the first two weeks, move quickly on the decisions that become harder to change later. Book the venue and confirm the date in writing. Set the guest-list range and draft the budget by category. Contact the officiant and ask about ceremony requirements. Check the marriage-license process for the county or state where you will marry, including appointment rules, identification, waiting periods, expiration dates, and whether witnesses are required. Legal details vary, so confirm them with the local clerk rather than relying on a generic timeline.
- Book the venue and clarify what is included: tables, chairs, staff, catering, bar, setup, cleanup, and rain backup.
- Secure the photographer and any videographer you consider essential.
- Choose the ceremony format and contact the officiant.
- Confirm the working guest count and collect current mailing addresses.
- Order or choose attire based on what can be delivered and altered in time.
- Decide whether a planner, coordinator, or trusted friend will own day-of questions.
When you contact vendors, send a concise brief with your date, location, guest estimate, service needs, and decision deadline. Ask for availability first, then request a proposal. You do not need to conduct a year-long research process. You do need to read the contract, understand payment dates, and confirm the cancellation or substitution policy before paying a deposit.
Weeks 9 to 8: confirm the guest experience
By week eight, your celebration should have a clear shape. Choose the caterer or final food plan, florist or décor approach, music, rentals, cake or dessert, transportation, and hair and makeup team. If a preferred vendor is booked, ask whether they can recommend a trusted colleague or associate. A good substitute is usually easier to find when you define the service you need instead of chasing one specific name.
- Send invitations as soon as the date, venue, and guest list are stable. Use a digital RSVP option if it saves time and remains appropriate for your guests.
- Set an RSVP deadline that gives the venue and caterer enough time to receive a final count. Tell guests how to ask accessibility, dietary, and travel questions.
- Choose the ceremony readings, music, processional order, and any meaningful cultural or family elements.
- Confirm the reception layout and identify guest-flow questions, such as where cards, coats, restrooms, and the bar will be located.
- Order rings, accessories, shoes, and any items with shipping or sizing risk.
This is also the right time to simplify. A short timeline is not the ideal moment for a custom stationery suite with several proof rounds, a complicated multi-location photo plan, or décor that depends on many separate deliveries. Choose details that create atmosphere without requiring constant supervision. Repeated materials, a limited color palette, and a small number of dependable floral moments can look intentional and make setup easier.
Weeks 7 to 5: turn decisions into a working plan
At this point, the question changes from “What should we choose?” to “How will this work on the day?” Confirm vendor arrival windows, setup responsibilities, meal timing, ceremony duration, transportation, and payment dates. Begin a simple wedding-day timeline, even if it is only a first draft. Ask the venue and photographer which timing constraints you should respect before promising a long portrait session or a late dinner.
Schedule attire fittings early enough to allow a correction. Bring the shoes and undergarments you plan to wear. Confirm when the wedding party’s outfits will arrive and who will collect them. If you are buying off the rack, leave time for tailoring. If an outfit cannot be obtained in time, choose an available alternative rather than building your plan around a shipment with no margin.
- Review the RSVP list weekly and follow up with guests who have not responded.
- Draft the seating plan, keeping accessibility, family dynamics, and meal requirements in mind.
- Confirm ceremony and reception décor, rentals, signage, and delivery locations.
- Choose the cake or dessert and confirm serving details.
- Plan transportation for the couple, wedding party, and guests who need it.
- Make a payment calendar with the amount, recipient, due date, and payment method for each vendor.
Divide the work by ownership, not by vague promises to help. One person can own guest communication, another can own vendor confirmations, and a trusted helper can own attire collection or décor pickup. Each task needs one accountable owner, one due date, and one place where completion is recorded. Both partners can review the whole plan, but no important task should belong to “whoever remembers.
Weeks 4 to 3: freeze the big choices
Four weeks out, stop adding major vendors unless a real gap has appeared. Confirm the final guest list, send the count to the caterer when required, and complete the first reliable seating chart. Ask every vendor for a written confirmation of the date, location, arrival time, service scope, balance due, and day-of contact. If the contract has a different contact than the person you have been emailing, identify who will actually answer questions on the wedding day.
Complete the legal checklist now. Confirm when you can apply for the marriage license and when it must be returned. Gather identification and any required documents. Confirm the officiant’s responsibilities and who will hold the license before and after the ceremony. These tasks are easy to overlook because they do not show up in photographs, but they are essential to the marriage process.
Use this period for a realistic final fitting, beauty trials if they are still useful, vow drafting, music selections, and family logistics. Make a list of items that will not be supplied by vendors: rings, license, vow books, guest book, favors, welcome sign, cake knife, emergency supplies, envelopes, and transportation payment. Assign every item to a person and a location.
Weeks 2 to 1: hand off the pressure
Two weeks before the wedding, aim to have the plan operational. Send the final timeline and contact sheet to vendors and the person managing day-of questions. Confirm the ceremony rehearsal, final payments, transportation, weather plan, and venue access. Pack décor and personal items in labeled containers. Keep a written inventory so someone else can return items after the celebration.
- Confirm final attire, shoes, accessories, rings, and personal vows.
- Share the seating chart, dietary notes, and timeline with the appropriate vendors.
- Prepare an emergency kit with pins, fashion tape, stain remover, pain relief, tissues, bandages, snacks, water, chargers, and basic sewing supplies.
- Confirm who collects gifts, cards, personal flowers, leftover cake, and important documents.
- Review the weather backup and communicate any change clearly.
- Protect one evening without planning tasks so you can arrive at the final week with energy.
In the final week, avoid redesigning the event. Reconfirm arrival times, finish packing, attend the rehearsal, settle approved balances, and keep meals and sleep as steady as possible. The best last-minute checklist is a short one because most decisions should already be closed. Give your coordinator or helper permission to solve small issues without asking you, unless the issue affects the ceremony, budget, safety, or guest experience.
3. Compare your options when time is tight
A three-month wedding plan requires trade-offs, but a trade-off is not automatically a compromise in quality. It is a choice about where to place your attention. Use the following comparisons when two options are both possible.
- Saturday versus flexible date: A weekday or Sunday may offer more availability and lower costs. Choose it if having your preferred venue or vendor matters more than a traditional day.
- Large guest list versus richer experience: A smaller list can make your preferred venue, menu, photography coverage, and guest attention possible. Keep the list larger only if attendance is the central priority.
- Full-service venue versus separate vendors: Bundled services reduce coordination. Separate vendors can give you more creative control, but they require more contracts, timing, and communication.
- Custom details versus dependable details: Choose custom work when it carries emotional meaning. Simplify details that require repeated proofs, uncertain shipping, or many setup steps.
- Planner versus self-management: A planner or coordinator is especially valuable when you have a complex venue, multiple locations, demanding family logistics, or little time available during the week.
When the budget is under pressure, protect the elements that affect comfort, timing, and memories. Food service, photography, accessible transportation, a reliable rain plan, and a person who can manage questions often have more practical value than additional decorative items. Ask what guests will notice and what will make the day easier for you to experience.
Keep a short “not now” list. It can include ideas you like but do not have the time or budget to execute safely. This is not a failure list. It is a way to keep good ideas from interrupting the plan you already chose. You can always revisit them for a shower, anniversary, post-wedding brunch, or future celebration.

4. Finish with a clean handoff
The final review should answer one question: if you stopped checking your phone on the wedding morning, would the right people know what to do? Create a compact handoff packet with the final timeline, vendor contacts, venue rules, floor plan, seating chart, meal notes, transportation details, payment reminders, weather plan, and inventory. Give it to the coordinator or day-of owner, not just to your wedding party chat.
Check every transition. Who opens the venue? Who receives deliveries? Who gives the photographer the family photo list? Who tells guests where to go? Who carries the rings? Who signs and returns the license? Who takes home the gifts? Who knows where the emergency kit is? These questions are more useful than another round of décor inspiration because they reveal the gaps that create stress.
A 3 month wedding planning checklist works best when it helps you decide what deserves action now, what can be delegated, what can be simplified, and what can be left out. You do not need a perfect version of a long engagement. You need a clear plan for the celebration you and your partner are genuinely able to host.

FAQ
Can you really plan a wedding in three months?
Yes, if you are willing to make focused decisions, remain flexible about dates and vendors, and simplify details that need long lead times. The most important early choices are the venue, date, guest count, budget, major vendors, attire, invitations, and legal requirements. A smaller or flexible-format wedding is usually easier to organize within 90 days.
What should be booked first for a three-month wedding?
Book the venue and confirm the date first, then secure the vendors that are most important to you, such as a photographer, caterer, officiant, florist, DJ, or coordinator. Their availability can determine the rest of the plan. Contact several suitable options at the same time and ask about substitutes when your first choice is unavailable.
When should invitations go out for a wedding in three months?
Send invitations as soon as the date, venue, and guest list are stable, even if that means using a simple design or digital RSVP. Set a response deadline that gives your venue and caterer enough time to receive the final count. Include travel, dress code, accessibility, and meal information so guests can respond without a long exchange of questions.
How do you handle a wedding dress with only three months to go?
Ask boutiques what is available for immediate purchase or rush ordering, and confirm alteration timelines before buying. Bring your shoes and planned undergarments to fittings. If a custom gown cannot be delivered and altered safely, consider an off-the-rack dress, sample gown, simpler style, or well-fitted alternative that is already available.
What legal steps belong on a 3 month wedding planning checklist?
Check the marriage-license requirements for the location where you will marry. Confirm application timing, identification, fees, waiting periods, expiration dates, witness rules, and how the completed license is returned. Ask your officiant and local clerk directly because requirements vary by jurisdiction and may change.
How can couples divide wedding planning work fairly?
Assign each task to one owner with a deadline and a shared place to record the result. Divide work according to time, confidence, and interest rather than assuming one person will manage everything. Review the whole plan together once a week, then let each owner complete their area without duplicating research or sending mixed instructions to vendors.
Leave a Reply