
A wedding planning sticky note board is most useful when it helps you decide what to do next. It does not need to hold every contract, guest address, budget figure, and inspiration photo. Give it one focused job: make the next pieces of work visible, movable, and easy to share.
This guide shows you how to set up a physical task board in one 90-minute planning session, write notes that lead to real actions, and use a short weekly reset to keep the board current. You will finish with a practical two-week view, not a wall covered in every idea you have ever collected.
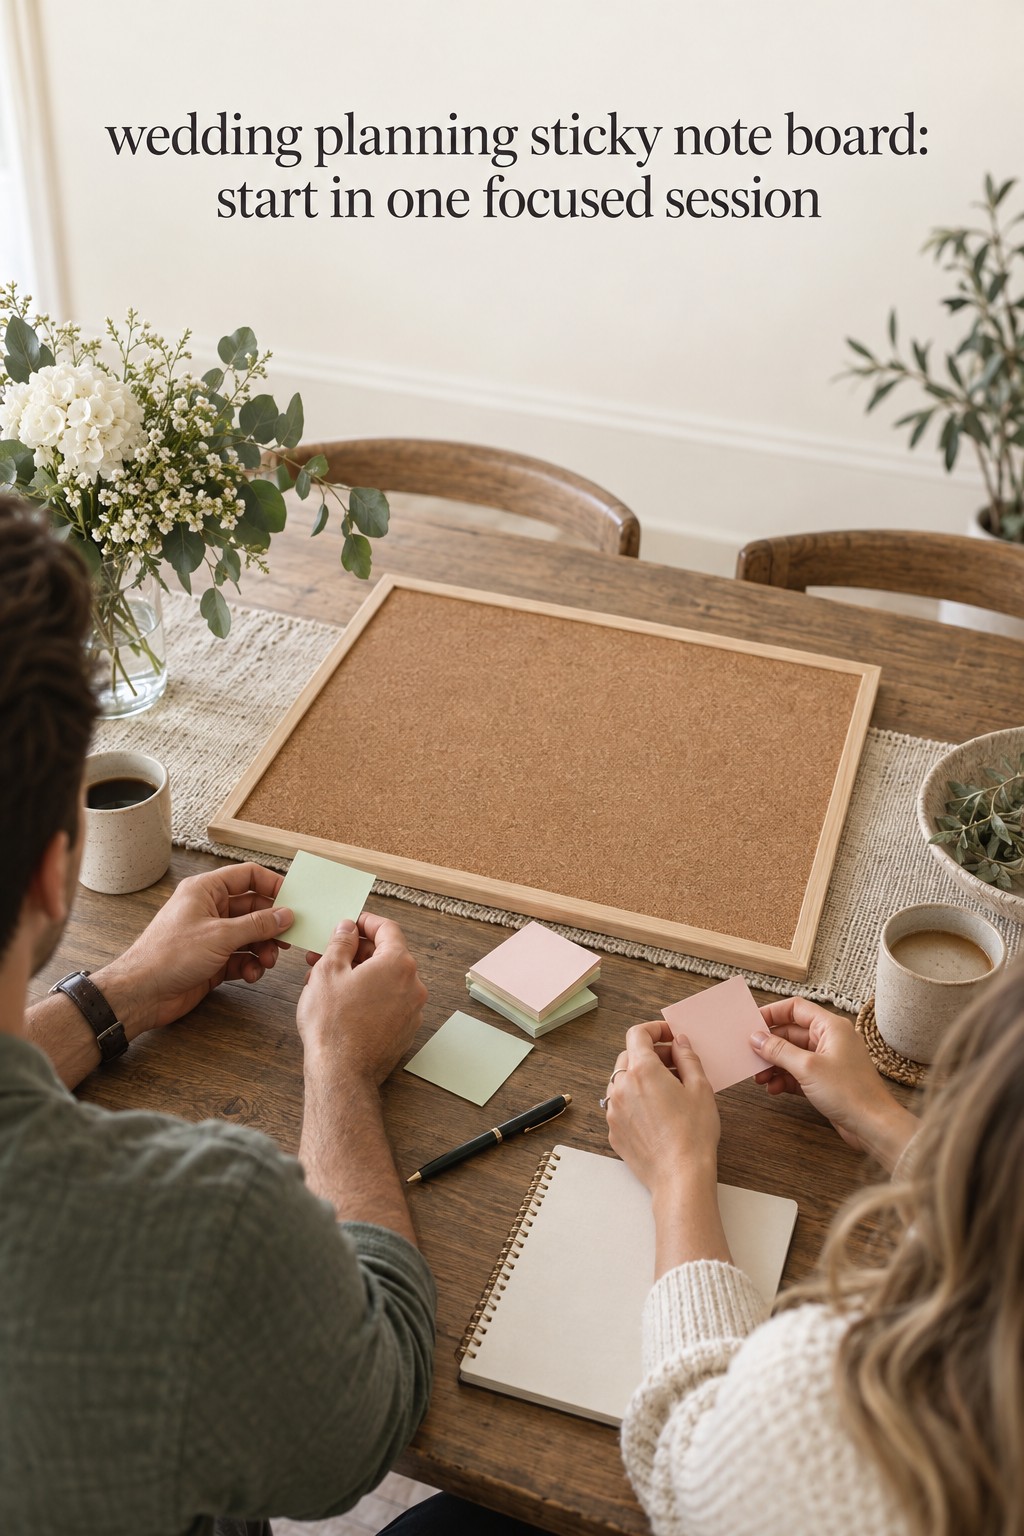
The approach works with a foam board, a magnetic surface, a large sheet of paper, or a wall where removable notes are safe to use. The exact material matters less than agreeing on what each area means and where confirmed information will live after the planning session.
Set up a wedding planning sticky note board in one focused session
Before you gather supplies, agree on the problem the board should solve. Perhaps one partner cannot see what has already been decided. Perhaps tasks are scattered across texts and notebooks. Perhaps a venue decision is holding up invitations, rentals, and travel information. Write that problem at the top of your planning page. It will help you decide what belongs on the board and what can stay elsewhere.
Gather a surface large enough to show a few columns, sticky notes in one or two sizes, a dark pen, removable tape, and a phone for taking a record of the finished session. You can use different note colors, but you do not need one color for every wedding category. Start with a color for ordinary tasks and a second color for items that are waiting on someone else. Add more only if the board remains easy to read.
Set a timer and use this 90-minute agenda. It keeps the session short enough to finish while giving you time to sort the work before you decorate the board.
- Minutes 0 to 10: Set the boundary. Name the board’s purpose, choose the next two weeks as the active planning window, and decide who will maintain the notes. Put contracts, payment details, private guest data, and long-term reference material somewhere else.
- Minutes 10 to 25: Empty your heads. Each partner writes down wedding tasks, questions, and decisions they are currently carrying. Use one note for each separate item. Keep the writing quick and do not debate priorities yet.
- Minutes 25 to 40: Group similar notes. Place related tasks near one another, such as venue, guests, vendors, attire, ceremony, or reception. Combine duplicates, but keep separate actions separate. A vendor inquiry and a signed contract are different tasks.
- Minutes 40 to 55: Find the order. Ask what must happen first, what can happen at the same time, and what is waiting on a reply. Mark a dependency with a small arrow or a short note, such as “after venue confirms ceremony time.”
- Minutes 55 to 70: Draw the board. Create the workflow columns described below. Put unplanned possibilities in a parking area, not in the active work columns.
- Minutes 70 to 85: Choose the next work. Pick a small number of tasks that fit the next two weeks. Give each one an owner and a realistic timing cue. Move only those notes into the ready column.
- Minutes 85 to 90: Capture the result. Photograph the board for reference, transfer real appointments to the calendar, and record any confirmed decision in the shared planning file that you use as the source of truth.
If you are planning with a professional, family members, or a wedding party helper, invite them only for the parts where their perspective or responsibility matters. The couple should still decide who owns the board and which records are official. A crowded kickoff can create more discussion than the board can hold.
Keep the top of the board simple. Write the wedding date or target season, the active two-week window, and the names or initials of the people using the board. Add a small legend for any symbols or colors. A visitor should be able to understand the layout without asking you to translate it.
Do not spend the first session choosing decorative lettering or buying a perfect set of supplies. A plain, readable board makes it easier to notice whether the structure works. You can change the layout after a couple of weekly reviews, once you know which kinds of decisions keep getting lost.
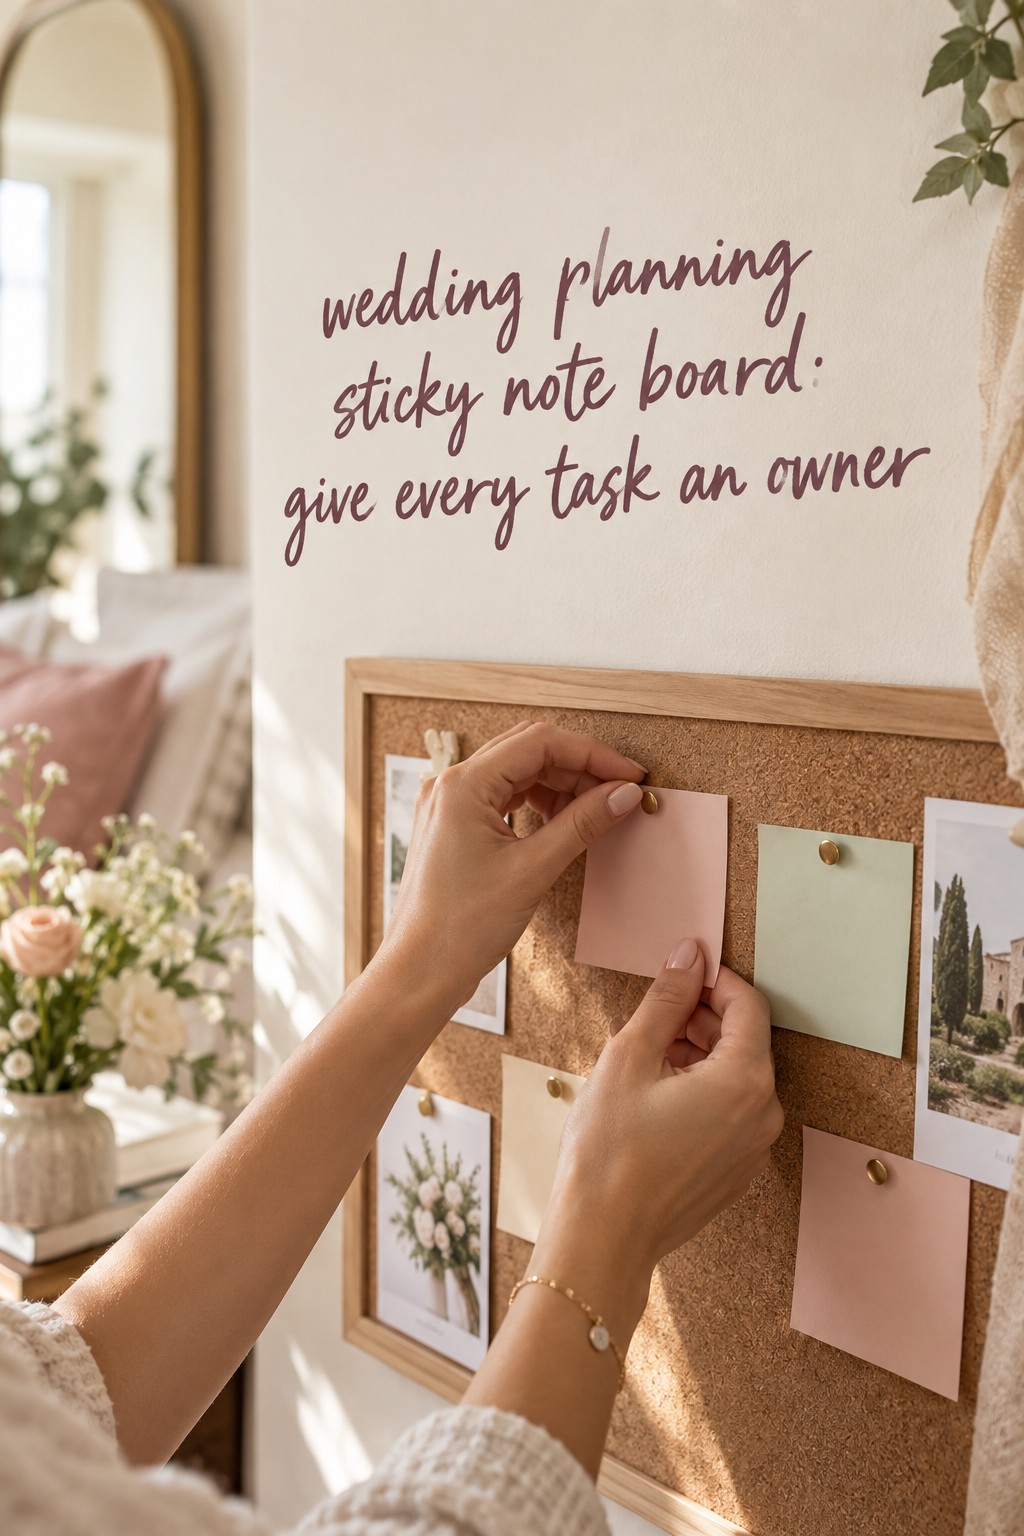
Write sticky notes that lead to a clear next action
A note should describe one piece of work that someone can start and finish. Begin with a verb, name the outcome, and add an owner. If timing matters, include a due date or a date to review the item. If another choice must happen first, record that dependency in a few words.
For example, “photographer” is a topic, not a task. “Email three photographers to confirm availability for our date” gives the owner a clear action and a useful result. “Cake” is too vague. “Choose two cake flavor options for the tasting” is specific enough to move. “Figure out invitations” can become “Approve invitation wording after the ceremony time is confirmed.”
Try this compact formula: verb + outcome | owner | timing | waiting on. You do not need every field on every note. A note for a shared decision may say “Choose ceremony start time | both | Sunday check-in.” A waiting note may say “Confirm rental delivery window | Sam | follow up Friday | venue reply.” Use names, initials, or a small owner key, as long as everyone understands it.
Make the note small enough to move, but do not cram the explanation onto it. Put supporting details in a planning file and write a short reference on the note, such as “compare tab” or “see venue email.” A sticky note should tell you what to do next, not replace the contract, quote, schedule, or contact record.
- Too broad: “Plan reception.” More useful: “Ask the venue which table layouts fit 90 guests.”
- Too broad: “Sort guest list.” More useful: “Ask both families to review their address gaps by next Sunday.”
- Too broad: “Flowers.” More useful: “Send the florist our approved palette and ceremony priorities.”
- Too broad: “Marriage license.” More useful: “Check the official county instructions and add the application window to our calendar.”
Break a task into smaller notes when different people can act independently or when one result unlocks another. “Book the venue” might split into “shortlist three venues,” “ask each about date availability,” “compare total package details,” and “review the agreement together.” Do not split a task so far that the board becomes a record of tiny motions. If the next step is obvious and one person can complete it in one sitting, one note is usually enough.
A timing cue is not always a hard deadline. Use an actual date when a contract, vendor, guest communication, or appointment requires one. Use “this week” or “next review” when you are setting a planning intention. If you are not sure when something is due, assign someone to verify the date rather than guessing. A board should make uncertainty visible instead of turning it into a false commitment.
Color can help you scan the board, but color alone is not a reliable label. A partner may not remember that green means vendor and blue means personal. Put the owner’s initials or a short category word on the note too. For accessibility and readability, use strong dark writing and avoid relying on subtle color differences to communicate urgency or responsibility.
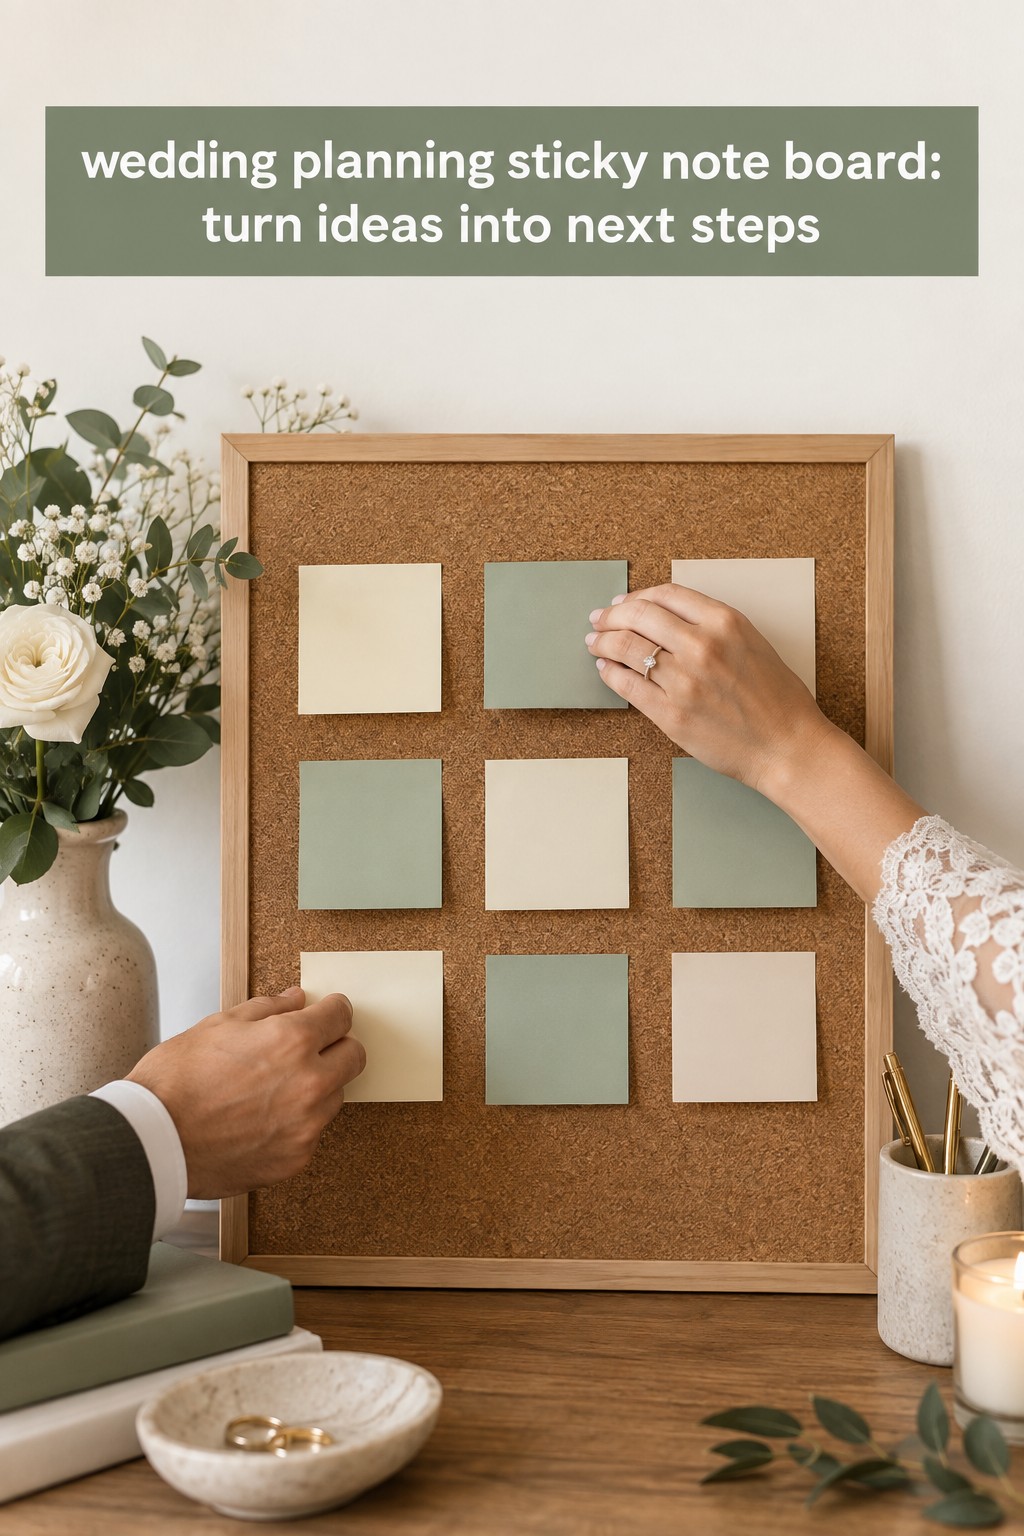
Choose columns that show the work moving
Wedding categories help you find a task, while workflow columns help you see what is happening to it. You can group tasks with small labels such as “venue” or “guests” and still move each note across the same simple process. Try these areas as a starting point:
- Parking lot: ideas, questions, and future tasks that you have captured but are not committing to this week.
- Ready: tasks that have enough information, a clear owner, and a next step.
- In progress: tasks someone has actually started.
- Waiting: tasks paused for a reply, approval, document, or earlier decision. Add who or what you are waiting for and when to follow up.
- Done or decided: completed work and choices that should not be reopened without a reason. Move older notes to an archive or remove them after the result is recorded.
Keep the “in progress” area small. If every interesting task moves into it, the board stops showing what you can realistically finish. The current Kanban Guide describes workflow states and explicitly controlling work that has started but is not finished. You can apply that idea simply by agreeing how many active notes the couple can carry at once, then selecting another task when one leaves the active area. See the [Kanban Guide’s workflow and work-in-progress practices](https://kanbanguides.org/the-kanban-guide/).
For two partners with different schedules, begin with a limit of two active notes per person, or choose one active note each. This is a planning agreement, not a universal productivity rule. Adjust it if your tasks are short, if a planner is coordinating work, or if both partners are waiting on outside replies. The important part is that “in progress” means work has started, not that someone is vaguely thinking about it.
Here is one example for a couple who has booked a venue and is planning the next two weeks. In the parking lot are “look at ceremony programs” and “compare welcome bag ideas.” Ready holds “send guest-count range to the caterer,” assigned to one partner, and “shortlist three photographers,” assigned to the other. In progress holds “review the venue floor plan together.” Waiting holds “ask the venue to confirm when the room is available for setup.” Done holds “sign venue agreement,” with the final agreement stored in the couple’s records.
That arrangement shows both the work and its constraints. The floor-plan review may help the couple ask better catering or rental questions. The setup window is waiting on the venue, so the board shows why the rental schedule is not yet final. The invitation design does not need to move into active work if the ceremony time and address are still undecided.
Use arrows only for important dependencies. If one task depends on another, add a short phrase to the note or draw a light line between them. Avoid connecting every note to every other note. For example, “choose ceremony time” may come before “approve invitation wording,” while choosing a cake flavor probably does not need to wait for a final seating chart. When a dependency changes, update the note so people know what has become possible.
Some couples prefer time bands such as “this week,” “next two weeks,” and “later.” That can work when the main challenge is deciding when to do things rather than tracking status. If you use time bands, keep a separate waiting mark and do not treat “later” as a permanent storage area. Review it regularly and move only a few tasks into the active window.
The [Post-it wedding planning guide](https://www.post-it.com/3M/en_US/post-it/ideas/articles/wedding-planning/) recommends organizing planning topics and marking decisions that need attention sooner. The board in this guide adapts that basic prioritizing idea into a movable workflow. Keep categories visible when they help, but let the status of the work determine where each note sits.
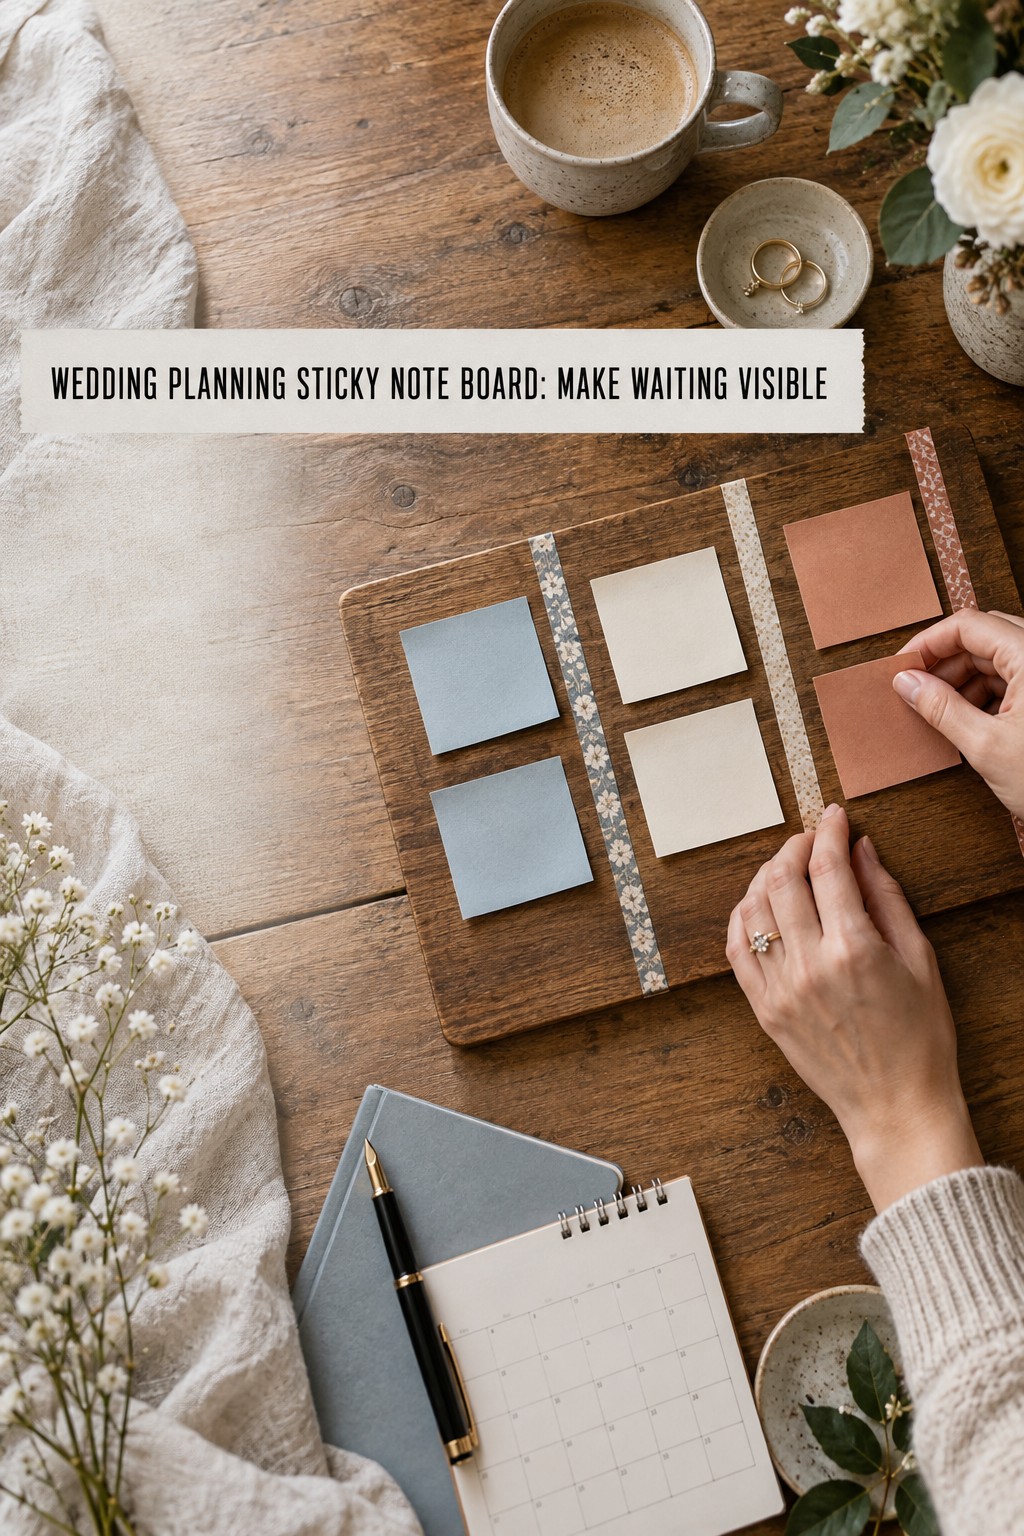
Keep the board current without making it the master record
A physical board is visible and easy to rearrange, but it is not the right place for every kind of information. Use the board to surface actions, ownership, dependencies, and near-term attention. Put changing or sensitive records in the system where they can be updated, protected, and found later.
- Calendar: appointments, payment dates, vendor deadlines, RSVP dates, and events that require a reminder.
- Budget file: estimates, actual amounts, deposits, balances, and payment confirmations.
- Guest record: names, addresses, meal choices, accessibility needs, and RSVP status.
- Vendor folder: proposals, contact details, contracts, written confirmations, and final versions.
- Decision log: the confirmed choice, date, people involved, and a short reason when you may need the context later.
When a task moves to done, record the result before removing its note. “Venue selected” is not enough if you still need the signed agreement, final payment schedule, or setup rules. Add the confirmed information to the right record, then move the note to done or archive it. This simple habit prevents a satisfying board clean-up from erasing a detail the couple will need later.
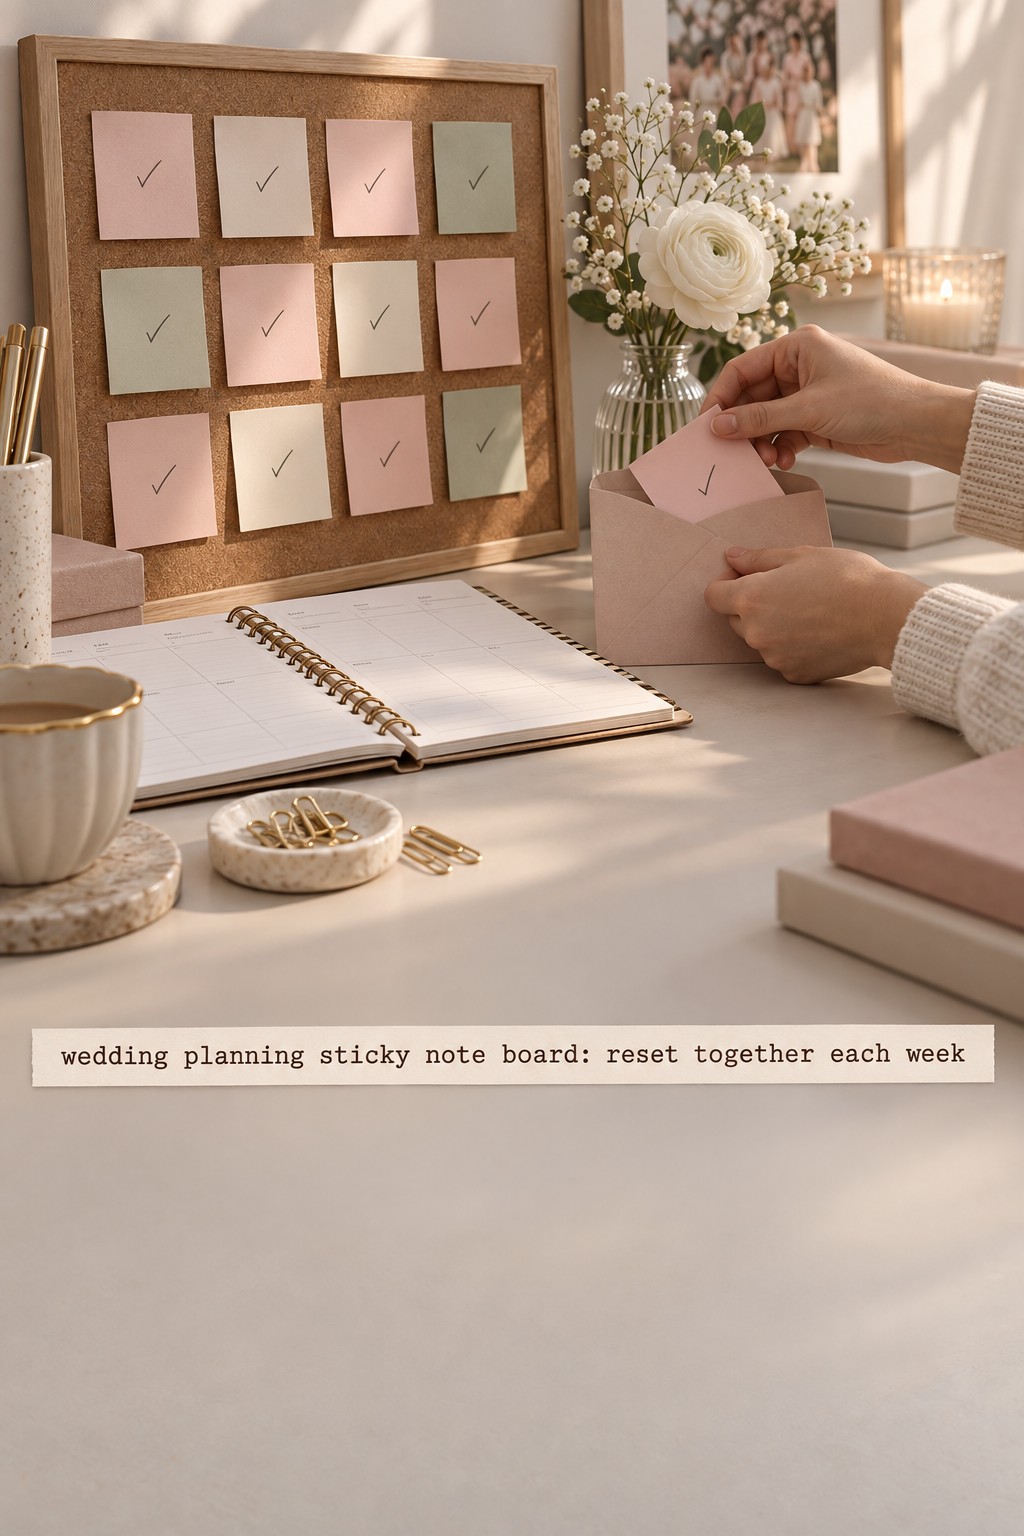
Schedule a 15-minute weekly reset. First, move completed notes after recording their outcomes. Second, check every waiting note and set a follow-up date. Third, review the next two weeks of the calendar and add only the tasks that support a real deadline or decision. Fourth, confirm owners and remove tasks that no longer matter. Finally, choose the next small set of ready work.
If a note has stayed in progress for two reviews, ask what is stopping it. The task may be too large, the owner may not have time, or the couple may be waiting on a decision that has not been written down. Split the task, change the owner by agreement, or move it to waiting with a clear next check-in. Do not leave stale notes in an active column simply because moving them feels like admitting that plans changed.
At the end of each month, decide whether the board still helps. You might keep it for the final vendor bookings and invitations, reduce it to a short current-actions view, or retire it after the important work moves into a digital or paper system that suits the next phase. If you move to a shared digital planning home, choose one official place for changing tasks and dates. The Wedding Command Center may be a useful planning resource if you want a dedicated home for details after this paper session. Avoid maintaining two competing versions of the same task list.
Protect the board’s location and what it displays. Do not post full guest addresses, payment numbers, private health details, or contract pages in a public area of the home. A note can say “confirm meal accommodations with guests” without showing anyone’s private information. If you photograph the board, store the image somewhere that only the people who need it can access.
A useful wedding planning sticky note board should get clearer as decisions are made. The parking lot can stay full of possibilities, but the active columns should remain short enough to review at a glance. If the board becomes a second master checklist, narrow its purpose again. A good reset leaves you knowing what is moving, what is waiting, and where the final details are recorded.
Sources and methodology
This guide combines wedding-specific examples of physical boards with a simple workflow structure. The official Post-it wedding-planning article describes organizing topics and flagging urgent decisions. The Kanban Guide explains making workflow states visible and controlling started work. The 90-minute agenda, note formula, and sample couple board are original practical adaptations for wedding planning; they are not presented as tested outcomes or a guaranteed method.
FAQ
What should go on a wedding planning sticky note board?
Put near-term tasks, open decisions, owners, dependencies, and items waiting on a reply. Keep contracts, private guest details, payment records, and inspiration archives in their appropriate files. Use the board to make the next action visible rather than to store every wedding detail.
How do you organize wedding planning sticky notes?
Use columns that show the work moving, such as Parking Lot, Ready, In Progress, Waiting, and Done. Add small category labels if they help you locate tasks. Write one clear action per note and include an owner plus a timing cue when either will help the task move.
What should I write on each wedding planning sticky note?
Start with a verb and a specific outcome, such as “ask the venue to confirm setup access.” Add an owner and a date or review window if useful. If another decision must happen first, write the dependency on the note so nobody mistakes a blocked task for forgotten work.
How many tasks should be in progress on the board?
Agree on a small limit that matches the couple’s actual time. One or two active notes per person is a reasonable place to begin, but it is a planning choice rather than a universal rule. If the column fills, finish or unblock current work before moving more tasks into it.
Should a wedding planning board use colors?
Colors are optional. A small number can help distinguish owners or waiting tasks, but write a word or initials too so the meaning does not depend on memory or color perception. Clear note wording and a simple legend matter more than a large color system.
How often should we update a sticky note board?
Hold a brief weekly reset to move finished work, follow up on waiting items, check the next two weeks of dates, and choose the next ready tasks. Update it sooner when a meaningful decision or deadline changes. Record confirmed information in its official calendar or file before removing the note.
Can a sticky note board replace a wedding planning spreadsheet?
A board can make actions and dependencies visible, while a spreadsheet or shared file can hold changing calculations and detailed records. Many couples use the board for near-term coordination and keep the budget, guest list, payment dates, and vendor documents in a separate source of truth. Choose one place for each kind of information.
Leave a Reply