
A good planning wedding timeline should make your next decision obvious. It should not make you feel as if you have been handed a second full-time job.
A good planning wedding timeline should make your next decision obvious. It should not make you feel as if you have been handed a second full-time job. The most useful version is a flexible sequence that shows what depends on what, where you need breathing room, and which details can wait until the big decisions are settled.

This guide assumes roughly twelve months between engagement and celebration, but the order is more important than the calendar labels. If you have six months, three months, or an open-ended date, use the same priorities and compress the spaces between them. Your goal is not to complete every possible wedding task early. Your goal is to protect the decisions that affect your date, budget, guest experience, and vendor availability.
Why a planning wedding timeline works best when it follows dependencies
Wedding tasks are connected. You cannot finalize a seating chart before you know who is attending. You should not order invitations before the ceremony and reception details are stable. Your photographer’s schedule depends on the ceremony time, while the ceremony time may depend on the venue’s rules and sunset. A timeline that simply assigns one task to every week can look organized while still putting the work in the wrong order.
Think of the timeline as a chain of decisions. First, establish the frame: budget, guest count, location, season, and date options. Next, secure the choices with limited availability, especially the venue and vendors whose calendars fill quickly. Then make guest-facing decisions, including stationery, travel information, food, and ceremony details. Finally, turn those decisions into a shared operating plan for vendors, wedding party members, and helpers.
- Anchor decisions: budget, guest count, location, date, and venue.
- Availability decisions: photographer, caterer, planner, entertainment, and rentals.
- Guest decisions: invitations, accommodations, transportation, menu, and accessibility.
- Execution decisions: floor plan, vendor arrival times, ceremony order, payments, and emergency contacts.
For couples working with a planner, a shared workspace such as The Wedding Command Center can make this chain easier to see. Use it as a place to keep deadlines, notes, vendor information, and decisions together, so a conversation does not disappear in a text thread or an email inbox. The resource is most useful when it supports your actual planning process rather than becoming another list you have to maintain.

The four decisions that shape every other deadline
1. Your working budget
Set a working budget before you fall in love with a venue or design direction. Include the total amount, who is contributing, when money will be available, and a reserve for expenses that are easy to overlook. Taxes, service charges, gratuities, alterations, stationery postage, transportation, and overtime can change the final number significantly.
A useful budget is not a promise that nothing can change. It is a decision filter. When two options are appealing, the budget tells you which one protects the priorities you agreed on. Review it whenever the guest count, date, or venue changes.
2. Your approximate guest count
Start with a realistic range, not a perfect list. The number of guests affects the size and cost of the venue, catering, rentals, stationery, transportation, and sometimes the ceremony format. Separate people you must invite, people you would love to invite, and people you may invite if the budget and space allow.
3. Your date window and location
Decide how much flexibility you have. A specific Saturday in a popular season may require booking earlier or accepting fewer vendor choices. A Friday, Sunday, off-season, or nontraditional venue can create more availability. Also consider guest travel, weather, local events, school calendars, and sunset if outdoor portraits matter to you.
4. The venue and its rules
The venue is more than a backdrop. Ask about catering requirements, alcohol, insurance, load-in, cleanup, rental restrictions, music cutoffs, ceremony locations, rain plans, accessibility, and preferred vendors. These answers can change the rest of your planning wedding timeline. Get the details in writing before building a plan around them.

A practical 12-month planning wedding timeline
12 to 10 months before: build the frame
Begin by agreeing on the experience you want guests to have. Then set the working budget, draft the guest range, choose a location, and identify possible dates. Tour venues with a written question list. When you select one, read the contract carefully and note every payment, deadline, restriction, and included service in your planning system.
- Set the budget and contribution schedule.
- Create a preliminary guest list and estimate.
- Choose a date range, season, and geographic area.
- Tour and book the venue.
- Decide whether you need a full-service planner, coordinator, or targeted support.
- Create a simple wedding website or information page if guests will travel.
9 to 7 months before: secure the high-impact vendors
Once your date and venue are secure, book vendors whose availability is limited. Depending on your celebration, that may include the photographer, videographer, caterer, entertainment, florist, hair and makeup team, and transportation. Read each proposal for arrival times, deliverables, meals, overtime, cancellation terms, and final-payment dates.
This is also a good time to choose your wedding party, begin attire research, and decide what visual direction will guide stationery and flowers. You do not need every centerpiece approved yet. You do need enough clarity to avoid booking services that pull the celebration in conflicting directions.
6 to 5 months before: turn decisions into guest information
Confirm the ceremony format, officiant, menu direction, hotel information, and transportation needs. Order attire with enough time for alterations. If you are sending save-the-dates, make sure the date, location, and wedding website information are accurate. Review names and addresses carefully before ordering any printed piece.
- Finalize the save-the-date list and send it if appropriate.
- Order or schedule attire and alteration appointments.
- Choose a caterer or confirm the venue’s catering plan.
- Book florist, rentals, hair and makeup, and transportation if not already done.
- Meet with the officiant and begin the ceremony outline.
- Start a guest travel and accommodation information page.
4 to 3 months before: make the plan specific
At this stage, the wedding should feel more specific. Approve invitation wording, design the ceremony order, confirm the menu, and schedule tastings or trials. Ask the venue and vendors for the information they need from you. If you are creating a seating plan, begin tracking guest relationships, accessibility needs, meal preferences, and family dynamics without assigning every table too early.
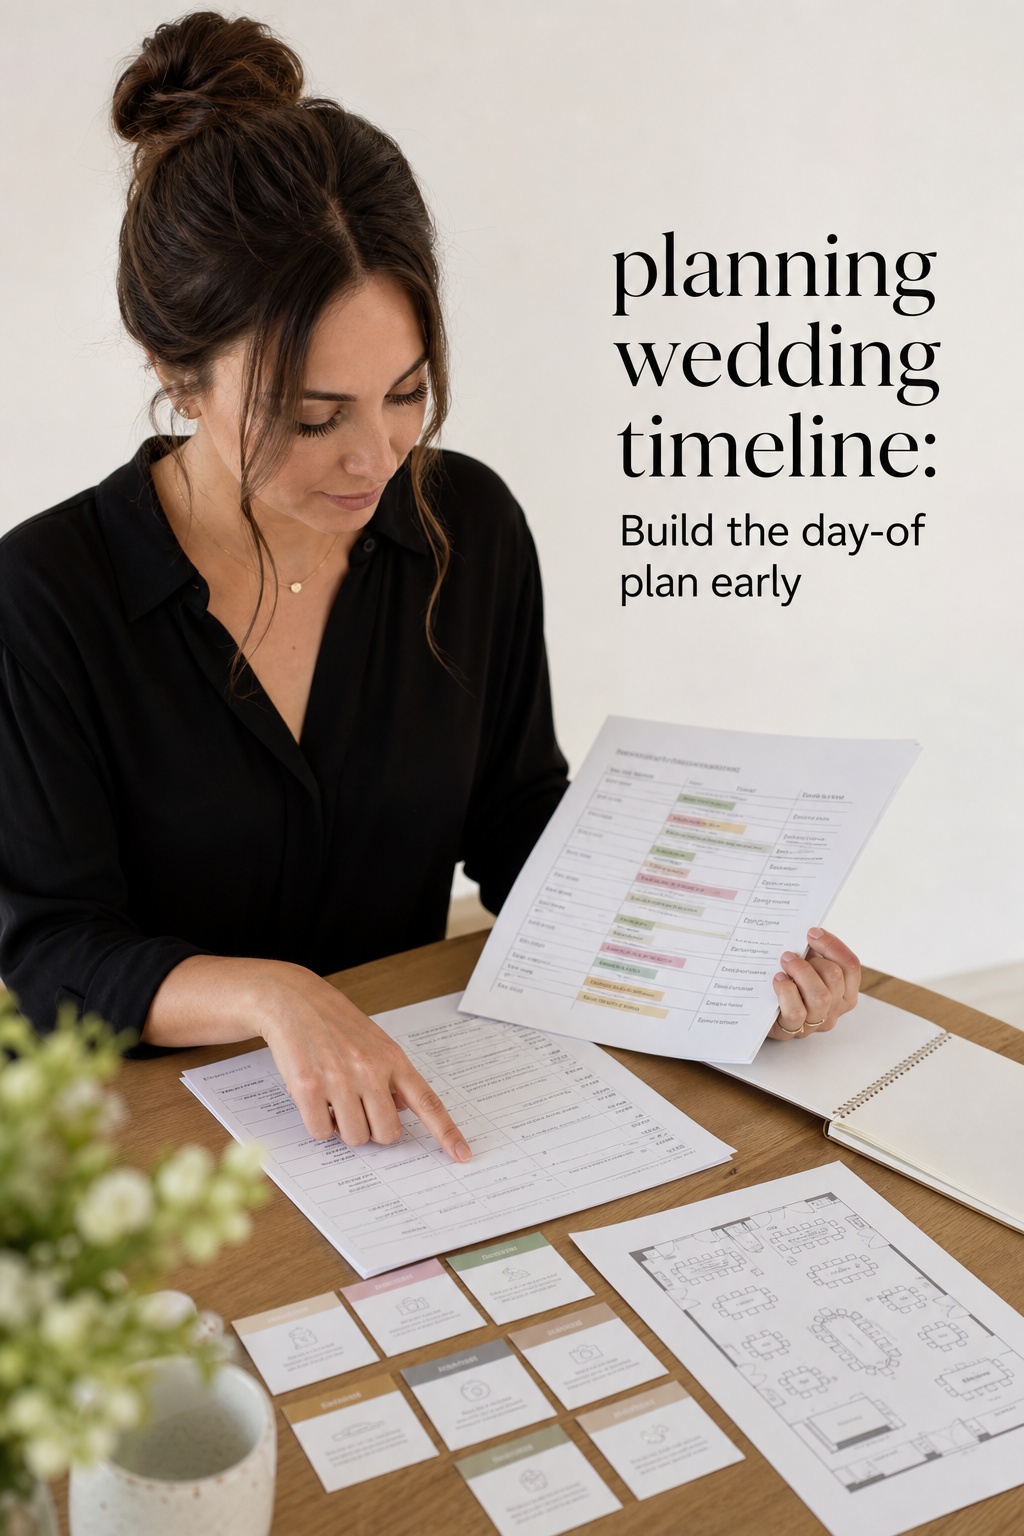
Build a first version of the wedding-day schedule now. It will change, but an early draft reveals problems. You may discover that portraits need more time, transportation has a long route, setup overlaps with guest arrival, or the ceremony and reception transition is too tight. Fixing those issues months ahead is much easier than solving them during the final week.
2 months to 1 month before: confirm, finalize, and protect your time
Send invitations according to your stationer’s and caterer’s deadlines, then track responses in one place. Finalize your ceremony script, music requests, readings, vows, and special dances. Schedule final attire fittings, beauty trials, and required appointments. Confirm the marriage-license process for the jurisdiction where you will marry, including identification, waiting periods, fees, and expiration rules.
Move from collecting ideas to approving decisions. Close open vendor questions, confirm rental quantities, review the floor plan, and assign ownership for remaining tasks. If you use a planning dashboard, give each item one owner and one due date. A shared list is useful only when everyone knows which actions belong to them.
2 weeks to the wedding day: hand off the details
Prepare the final guest count, seating chart, place cards, final payments, tip envelopes, vendor contact sheet, and emergency kit. Confirm arrival times with every vendor. Send the final timeline to the venue, planner or coordinator, photographer, entertainment, wedding party, and anyone responsible for a reading, toast, transportation, or special item.
Choose one person to answer logistical questions on the wedding day. It should not automatically be the couple. Give that person contacts, schedule, floor plan, payment information, and authority to make small decisions within the boundaries you set. Your job on the day is to be present, not to locate a missing boutonniere or explain where the rental truck should park.

How to adapt the timeline for six months, three months, or a flexible date
A shorter engagement does not mean every detail must be completed at once. It means you need to identify bottlenecks immediately. In the first week, establish the budget, guest range, date options, and location. Contact venues and high-demand vendors at the same time. Be willing to simplify the design, choose available options, or use a Friday, Sunday, or off-season date.
- Six months: book the venue and priority vendors first, then compress stationery, attire, and design decisions into focused weekly sprints.
- Three months: choose a date and venue with availability, keep the guest experience simple, and combine decisions normally spread across several months.
- Flexible date: use vendor availability and budget as anchors, then select the date once the most important services are realistic.
For any shorter timeline, remove optional complexity before removing buffer. A smaller floral plan, streamlined menu, digital information page, or limited stationery suite can reduce decisions. Eliminating the final week of confirmations is not a simplification. It is a risk.
What to delegate, track, and confirm in the final weeks
Delegation works when the handoff includes context. Instead of asking a friend to handle favors, give them the quantity, pickup location, setup instructions, deadline, and person to contact if something changes. Make the assignment visible to the planner or coordinator so two people do not solve the same problem.
- Track: contracts, deposits, final payments, guest responses, meal choices, transportation, and rental quantities.
- Delegate: welcome bags, guest questions, ceremony items, cards and gifts, personal décor, and end-of-night packing.
- Confirm: vendor arrival windows, venue access, rain plans, final headcount, timeline distribution, and legal requirements.
- Protect: sleep, meals, transport, comfortable shoes, and time with each other before guests arrive.
Do a final review that is different from a final brainstorm. Read the schedule from the perspective of a vendor arriving with equipment, a guest who does not know the venue, and a couple who should not be asked to make operational decisions. If an instruction is unclear, assign a person and a next action before wedding week.
Common planning wedding timeline mistakes to avoid
- Copying someone else’s calendar exactly: Use published checklists as prompts, then adjust them for your date, location, vendors, and priorities.
- Booking the pretty choice before reading practical details: A venue or vendor can be beautiful and still be wrong for your guest count, budget, or logistics.
- Leaving guest data in multiple places: Choose one source of truth for addresses, RSVPs, meal choices, and accessibility notes.
- Assuming final details will take one afternoon: Allow time for proofing, shipping, alterations, payments, packing, and vendor questions.
- Keeping the couple as the default contact: A designated coordinator or trusted helper protects your attention during the final week and wedding day.
- Trying to solve uncertainty with more ideas: Return to the budget, guest experience, venue rules, and date. Those constraints usually make the next step clearer.
FAQ
When should you start planning a wedding?
Start with the budget, guest range, location, and date window as soon as you are ready to make decisions. Many couples use a twelve-month timeline, but the right start point depends on your date, venue availability, and celebration complexity.
What should you book first in a planning wedding timeline?
Book the venue first because it establishes the date, rules, capacity, and logistical limits. After that, prioritize vendors with limited availability, such as photographers, caterers, planners, entertainment, and beauty teams.
Is twelve months enough time to plan a wedding?
For many couples, twelve months is a comfortable planning window, especially when the guest count and venue are manageable. More time may be needed for a destination celebration, large guest list, popular date, or extensive custom design.
Can you plan a wedding in six months?
Yes. Make the venue, date, guest range, and priority vendors your first decisions. Choose available options, simplify details that do not affect the guest experience, and keep time for invitations, attire, legal requirements, and final confirmations.
When should you send wedding invitations?
Timing depends on your location, travel needs, and invitation design, so confirm the target date with your stationer and caterer. Build in time for proofing, printing, addressing, postage, and a response deadline that gives vendors enough time to prepare.
When should you create the wedding-day timeline?
Create a working version several months before the wedding, then refine it as vendor arrival times, ceremony details, transportation, and guest responses become known. Distribute the final version to vendors and helpers before wedding week.
Who should manage the timeline on the wedding day?
Choose a planner, coordinator, venue manager, or trusted person who is comfortable making small logistical decisions. The couple should receive the final plan and enjoy the day without serving as the central contact for every question.
How to turn your timeline into a weekly planning habit
A timeline becomes much easier to use when you review it at the same time each week. Choose a short planning meeting, perhaps Sunday afternoon or Monday evening, and give it a fixed beginning and end. Review what was completed, what is waiting on someone else, what decision is next, and whether any deadline needs to move. A predictable review prevents small questions from becoming a last-minute pileup.
Keep a decision log alongside the task list. Record the decision, the date, who approved it, the cost, and any follow-up. This is especially helpful when family members, a planner, or several vendors are involved. It also keeps you from revisiting the same choice every time a new inspiration image appears.
Use three labels for each item: waiting, active, or complete. Waiting means another person or event must happen first. Active means there is a clear next action. Complete means the decision is finished and any related file, payment, or confirmation has been stored. These simple labels are more useful than a long list of tasks with no indication of momentum.
Build buffers around the tasks people underestimate
Some wedding tasks look small because the action itself is quick. The surrounding work is what takes time. Addressing invitations may require checking hundreds of names and assembling inserts. A seating chart may require several rounds of family conversations. A final vendor meeting may reveal a rental, power, parking, or weather question that needs a new answer.
Build a buffer after every decision with outside dependencies. Allow extra time for shipping, alterations, proofing, guest responses, payment processing, and travel. If a vendor needs a final count on Friday, treat Wednesday as your internal deadline. If a dress is promised for a certain date, schedule the fitting before the last possible week. Buffers give you options when a normal delay appears.
- Set internal deadlines before vendor deadlines.
- Store contracts and receipts where the whole planning team can find them.
- Check whether a decision changes another item before marking it complete.
- Schedule one quiet week before the wedding for only essential corrections.
- Prepare a short list of acceptable substitutes for fragile or hard-to-find items.
Make the timeline fit the wedding you are actually hosting
A backyard wedding, hotel ballroom celebration, destination event, and city hall ceremony will not use the same list. A backyard wedding may need a stronger plan for power, restrooms, weather, parking, trash, and setup. A destination wedding may need earlier guest communication and a longer accommodation window. A city hall ceremony may have fewer décor decisions but more precise legal and appointment requirements.
Start with the elements that create risk for your version of the day. Ask what could affect the date, guest safety, legal validity, vendor access, or the couple’s ability to enjoy the celebration. Put those items earlier in the timeline. Move aesthetic details later unless they affect ordering, construction, or guest communication.
The best planning wedding timeline is not the fullest one. It is the one that gives you enough information to act, enough flexibility to adapt, and enough ownership clarity that the couple does not carry every detail alone. Review it often, keep the dependencies visible, and let the calendar serve the celebration rather than control it.
Leave a Reply