
A wedding planning timeline can make an exciting season feel calmer, but only when it reflects the order of the decisions. Many couples begin with details that are easy to browse, such as colors, favors, or day-of stationery, while the choices that control the whole plan are still unsettled. That is why a checklist can grow longer without making the wedding feel more organized.
The useful question is not, ‘What can we plan today?’ It is, ‘Which decision will make the next decision easier?’ Your date affects vendor availability. Your venue affects the guest experience, floor plan, and logistics. Your guest range affects the budget and the size of every space. Once you see those connections, the timeline becomes a sequence instead of a pile.

This wedding planning timeline gives you a practical baseline for a typical engagement, then shows how to adapt it when you have six months, eighteen months, a destination celebration, or a date already approaching. Use the month ranges as guidance rather than rules. The order matters more than the labels.
Why wedding planning timelines feel backwards
Wedding planning often feels backwards because the most visible tasks are not always the most urgent. A cake tasting feels like progress, and it is enjoyable progress, but it cannot solve an unconfirmed guest range or an unknown venue capacity. A beautiful invitation design is still a draft if you do not know the address, ceremony location, or RSVP deadline. A floral mood board may need to change when the venue has strict installation rules.
Start by separating decisions into three groups. First are anchor decisions. These define the boundaries of the wedding: budget, guest range, date, venue, and the priorities that matter most to you. Second are dependent decisions. These become easier after an anchor is set: catering style, ceremony layout, photography coverage, attire, transportation, and invitations. Third are finishing decisions. These include detailed signage, final décor counts, seating assignments, favors, and the handoff documents used during wedding week.
The groups are connected, but they do not all need equal attention at the same time. Your timeline should protect the decisions that are difficult to reverse or that depend on other people’s calendars. It should leave breathing room for choices that can be made later without changing the foundation.
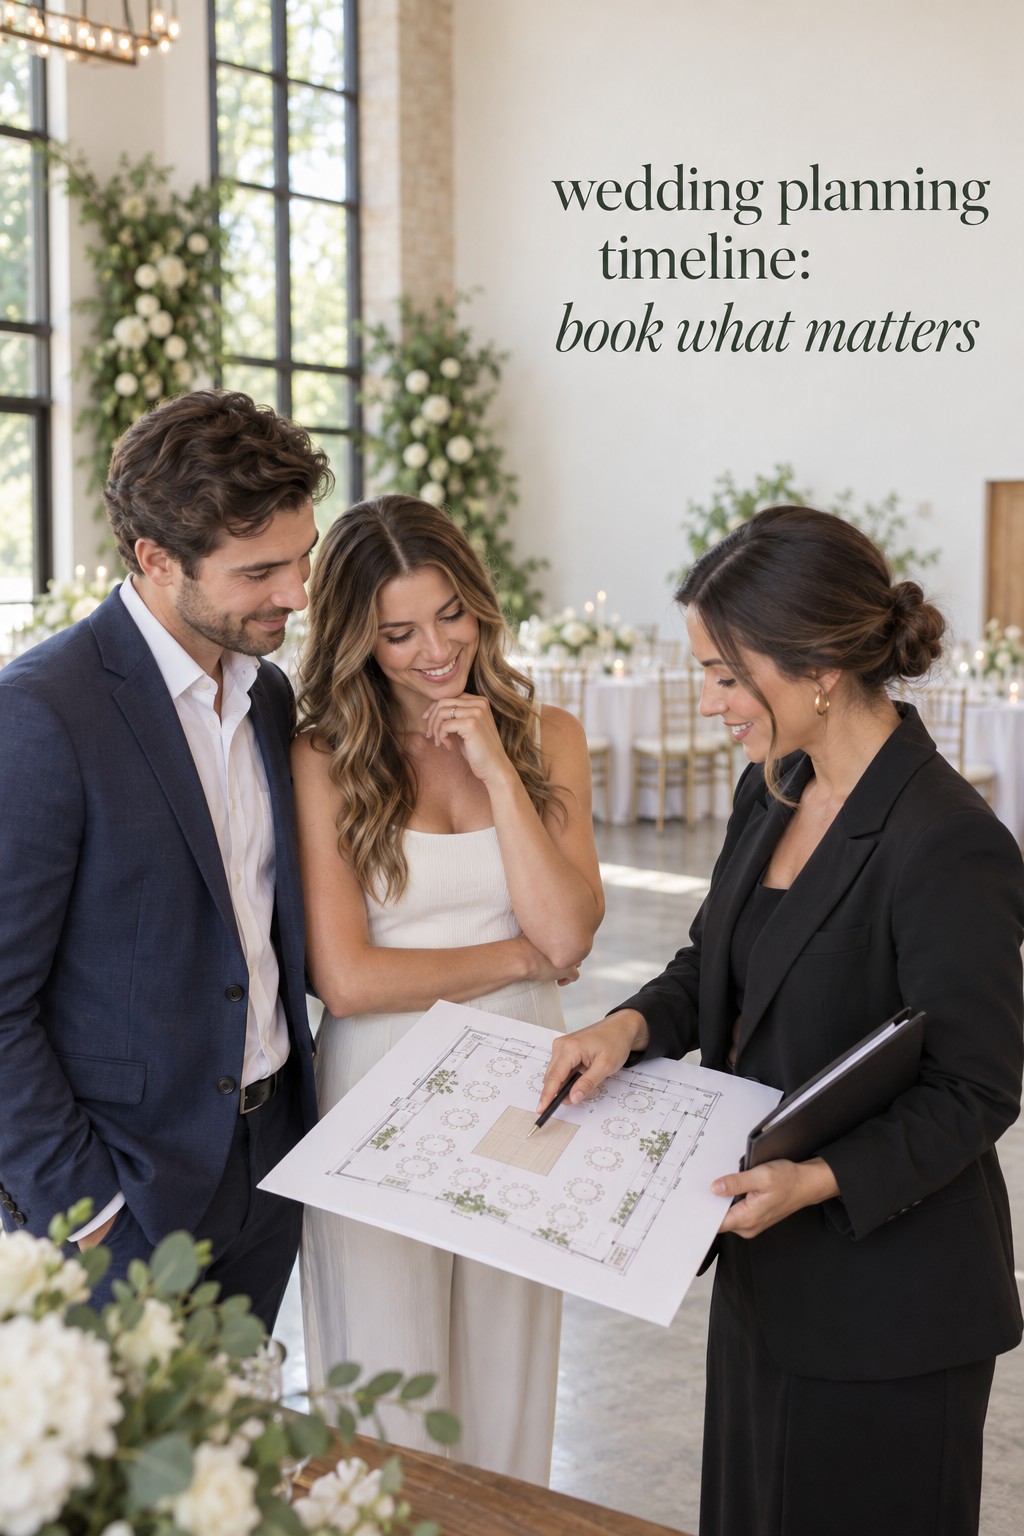
Build the timeline around five anchor decisions
A strong wedding planning timeline begins with five anchors. They do not have to be finalized in a single weekend, but they should be discussed in this order. Together, they turn a vague project into a set of boundaries that your vendors and family can understand.
1. Budget and contribution plan
Choose a working budget before you fall in love with a venue or vendor package. The first version does not need to be perfect. It needs to show the total amount you expect to spend, who is contributing, when money will be available, and which categories are non-negotiable. Include taxes, service charges, gratuities, attire alterations, transportation, stationery postage, and a reserve for changes. A budget that ignores those items creates false confidence.
Use the budget as a decision tool, not as a document that only records spending after it happens. When you compare a full-service venue with a blank-space venue, record the rentals, labor, delivery, setup, and cleanup that come with each option. This makes the timeline more useful because you can see which choice is affordable in practice, not just in its headline price.
2. Guest range
You do not need a final guest list at the beginning, but you do need a realistic range. Write down the people who must be there, the people you hope to invite, and the people you would invite if space and budget allowed. This first range helps you compare venues and catering minimums without pretending that every name is settled.
Keep the list connected to practical information. Note children, likely plus-ones, travel needs, dietary concerns, and households that may share an address. Later, those details will shape invitations, transportation, lodging information, menu planning, and seating. A shared planning workspace, including The Wedding Command Center when it fits your system, can be useful here because the list should be visible to the people who are actually making decisions. Use it as a planning resource, not as a substitute for a thoughtful guest conversation.
3. Date or date range
Some couples choose a date first and search for a venue that can hold it. Others choose a season or several acceptable dates, then let venue availability guide the final decision. Either approach can work. The key is to know how flexible you are before you begin inquiries.
Consider the season, day of week, travel requirements, religious or cultural dates, school calendars, and the amount of time your priority vendors need. A date is not only a line on the calendar. It is the starting point for invitations, attire, final payments, menu counts, and every later deadline.
4. Venue and guest experience
The venue is the hinge of the planning process. Compare more than photographs and rental fees. Ask about capacity, rain plans, accessibility, sound restrictions, end times, vendor rules, power, parking, restrooms, getting-ready spaces, load-in, cleanup, and what is included. A beautiful room that creates difficult logistics may require more money and more work than its first quote suggests.
Imagine the guest journey from arrival to departure. Where will guests go first? Is there a clear transition between ceremony and reception? Will older relatives have a comfortable place to pause? Does the plan work in the actual season and light? These questions help you choose a venue that supports the wedding you want to have, not just the wedding you want to photograph.
5. Priority vendors
After the venue and date are secure, book the vendors whose availability matters most to you. For many couples, that means the photographer, planner or coordinator, caterer, entertainment, and sometimes a hair and makeup team. Your list may be different. The right order is based on scarcity and importance, not on a universal rule.
When you inquire, ask for the information that will affect later decisions: coverage hours, setup requirements, meal counts, travel fees, contract deadlines, backup plans, and what the vendor needs from you. Save the answers with the proposal and contract. The timeline should remember not only that a vendor is booked, but also what that booking requires next.

A flexible wedding planning timeline from engagement to wedding week
The following schedule assumes roughly twelve months. If your engagement is longer, spread out the research and use the extra time for savings, design refinement, or vendor conversations. If it is shorter, keep the sequence and compress the gaps. At every stage, choose a small number of outcomes rather than trying to touch every category.
Twelve to ten months before
- Agree on the working budget, contribution plan, and guest range.
- Choose a date, season, or set of acceptable dates.
- Research venues and ask for complete cost and policy information.
- Book the venue and record every deadline in the contract.
- Decide whether you need a full planner, partial planner, or month-of coordinator.
- Create one shared place for decisions, contracts, contacts, and open questions.
Do not rush into detailed décor before these outcomes are clear. Your goal is a stable foundation. If the venue search takes longer, that is not automatically lost time. It is often better to spend another week comparing the real logistics than to build a timeline around a room that cannot support the guest experience.
Nine to seven months before
- Book priority vendors such as photography, catering, entertainment, and planning support.
- Choose a broad visual direction that fits the venue and the season.
- Research attire and allow time for ordering, alterations, and accessories.
- Build a preliminary wedding website or information page if guests will travel.
- Decide whether you will send save-the-dates and collect the information they require.
- Start a transportation and lodging plan for guests who need it.
This is a good stage for a short monthly review. Ask what has been decided, what is waiting on a vendor, and what could create a later bottleneck. For example, an attire choice may affect the hair and makeup brief, while a ceremony location may affect transportation and the timing of photography. Record the dependency so it does not live only in one person’s memory.
Six to four months before
- Order attire and schedule alterations or fittings.
- Send save-the-dates if they fit your guest and travel plan.
- Choose the ceremony structure, officiant, readings, and key participants.
- Begin detailed conversations with the florist, rental company, baker, and stationery designer.
- Review the venue floor plan, guest flow, and rain or backup plan.
- Decide on the invitation wording, enclosure pieces, and RSVP method.
- Reserve rehearsal dinner or welcome-event spaces if needed.
At this point, the planning process should move from broad research to clear selections. Avoid reopening every choice whenever you see new inspiration online. Instead, keep a short list of changes that would genuinely improve the guest experience, solve a logistical problem, or protect the budget. A timeline is not meant to prevent creativity. It is meant to give creativity a safe place to happen.
Three to two months before
- Mail invitations and set an RSVP deadline that leaves time for final counts.
- Confirm vendor arrival windows, meal requirements, payment dates, and points of contact.
- Finalize ceremony and reception choices, including music, readings, speeches, and special dances.
- Order rings, printed materials, favors, and any custom pieces with production lead time.
- Gather guest travel, accessibility, dietary, and lodging information.
- Begin a working seating plan once responses and household details are reliable enough.
Use this stage to test the plan from another person’s perspective. Could a guest understand where to go? Could a vendor find the correct contact quickly? Could a family member answer a common question without interrupting you? These are signs that the timeline is becoming a shared system instead of a private list.
One month to one week before
- Complete the seating plan, table assignments, and final guest count.
- Confirm the menu, rentals, floor plan, ceremony details, and transportation.
- Finish fittings, collect attire, and prepare accessories and emergency items.
- Create a day-of schedule with realistic travel, setup, meals, portraits, and transition time.
- Share the schedule with vendors, the wedding party, family helpers, and the person coordinating the day.
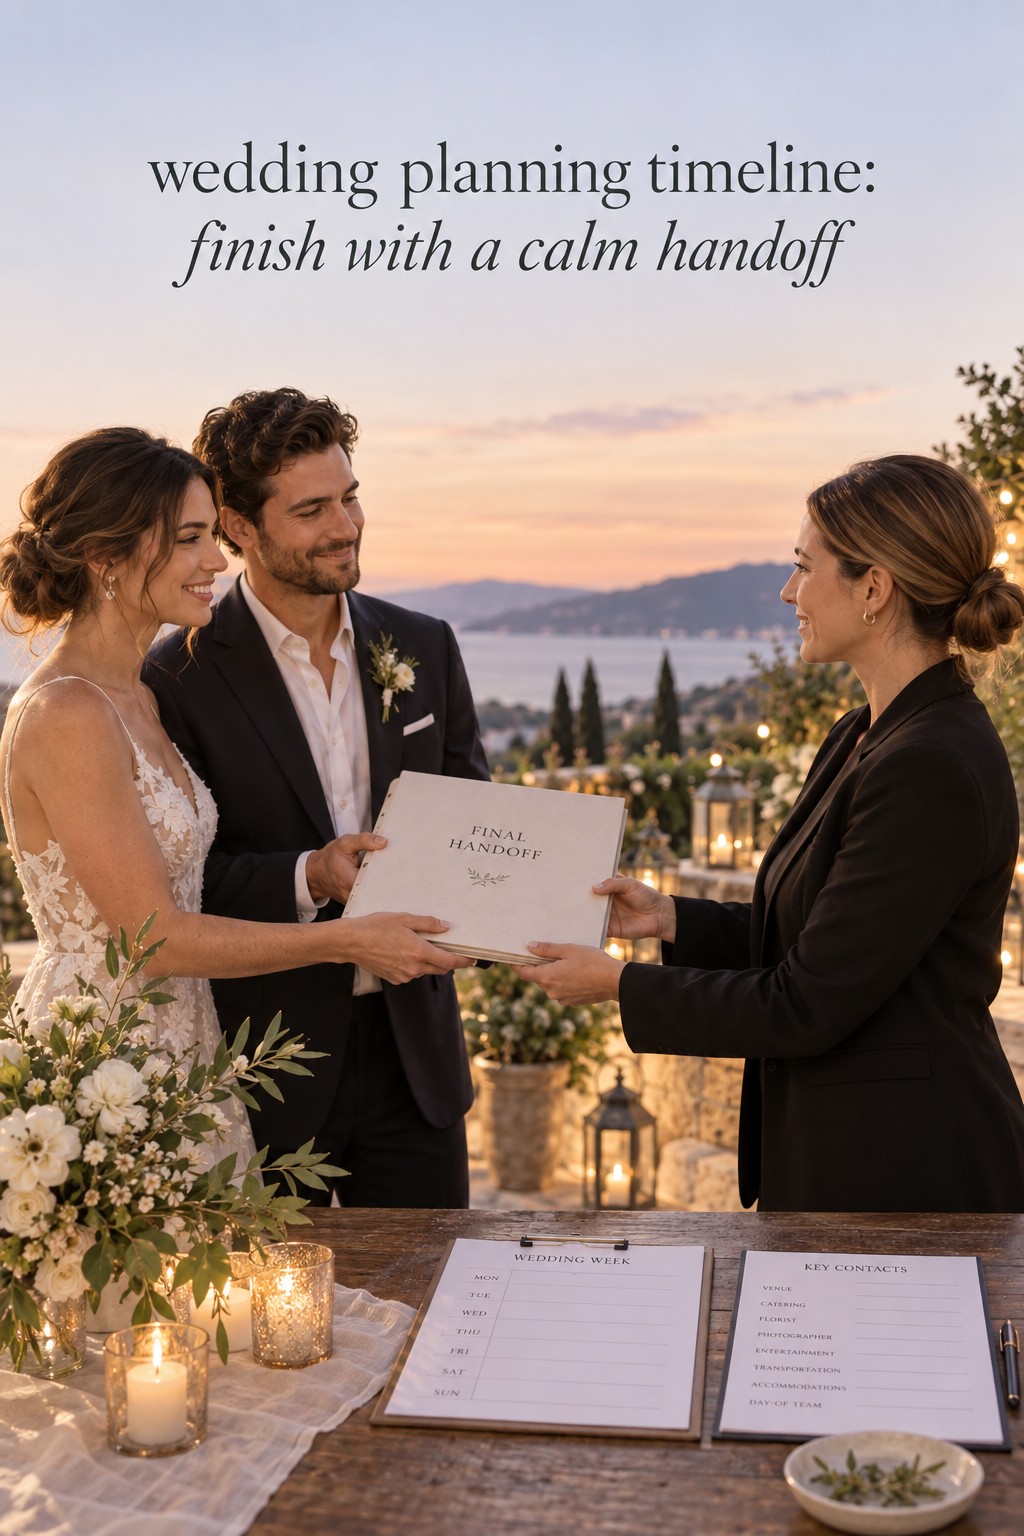
- Prepare final payments, tips, printed materials, personal items, and a labeled handoff bag or folder.
Do not build the day-of timeline by filling every minute. Build it around fixed anchors such as ceremony start, venue access, meal service, speeches, and the end of the reception. Then add buffers for transportation, bathroom breaks, touch-ups, late arrivals, and simple human pauses. The schedule should help the day breathe.

How to adapt the timeline to your actual engagement
A standard wedding planning timeline is useful because it shows dependencies, but it can become stressful when couples treat every month as a deadline. Instead, identify the first date-driven decision you have not made, then work forward from it. Keep the order of the anchors and compress or expand the space between them.
If you have six months
Start with budget, guest range, date, and venue in the same planning sprint. Inquire with priority vendors immediately and ask about availability, standard packages, and realistic lead times. Choose attire that can be ordered or sourced within your window, and simplify custom work that would create risk. Send invitations as soon as your venue, guest information, and wording are ready.
For a compressed timeline, replace perfect sequencing with daily clarity. Decide who owns each open item, what information is missing, and what the next physical action is. A short planning meeting every few days may be more useful than a large weekly checklist. Keep the guest experience and the legal or venue requirements at the center.
If you have eighteen months or more
Use the extra runway to make high-impact choices without urgency. You can compare venues carefully, build savings, interview vendors, and allow more time for attire or custom details. Do not feel pressured to invent tasks just because the calendar looks open. Keep a short ‘now, next, later’ view and review it monthly.
Long engagements need protection from decision fatigue. Once a choice is made and documented, move it out of the active decision list. Revisit it only when a later fact changes the foundation. This keeps inspiration from turning into endless revision.
If the venue and date are already booked
Begin with the contracts you already have. List every deadline, included service, restriction, payment, and vendor recommendation. Then create the five anchors around that reality. Your budget may need a new working version, your guest range may be constrained by capacity, and your priority vendor list may be shaped by the venue’s preferred providers.
This is not a problem. It simply means your timeline begins in the middle of the dependency chain. Make the constraints visible, then book the vendors and make the guest decisions that are most affected by them.
If you are planning a destination wedding
Move guest communication earlier. Travel time, passports, lodging, transportation, local customs, and accessibility can affect who is able to attend. Build an information page before guests need every detail, then update it as flights, room blocks, and weekend events become clearer. Ask vendors about travel fees, local backup teams, weather, and delivery logistics.
Give yourself a stronger final confirmation process. A destination plan needs a single place for the schedule, arrival information, vendor contacts, venue rules, and emergency decisions. Share the parts that guests need without sending them every internal planning note.
The simple weekly review that keeps the timeline useful
Once a week, spend twenty minutes reviewing the plan. First, mark what is complete. Second, identify the next three decisions that genuinely matter. Third, check for deadlines within the next six weeks. Fourth, assign an owner and a next action to every open item. Finally, move non-urgent ideas to a later list.
This rhythm prevents the common problem of having a beautifully organized timeline that no one uses. It also creates a record of why choices were made. If a vendor changes the schedule or a budget category shifts, you can adjust the next actions without rebuilding the entire plan.
FAQ
How long does a wedding planning timeline usually take?
A twelve-month timeline is a useful baseline, but it is not a requirement. Some couples plan comfortably in six months, while others use eighteen months or longer. The important factors are venue and vendor availability, guest travel, attire lead time, budget readiness, and how quickly you can make the anchor decisions.
What should we do first when planning a wedding?
Start with a working budget, a realistic guest range, and a date or date range. Use those three pieces to compare venues. Once the venue and date are secure, book the priority vendors whose availability matters most to you.
When should wedding invitations be sent?
Many couples send formal invitations roughly two to three months before the wedding, allowing time for delivery, responses, meal selections, and the seating plan. Destination celebrations or events with substantial travel may need earlier communication. Set the RSVP deadline based on when your caterer and venue require the final count.
Can we plan a wedding in six months?
Yes. Begin with the budget, guest range, venue, date, and priority vendors, then compress the gaps between dependent choices. Be flexible about dates, packages, attire, and custom production. A clear owner for each task and frequent short reviews will help more than an oversized checklist.
When should we book wedding vendors?
Book vendors after the date and venue are secure, prioritizing the people who are most important to you or who have limited availability. Ask each vendor about lead times, contract deadlines, setup needs, final counts, and backup plans. Those details belong in the timeline alongside the booking itself.
What if we are behind on our wedding planning timeline?
Find the first unfinished anchor decision and restart there. Separate tasks that affect the date, venue, guest communication, or vendor availability from details that can wait. Make a short list of the next three actions, assign owners, and contact any vendors who need updated information. You do not need to recreate every missed month to regain control.
How can we keep wedding planning from becoming overwhelming?
Keep one shared source of truth for decisions, contracts, contacts, deadlines, and open questions. Review it briefly each week, limit the active list to the decisions that matter now, and create a clear handoff for wedding week. The goal of a wedding planning timeline is not to fill every day. It is to make the next right step easy to see.
Leave a Reply