
A wedding planning organizer should do more than collect pretty ideas. It should help you answer practical questions quickly: What needs a decision? Who owns it? What has been paid? Which guest details are still missing? Where is the current contract? What does the person helping on the wedding day need to know?
The most useful organizer is not necessarily the largest binder or the most sophisticated app. It is the system you and your partner can open, understand, and update without wondering which version is current. You can build one digitally, on paper, or as a hybrid. The important choice is to give every active planning detail a clear home and a next action.
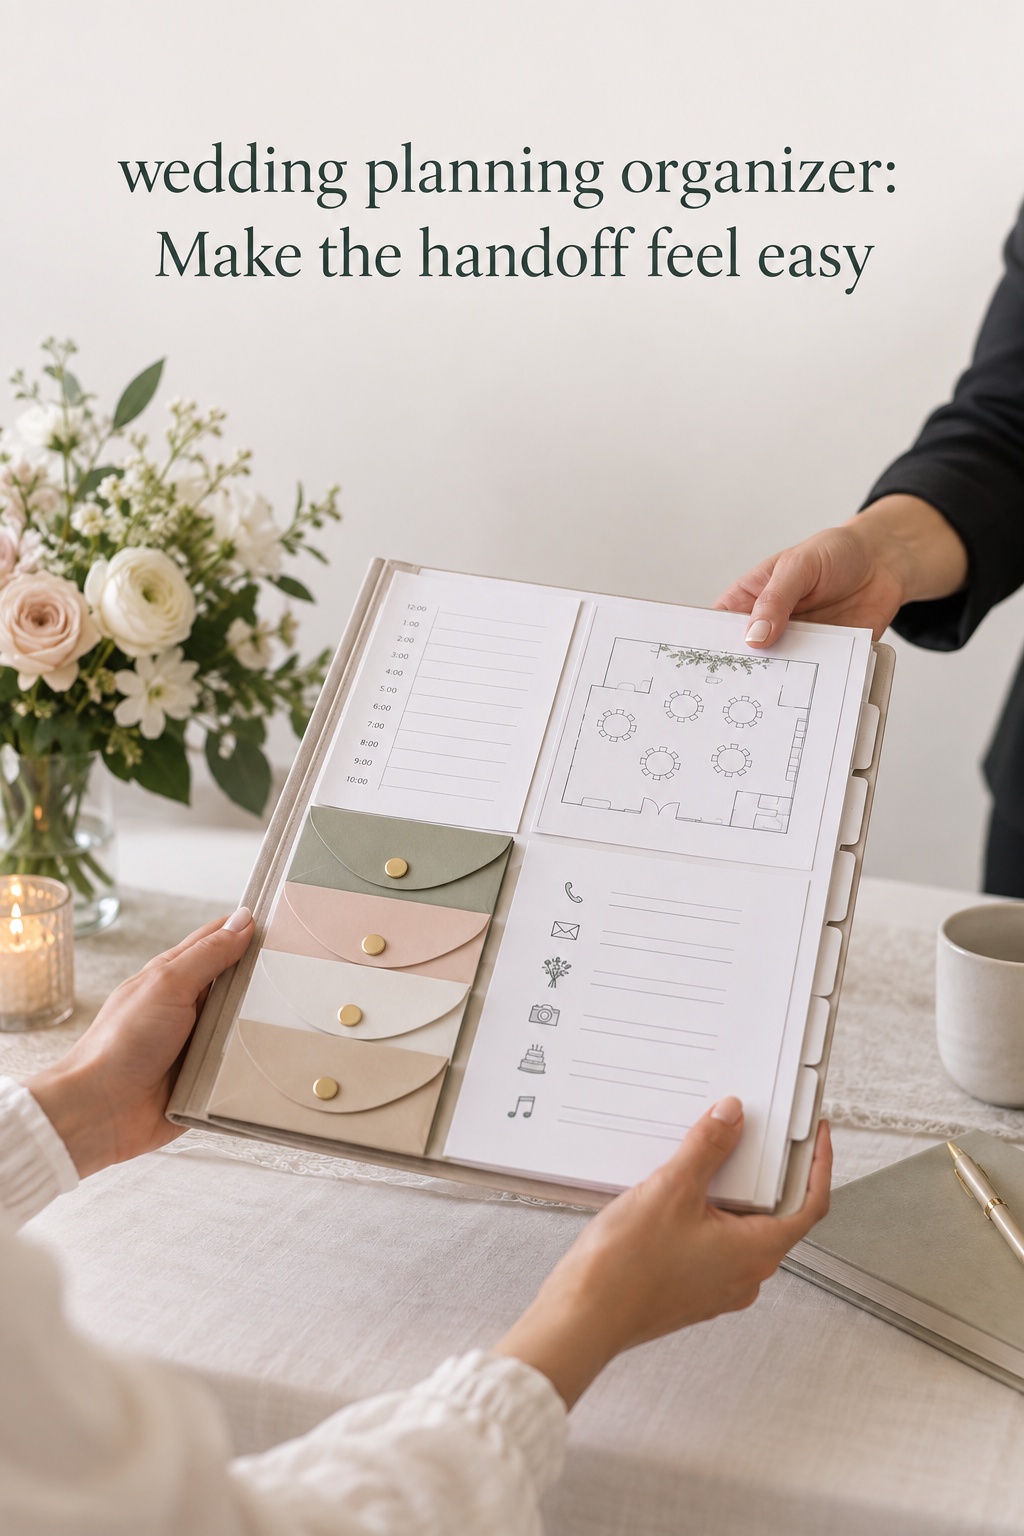
This guide shows how to build a wedding planning organizer around six working sections: overview, budget, guests, vendors, decisions and tasks, and the wedding-day handoff. It also explains how to choose a format, connect related information, and run a short weekly review so the organizer remains useful throughout the engagement.
What a wedding planning organizer should make easier
Wedding planning creates a chain of connected decisions. The guest count affects catering, rentals, stationery, and seating. The venue contract affects setup time, bar service, noise limits, and the vendors you can hire. A payment deadline affects your cash flow. The ceremony start time affects transportation, portraits, beauty appointments, and the reception schedule.
When those details live in separate messages, notebooks, screenshots, and browser tabs, the work feels larger than it is. An organizer reduces that friction by making the connections visible. It should show the current answer, the source of that answer, and the next action that follows from it.
Think of your organizer as a small operating system for the wedding. It does not replace conversations or professional advice. It gives those conversations a place to land. After you compare venues, the decision belongs in the organizer. After you sign a contract, the payment dates and document link belong there too. After a guest replies, the RSVP record should become current immediately.
A good system has four qualities. It is shared enough that both partners can participate. It is specific enough that an open item has an owner and due date. It is simple enough to maintain during busy weeks. It is controlled enough that vendors and family members receive only the information they need.
Choose a format: digital, binder, or hybrid
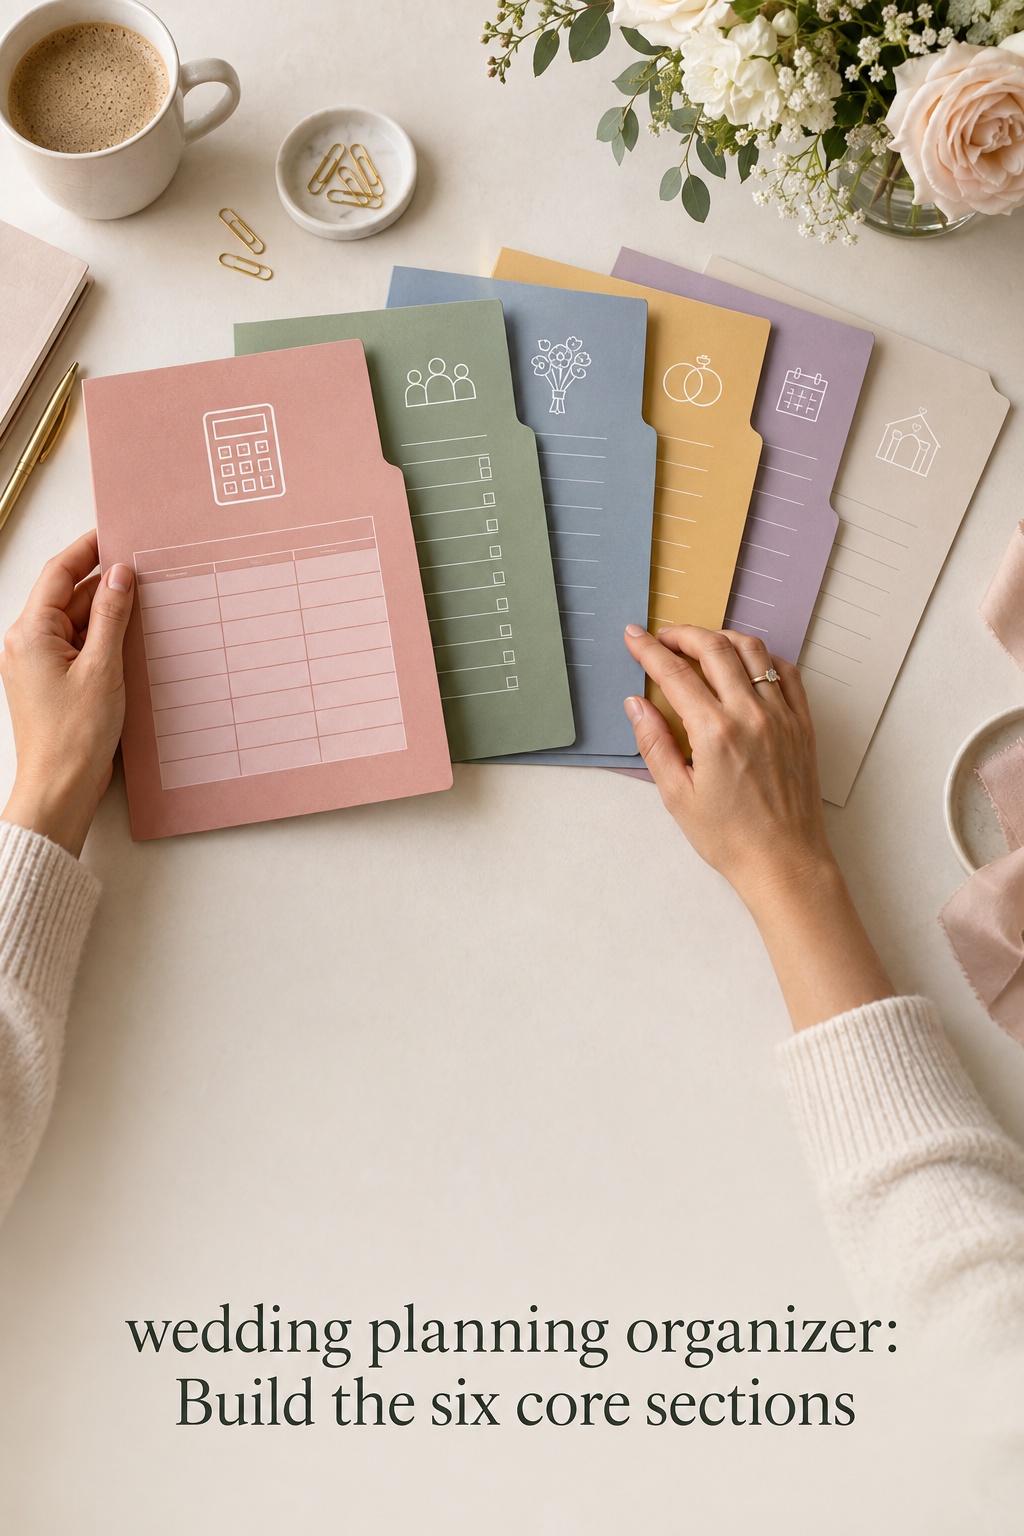
Choose the format based on how you actually plan, not on what looks most complete in a product photo. A digital organizer is often the easiest choice when both partners need live access, numbers change frequently, or you are sharing selected information with a planner. A paper binder can feel more natural when you prefer handwritten notes, attend in-person vendor meetings, or want a physical packet for the day-of helper.
A hybrid system often works well. Keep the budget, guest list, task list, and vendor status in one digital master. Use a binder for printed contracts, fabric swatches, stationery proofs, floor plans, inspiration, and meeting notes that are easier to spread across a table. At the end of each meeting, transfer every real decision into the digital master.
If you prefer a spreadsheet, begin with a small number of views rather than building every possible tab. A useful starting structure is budget, guests, vendors, and timeline, a combination also reflected in practical spreadsheet guidance from Aisle’s wedding-planning spreadsheet guide. Add a separate decisions log and document index when those needs become real.
If you prefer a binder, use dividers with clear labels and keep the active pages near the front. A focused printable model can include only the worksheets your celebration needs, rather than forcing you to maintain blank pages for every possible wedding detail. Big Day Binder’s printable planner approach is a useful reminder that a smaller working binder can be more practical than a decorative archive.
- Choose digital when collaboration, search, automatic saving, and frequent updates matter most.
- Choose paper when portability, handwriting, and face-to-face meetings are central to your process.
- Choose hybrid when you need a live operational record and a tactile place for contracts and visual materials.
Whatever you choose, name the master clearly and avoid labels such as “final” or “latest.” A name that includes the couple, event, and date is easier to recognize. Decide who can edit it, who can comment, and who receives a read-only view. The organizer should make access clearer, not create another set of uncertain copies.
Build the six core sections
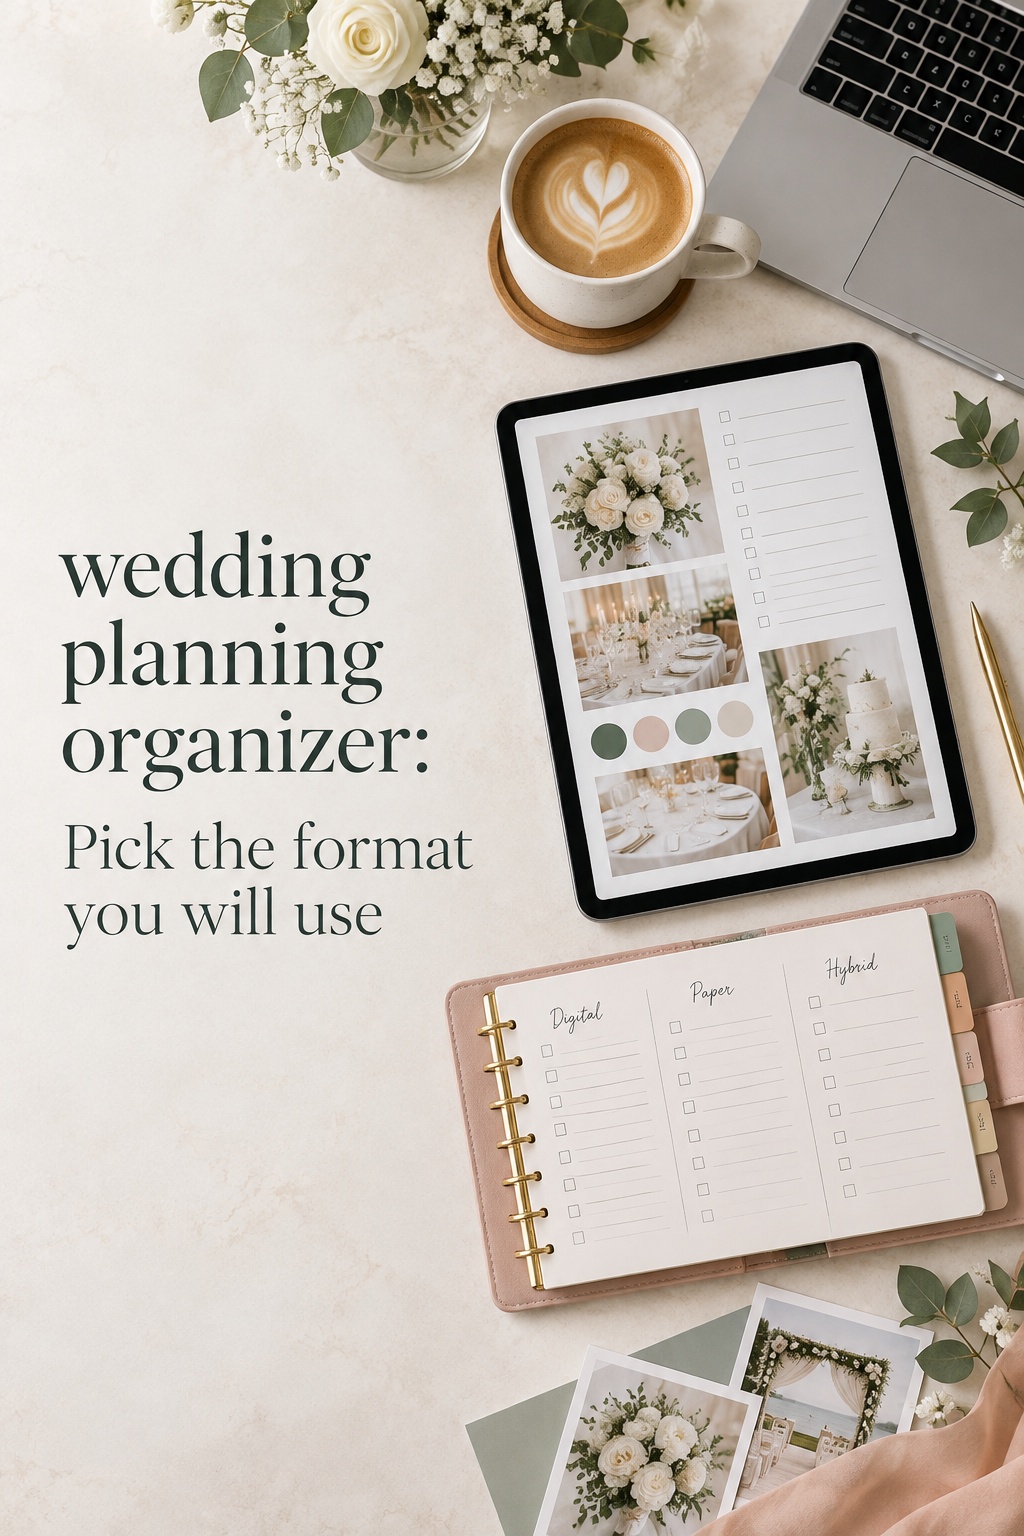
Start with the information that drives decisions. You can add specialty sections for attire, flowers, music, transportation, or a destination weekend later. A section earns its place when it supports a recurring decision or prevents a detail from getting lost.
1. Overview and priorities
The overview is the first page or dashboard. It should orient anyone who is allowed to see the plan in under a minute. Include the wedding date, ceremony and reception locations, estimated guest count, working budget, planning phase, and the next three decisions.
- Wedding date, city, and venue status
- Estimated guest range and current confirmed count
- Working budget and amount already committed
- Top three priorities for the guest experience
- Next planning meeting and next three actions
- Names of the people who can make day-of decisions
Keep priorities visible because they help you evaluate new options. If a proposal is attractive but does not support what matters most, you can say no without opening another debate from the beginning. The overview is not a mood board. It is a decision compass.
2. Budget and payments
A useful budget separates estimates, contracted amounts, payments, balances, and final costs. One number cannot tell you whether money is still uncertain or whether a payment is due soon. Give every financial figure a label and, when possible, a source.
- Category and vendor
- Early estimate and current contracted amount
- Deposit or installment paid
- Balance remaining and payment due date
- Taxes, service charges, delivery, setup, or gratuity notes
- Contract status and document link
- Person responsible for the next payment or question
Use a status vocabulary that everyone understands, such as researching, proposal received, reviewing, booked, paid in part, and complete. If you use formulas, keep them visible and protect the cells that should not be edited. If formulas are not your strength, clear columns and consistent manual updates are better than clever automation that nobody trusts.
Do not hide small but predictable costs. Include attire alterations, postage, transportation, vendor meals, rental delivery, rehearsal events, marriage-license fees, tips, and a contingency line. The exact categories will differ by celebration. The principle is simple: add a place for a cost before it surprises you.
3. Guest list and RSVP tracker
Keep one row or record for each invited person, even when several people share a household. That structure makes meal choices, dietary notes, accessibility needs, lodging, plus-ones, and thank-you messages easier to manage. Add an invitation group field if you need to track which people belong together for mailing.
- Full name and invitation group
- Email, mailing address, and preferred contact method
- Relationship or guest category
- Invitation status and RSVP status
- Plus-one decision, meal choice, and dietary information
- Lodging, transportation, accessibility, or childcare notes
- Table assignment and thank-you note status
Use a small set of RSVP labels so counts remain reliable. For example, use invited, awaiting response, yes, and no. Update the record when a response arrives, when a meal choice changes, or when a household asks a question that affects planning. Do not keep the most important guest detail only in a text thread.
4. Vendors and contracts
Create one vendor record for every category you may book. Before signing, use the same questions for each candidate so you can compare complete proposals rather than headline prices. After signing, convert the record into an obligation tracker.
- Category, business name, and primary contact
- Website, email, and phone number
- Quote, package, inclusions, and exclusions
- Contract status, deposit, balance, and due dates
- Arrival, setup, departure, and delivery details
- Cancellation, substitution, overtime, insurance, and meal notes
- Signed contract, invoice, and communication links
- Next question, next decision, and owner
Record answers in the organizer instead of relying on memory. If the venue says the room is available for setup at a particular time, record that time and link to the relevant message or contract section. If the photographer needs a family photo list, create a task with an owner and internal deadline. The vendor section becomes more valuable when it records dependencies, not just contact details.
5. Decisions, tasks, and deadlines
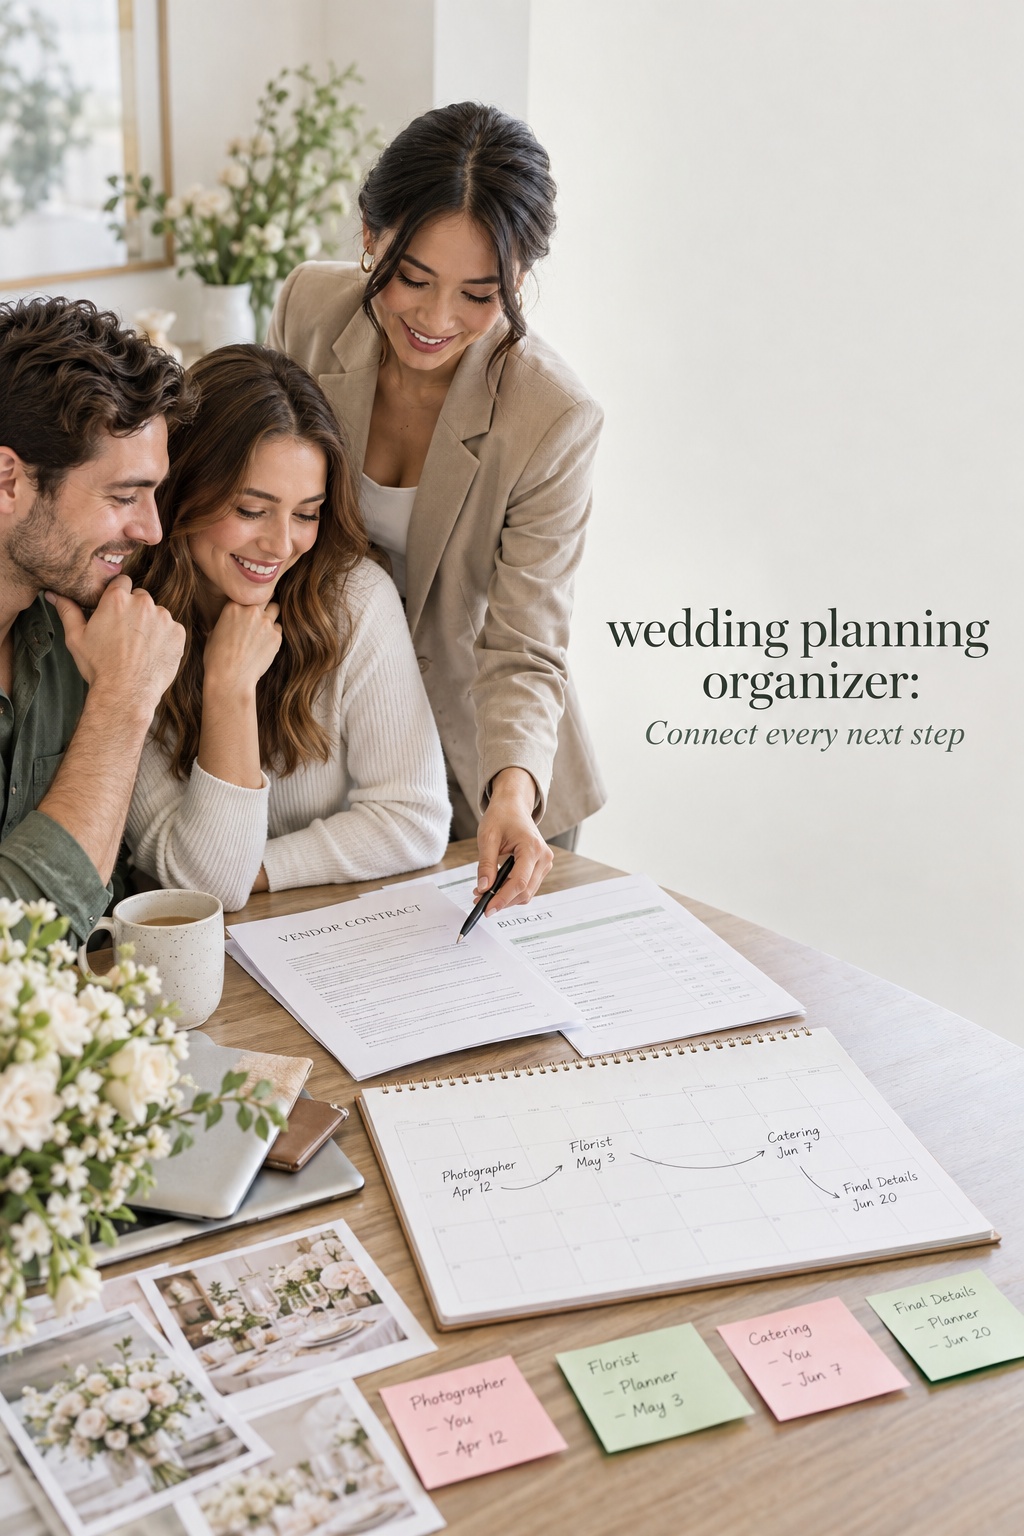
A checklist tells you what exists. A working task view tells you what happens next. Give every active task one owner, one due date, one status, and one explanation of what “done” means. You can collaborate on a task, but shared ownership should not mean invisible ownership.
- Task or decision
- Category and priority
- Owner and supporting person
- Due date and internal buffer date
- Status: not started, in progress, waiting, or complete
- Dependency, such as final guest count before seating
- Notes, source, and link to the related contract or file
Add a decisions log for choices that you may otherwise revisit. Record the date, options considered, decision, reason, budget impact, and who approved it. This is especially useful when family members contribute money or when a vendor recommendation changes the original plan. A short note can prevent a long repeat conversation.
Work backward from fixed deadlines. If a caterer needs the final count two weeks before the wedding, set your internal count earlier. If invitations must be mailed by a certain week, schedule addressing, proofing, postage, and guest-data cleanup before that date. Buffer turns a deadline into a manageable sequence.
6. Wedding-day handoff
The handoff section is the bridge between planning and execution. Start it when the main vendors are booked, then update it after every major decision. By the final weeks, create a clean version for the coordinator, venue contact, trusted helper, or family member who will answer operational questions.
- Final timeline with locations and realistic transition time
- Vendor contacts and arrival or load-in instructions
- Floor plan, seating plan, ceremony order, and key music cues
- Final guest count, meal notes, accessibility needs, and transportation
- Payment, tip, delivery, and pickup responsibilities
- Family photo list and priority photographs
- Weather backup, emergency contacts, and decision authority
- Items to pack, return, collect, or preserve after the event
Separate the private master from the shareable handoff. A vendor may need arrival instructions and the final floor plan but not every guest address or your complete budget. Limit sensitive information to the people who need it. A good handoff gives others enough clarity to protect your attention on the wedding day.
Connect the records so the organizer tells one story
The sections become powerful when they reference one another. A venue record should link to its contract, appear in the budget, and connect to tasks such as final headcount and floor-plan approval. A guest record should flow into RSVP totals, meal counts, seating, transportation, and thank-you tracking. A vendor payment should appear both in the vendor record and in the budget.
Use consistent names for categories, vendors, and statuses. If one page says “photo,” another says “photographer,” and a third says “photography,” searches and totals become less dependable. Decide on labels at the beginning. The goal is not technical perfection. It is making the next person able to understand the record without asking you to translate it.
Keep a document index rather than pasting long contracts into the organizer. Record the document name, related vendor, date received, version, and link. When a contract changes, archive the earlier version and mark the current one clearly. This keeps the working record readable while preserving the context you may need later.
The Wedding Command Center can be useful as a companion planning resource when you want a guided place to keep priorities and next steps visible. Use it because it solves a real coordination need, while your organizer remains the agreed source of truth for the records your partner, planner, and vendors need.
Run a weekly review and prepare the final handoff
An organizer only reduces stress when it reflects reality. Schedule a short weekly review with your partner. Begin with the overview, then check payments due soon, open vendor questions, overdue tasks, guest responses, and decisions waiting for an answer. Finish by choosing the next three actions.
- Update anything that changed since the last review.
- Check the next 30 days for payments and fixed deadlines.
- Review tasks marked waiting and identify the person or answer needed.
- Reconcile new quotes, deposits, RSVPs, and guest notes.
- Move completed decisions into the current record.
- Assign the next three actions and set internal buffer dates.
As the wedding approaches, make the review more operational. Confirm that the final guest count matches catering, the seating plan matches the floor plan, the vendor arrival windows fit the venue access hours, and the person holding the handoff knows who can make decisions. Ask that person to read the packet and explain what they would do if you were unavailable.
After the wedding, keep the organizer long enough to track returns, final invoices, photo delivery, contract closeout, thank-you notes, and borrowed items. Then archive it. A calm system has an ending. It should preserve useful records without turning the wedding into a project you can never close.
Mistakes that make an organizer harder to trust
Building too much too soon is the first common mistake. A tab for every possible detail can make the organizer look thorough while making it harder to find the active work. Start with the six core sections and add a new page only when you can name the decision it supports.
Mixing estimates, signed costs, payments, and balances is another problem. Keep those numbers separate. A total can look reassuring while a payment due next week remains hidden. Clear labels are more valuable than decorative color coding.
Multiple unofficial copies create quiet confusion. If one partner has a spreadsheet, a parent has a printed list, and a planner has a separate document, nobody knows which answer is current. Share views from the master or record exactly when a paper copy was printed.
Vague ownership also weakens the system. “We need to contact the florist” is not an assigned task. “Alex will email the florist by Tuesday about delivery access” is clear. Give the task an owner, then let the weekly review redistribute work if one person is carrying too much.
Finally, do not use the organizer to avoid a decision. A record can show the options, costs, and consequences, but it cannot decide your shared priorities. Talk, choose, and then write down the result. The value of the organizer is that the decision becomes easier to remember and easier to act on.

FAQ
What should be included in a wedding planning organizer?
Start with an overview, budget and payments, guest list and RSVPs, vendors and contracts, tasks and decisions, and a wedding-day handoff. Add attire, flowers, music, travel, or honeymoon sections only when they support a recurring decision. The best organizer is complete enough to be useful and small enough to maintain.
Is a wedding planning binder better than a digital organizer?
Neither format is automatically better. A binder works well for handwritten notes, printed contracts, and in-person meetings. A digital organizer is usually easier to search, update, share, and connect across budget, guests, vendors, and tasks. A hybrid system can give you both benefits when one digital master remains authoritative.
How do couples keep a wedding organizer updated?
Set a weekly review and update the organizer whenever you sign a contract, pay money, receive an RSVP, or change a major decision. Use one owner for each active task and record the source of important information. Small updates are easier to trust than a large catch-up session months later.
What is the most important wedding planning organizer section?
For most couples, the budget and payments section is one of the most important because it shows what is estimated, committed, paid, and still due. The overview and task list are equally important for daily use. Together, they show both the current position and the next action.
Should wedding vendors have access to the organizer?
Give vendors only the information they need, and consider sharing a read-only view or a clean handoff packet. A venue may need the floor plan and arrival schedule, while a photographer may need the photo list and family contacts. Keep private budgets, full guest addresses, and unrelated contracts restricted.
When should a couple create the wedding-day handoff?
Start the handoff when the main vendors are booked and update it as decisions become final. Aim to give the coordinator or trusted helper a clean version several weeks before the wedding. Include the timeline, contacts, floor plan, guest details, payment responsibilities, emergency instructions, and decision authority.
Leave a Reply