
Wedding organization gets much easier when every physical detail has a route. A welcome sign, a family heirloom, a rental table number, and a box of favors may all reach the venue in different ways, belong to different people, and need different plans after the reception. A packing list can remind you to bring them. An item-flow plan goes further: it shows where each item starts, who moves it, where it belongs, and who takes responsibility when the event is over.
This guide is for the objects that travel to, through, and away from your venue. It covers personal details, decor, rented pieces, deliveries, setup, transfers between spaces, and final collection. You do not need to track every napkin individually. Group items that travel together and have the same destination, then make ownership and handoffs clear enough that the couple does not have to answer questions while getting ready or celebrating.
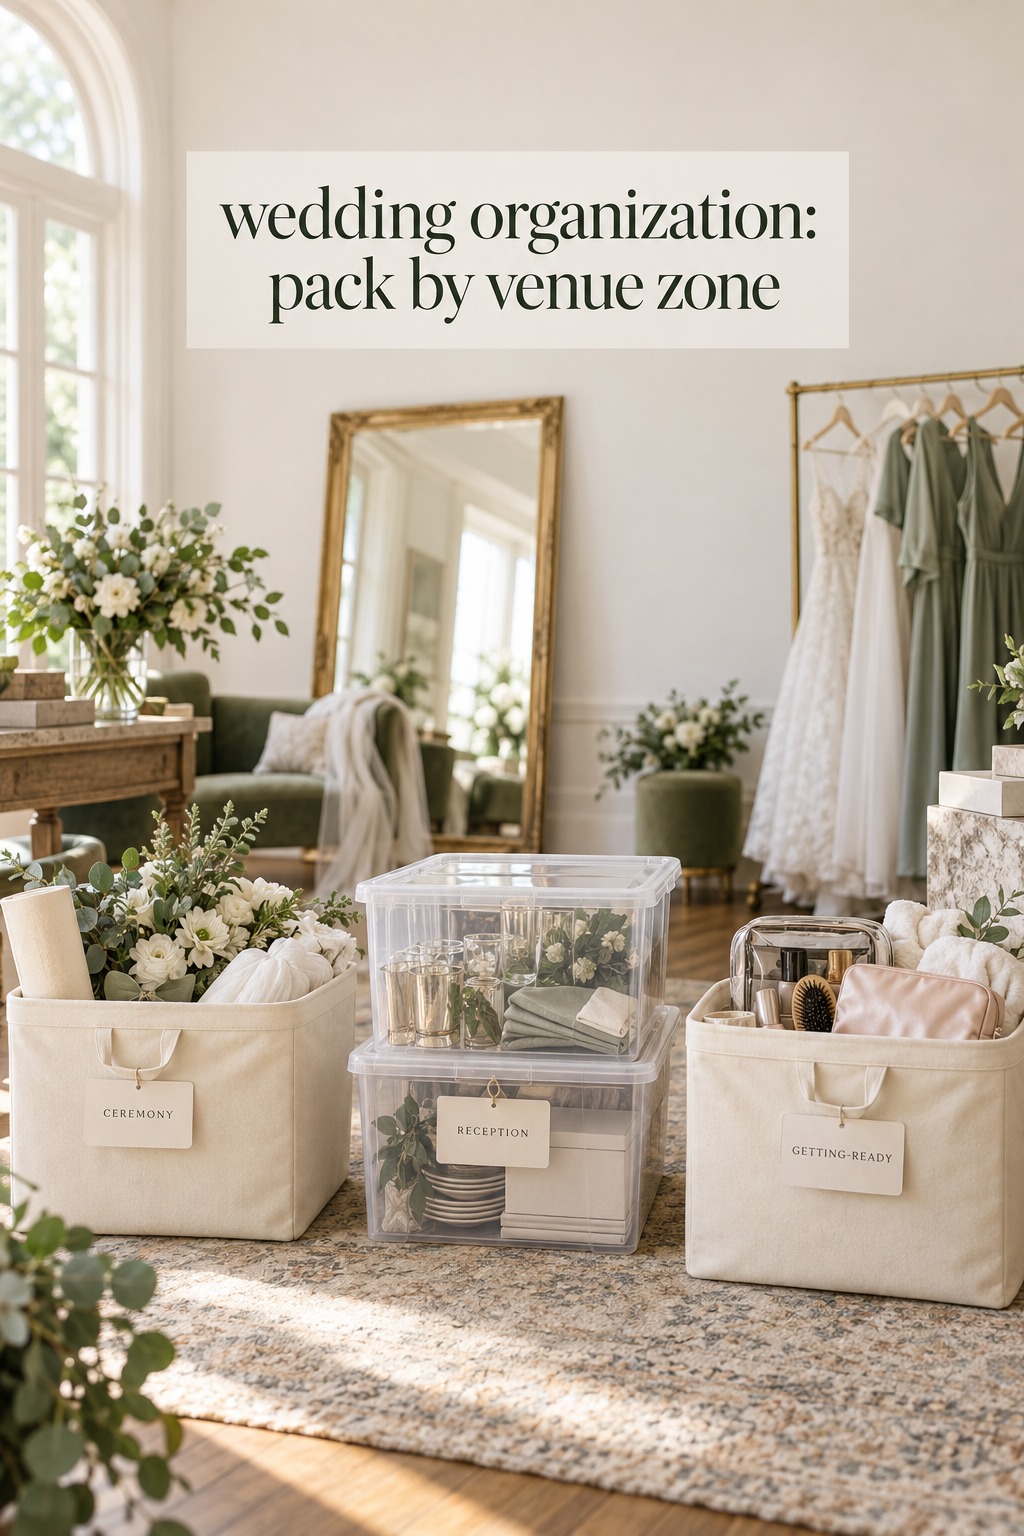
Start with an item-flow inventory, not a pile of boxes
Begin with a walk-through of the day in order. Imagine arriving at the ceremony, moving into cocktail hour, entering the reception, and leaving at the end. Note objects that someone must bring, deliver, set out, move, collect, or return. Include things that are easy to forget because they are small or sentimental: vow books, rings, guest-book pens, reserved-seat cards, signage stands, cake tools, card boxes, and family photographs. The goal is not a giant shopping list. It is a list of items whose movement needs an owner.
Give every row or kit the same basic fields. Record the item or group, its source, quantity, current owner, destination, transport plan, setup owner, setup time or event phase, and final destination. Add a handling note for anything fragile, valuable, refrigerated, unusually large, or needed at a precise moment. For rentals, include the order reference and pickup or return requirements. For personal items, name the person who will bring them and the person who will take them home.
Use a simple source label so venue property does not get mixed with yours. An item may be couple-owned, family-owned, supplied by a vendor, rented, provided by the venue, consumable, or intended for donation or disposal. Those categories matter at the end of the night. A gold frame might look like decor to everyone, but the venue may expect its own frames to stay in place while a family frame needs to go home with someone.
For a large order, track the item at the level that matches how it is counted. A rental company may deliver 12 tables as one line item, while place cards may be packed as a labeled box. If a kit contains pieces that will be separated or returned to different people, split it into separate entries. If the pieces always move together, keep them as one kit and state the quantity inside. This makes the inventory useful without turning it into a minute-by-minute record of every object.
Add one status for the next checkpoint, such as “packed,” “loaded,” “received,” “placed,” “transferred,” “collected,” or “returned.” Keep the words literal. “Done” does not tell the next person whether the box reached the venue or simply left the house. You can print the item-flow sheet for the venue lead and keep a digital master for updates. If you make a late change, update the shared master and replace the printed copy rather than leaving two versions in circulation.
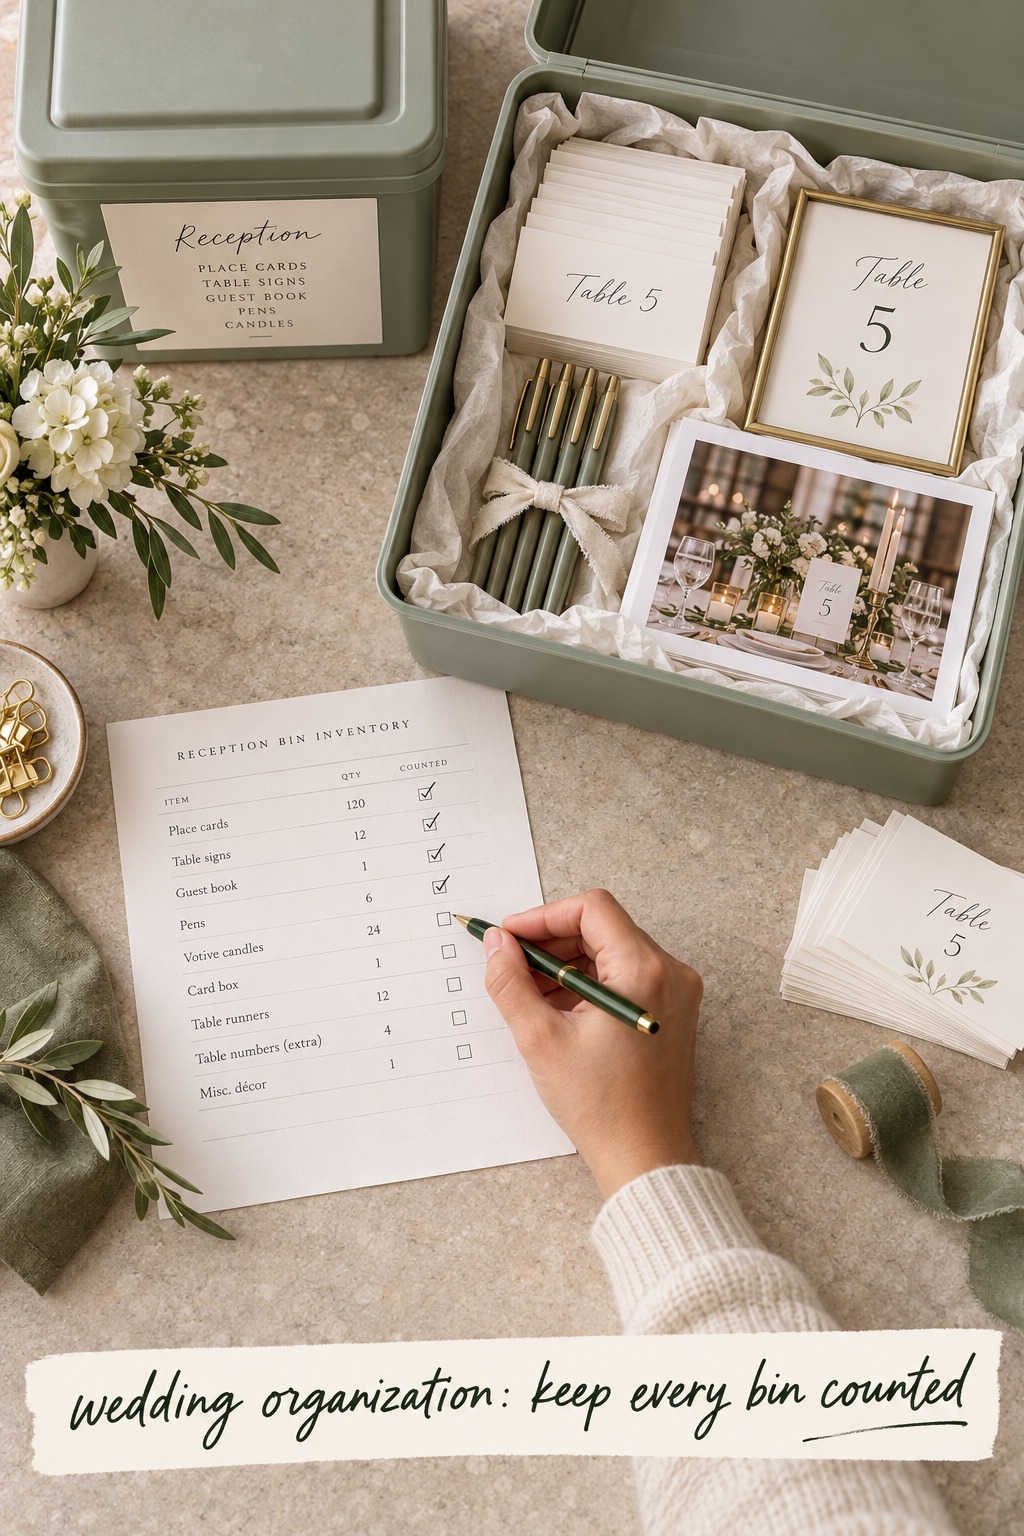
Confirm delivery, access, and setup responsibilities before event week
Ask the venue where deliveries may arrive, when vendors can enter, where items can be stored, and who can sign for a package. Confirm the actual door, loading area, stairs or elevator, parking instructions, and any limit on box size or quantity. A delivery label with the couple’s names and wedding date can help staff identify a package, but it does not replace a named recipient or an approved delivery window. If the venue will not accept early deliveries, choose another agreed location instead of assuming a box can be left there.
For every vendor or rental order, confirm what the written agreement includes. Delivery, room placement, assembly, styling, breakdown, and pickup can be separate responsibilities. Ask who moves chairs after the ceremony, who places personal stationery, whether rental pieces need to be gathered in a particular way, and when a collection team will arrive. The answer may differ by company and venue. Put the confirmed scope beside the relevant inventory line so no one has to infer what “delivery” means on the day.
Build the delivery sequence around the venue’s access window and the order in which spaces must be ready. Large structures or furniture may need to arrive before small tabletop pieces, but follow the venue and vendor’s actual plan. Note which deliveries depend on a room being clear, which teams share a narrow entrance, and whether ceremony objects need to move to the reception afterward. Add a contact for the venue and for each arriving vendor, plus one on-site lead who can direct them to the right place.
Mark the moments when an item changes hands. If a florist delivers bouquets to the getting-ready room, name who receives them. If a sign travels from the ceremony entrance to the reception, name the person who moves it and the time or event cue for that move. If a family member is taking gifts home, tell the venue lead where they should be collected and who is authorized to release them. These small handoffs are easy to overlook when every person assumes someone else is responsible.
Keep the movement plan realistic for the people involved. The couple should not be the default delivery contact. A parent who is giving a toast may not be available to oversee teardown. A wedding-party member may be leaving early or riding in a different car. Ask each person before assigning a role, explain the task and timing, and provide a backup for essential items. If no friend or relative can take a collection task, ask the venue, planner, or vendor what paid support is available.

Pack by destination and moment of use
Sort couple-supplied items by the space or moment where they will be used, not just by product type. A “ceremony entrance” kit might hold the welcome sign, stand hardware, programs, and reserved-seat markers. A “guest-book table” kit might contain the book, pens, a small sign, and any display pieces. A “getting-ready room” bag can hold personal items that should stay with the couple. This grouping means the setup person can take one labeled container to a clear destination instead of opening several boxes and sorting through a mixed pile.
Put a large readable label on more than one side of each container. Include the wedding date or couple name, destination, contents, total piece count, setup owner, and what happens to the container afterward. A short label could read: “Reception card table, 1 box, place before guest arrival, return box to Alex’s SUV.” Use an item list inside the lid for small pieces. If a specific arrangement matters, attach a printed reference photo and mark which objects in the picture are included.
Pack in a way that makes the first item needed easy to reach. If a stand requires a base, clamps, or a tool, keep those parts with the sign and name them on the list. Put delicate or irreplaceable objects in a separate, clearly marked container that goes directly to a trusted person rather than into a general decor shipment. Keep legal documents, rings, medications, and personal valuables under direct care. Do not place private or high-value items in a box that will sit unattended in a public loading area.
Make the setup instruction short enough to scan. State where the item goes, which direction it faces, whether it needs power or an easel, and what should happen to its packaging. A room map with numbered locations can make a large setup easier to understand. Match each number on the map to the label on the bin. The person setting out the item should not need to search through a long planning document or ask the couple which side of the doorway the sign belongs on.
Before loading, compare the packed containers with the inventory and note what is still outstanding. Take a photo of each open container before closing it if the contents are numerous. Keep the item list in a sleeve or envelope attached to the container, and keep a separate copy with the on-site lead. If a driver or helper collects several boxes, record which ones left and with whom. For an item that cannot be replaced quickly, consider carrying it separately and confirming receipt directly with its named custodian.
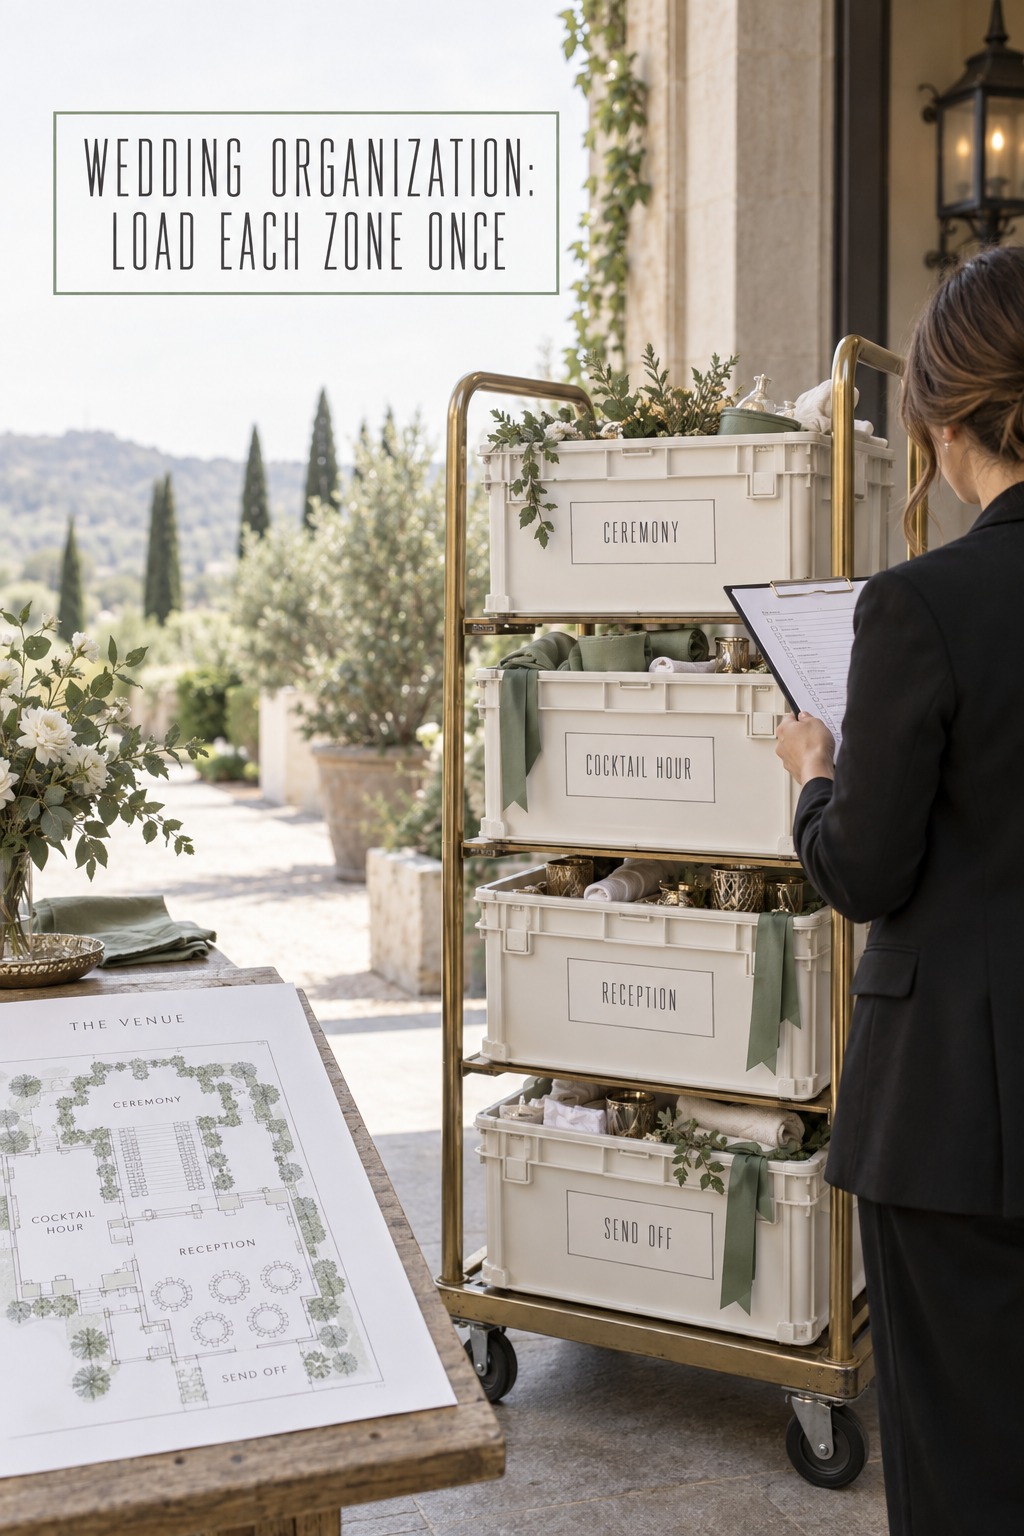
Trace one item through the entire wedding day
Take a welcome sign as a worked example. The inventory row says it is couple-owned, one sign plus one weighted stand, packed in a specific container, transported by a named driver, and placed at the ceremony entrance by a named setup person before guests arrive. A reference photo shows the intended position. The note says whether the venue has approved the stand and whether it must remain clear of an accessible route. The final destination is listed too, perhaps a family member’s car or the couple’s home.
On arrival, the on-site lead checks that both the sign and stand are present and marks the kit received. The setup owner takes it to the labeled location, checks it against the photo, and marks it placed. If the sign will move after the ceremony, the next action is explicit: the coordinator or another agreed person takes it to the reception entrance when guests move to cocktail hour. The owner confirms completion on the sheet or by a short message to the lead.
At the end of the reception, the collection owner checks that the sign and stand are both retrieved and that the sign is not being packed with rental inventory. The pair goes into the named car or storage area, and the responsible person confirms receipt. If the stand is missing or damaged, the lead records the issue while the details are fresh and contacts the appropriate person later. This simple chain shows why “bring the welcome sign” is only one part of the job.
Use the same pattern for items that change location or purpose. Ceremony flowers may be reused at the reception if the florist and venue agree on timing and handling. Place cards may begin in a labeled box and end on a specific table. A card box may need one person to watch it during the reception and another to take it to a secure location afterward. For each move, write the start point, end point, person, and cue. Do not assume a vendor will move an item unless the service scope says so.
Before sharing the plan, scan for entries that stop at “at venue.” Add the room, table, storage area, or recipient. Scan for “someone” or “family” in the owner field and replace it with an agreed name. Scan for a blank final destination, especially beside rentals, gifts, signage, personal details, and leftover favors. When a destination is genuinely undecided, name the person who will make the decision and the latest time it must be settled.
The Wedding Command Center can be a useful planning resource if you are coordinating a lot of wedding details alongside these physical handoffs. Keep the inventory itself tied to the venue’s rules and each vendor’s confirmed responsibilities, so the people on site know exactly what they have agreed to handle.
Close the loop at teardown and rental return
Plan the end of the event before the final week. Check the venue’s departure deadline, the rental company’s pickup window, and whether rented items must be gathered, separated, or left in place. Confirm who handles linens, tables, packaging, flowers, personal decor, leftover favors, gifts, and trash. If pickup takes place the next morning, decide where each category can stay securely overnight and who will be there when the vendor returns.
Divide collection into clear categories: vendor property, venue property, couple or family keepsakes, gifts and cards, items to donate or give away, and items approved for disposal. Use separate staging areas or clearly marked containers when that helps. Never rely on appearance alone to identify ownership. A rented candle holder and a family candle holder may look alike, so use the inventory, labels, or a photo record to keep them apart.
Assign a named collector to each category and agree on a realistic time. People who are staying through the end can take a teardown role, but do not quietly make guests responsible for heavy or technical work. Keep the couple out of routine packing whenever possible. If a friend will collect the guest book and gifts, tell them where those items will be held, what containers they need, and where they are taking them. Give the on-site lead the authority to check the list and contact the backup if a collector is delayed.
For rentals, reconcile the delivered quantity with the agreed return process. Follow the rental company’s instructions for stacking, bundling, sorting, or leaving items for pickup. If the team asks you to note visible damage or a shortage, record the item and condition without guessing when it happened. Keep a copy of the final count and any exception note. Do not sign off on a return or discard packaging until the person responsible has checked the order requirements.
Before the venue is cleared, have the lead check the rooms and storage areas named in the plan. Look at the getting-ready room, ceremony area, reception room, coat or storage space, loading area, and any location used for photographs. Mark each item collected, returned, left securely for a scheduled pickup, donated, or discarded with approval. If an item is still missing, record its last known location and the person following up. A short, accurate exception list is more useful than marking everything complete to end the night sooner.
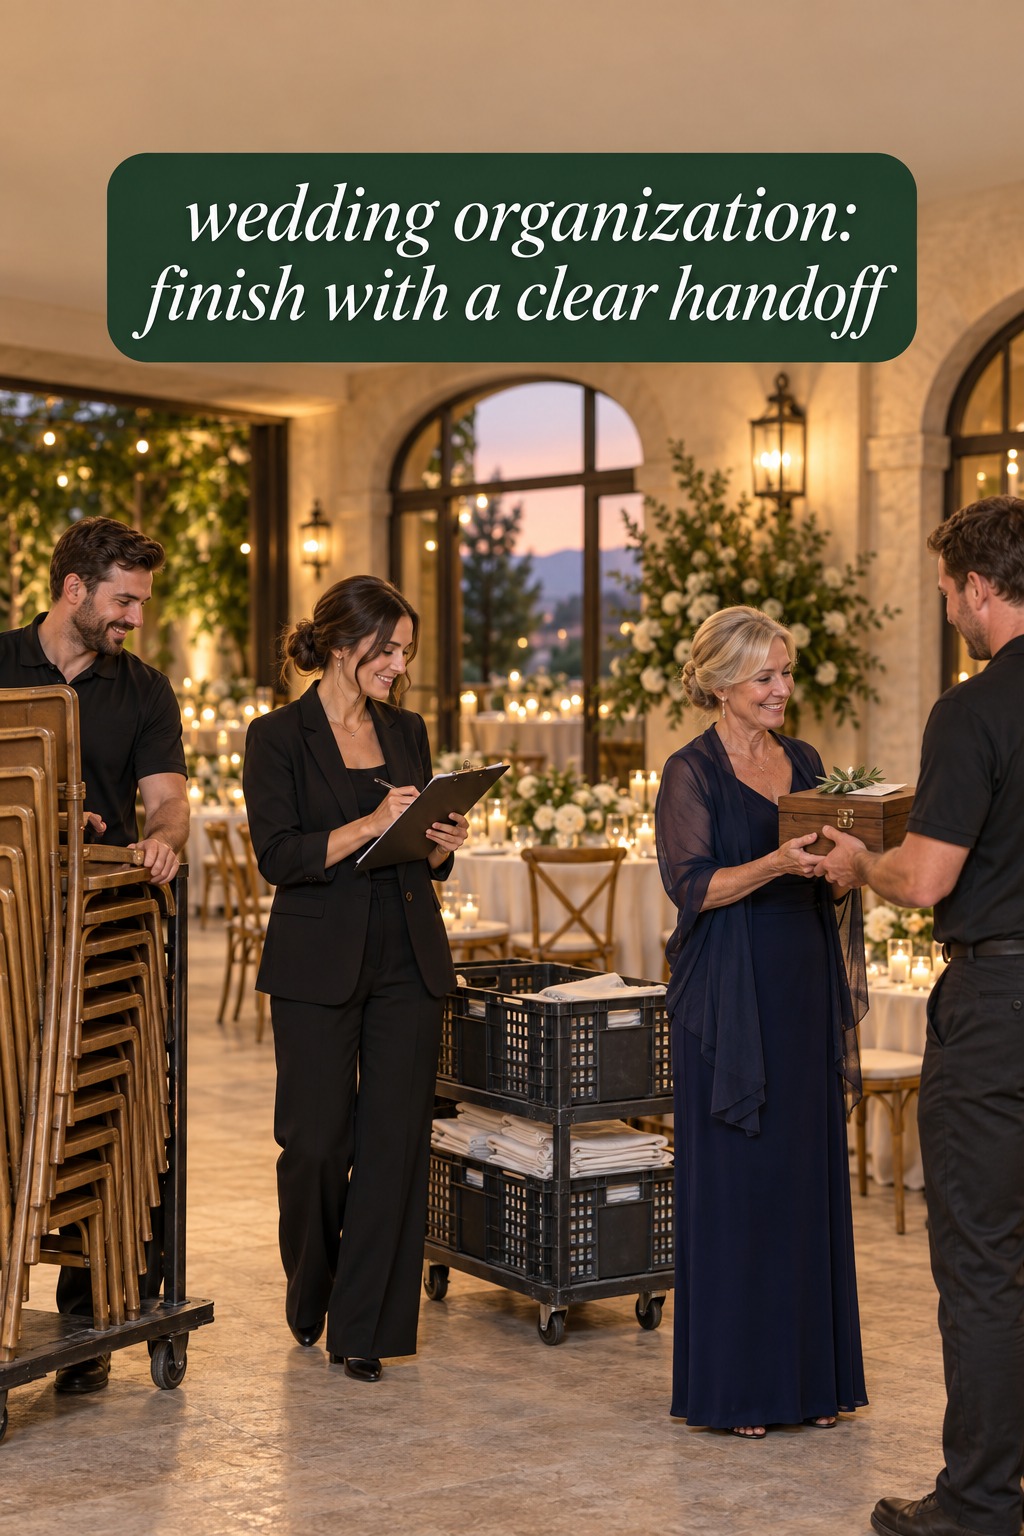
Finish with a handoff message to the people who need to act the next day. Include items still at the venue, rental pickup details, who has gifts or keepsakes, and any damage or missing-item follow-up. If responsibilities changed during the event, update the list while everyone remembers what happened. If your celebrations span multiple days or locations, close one inventory before opening the next, then record transfers between events. The plan is complete when each item has a known next destination, not merely when it leaves the reception room.
Sources and methodology
This guide focuses on a practical inventory and handoff method. It draws on the categories in The Knot’s wedding packing checklist and the delivery, setup, strike, and pickup distinctions described in Borrowed Charm’s event rental guide. Venue rules and vendor responsibilities vary. Confirm the details that apply to your own venue and signed agreements.
FAQ
What is a wedding item-flow plan?
It is a list that follows physical wedding items from their source through transport, arrival, setup, use, collection, and final return or handoff. Each entry names the person responsible at the relevant step.
What should I include in a wedding organization inventory?
Include the item or kit, source or owner, quantity, destination, transport plan, setup person, timing, handling notes, and final destination. For rentals, add the order reference and confirmed pickup instructions.
How should I pack wedding decor and personal items?
Group items by the room or event moment where they will be used. Label each container with its destination, contents, setup owner, and end-of-day plan. Keep irreplaceable or private items with a trusted named person.
Who should be responsible for wedding day items?
Name one person for each delivery, setup, transfer, and collection task. Confirm the person is available at that time and understands the job. Assign a backup for essential items and avoid making the couple the default contact.
Does wedding rental delivery include setup and pickup?
It depends on the rental agreement. Ask the company and venue to confirm delivery, placement, assembly, breakdown, pickup timing, and how items should be prepared for return. Record the agreed scope beside the rental inventory.
How do I keep rentals from getting mixed up with personal decor?
Identify ownership in the inventory, use separate labels or collection zones, and tell the teardown lead what belongs to the rental company, venue, couple, and family. Reconcile the count before the rental pickup or return.
When should I finish the wedding item inventory?
Start when you know which physical items will be brought, delivered, or rented. Confirm venue access and vendor scope in advance, then update quantities and assignments as plans are finalized. Print or share the current version before event week.
Leave a Reply