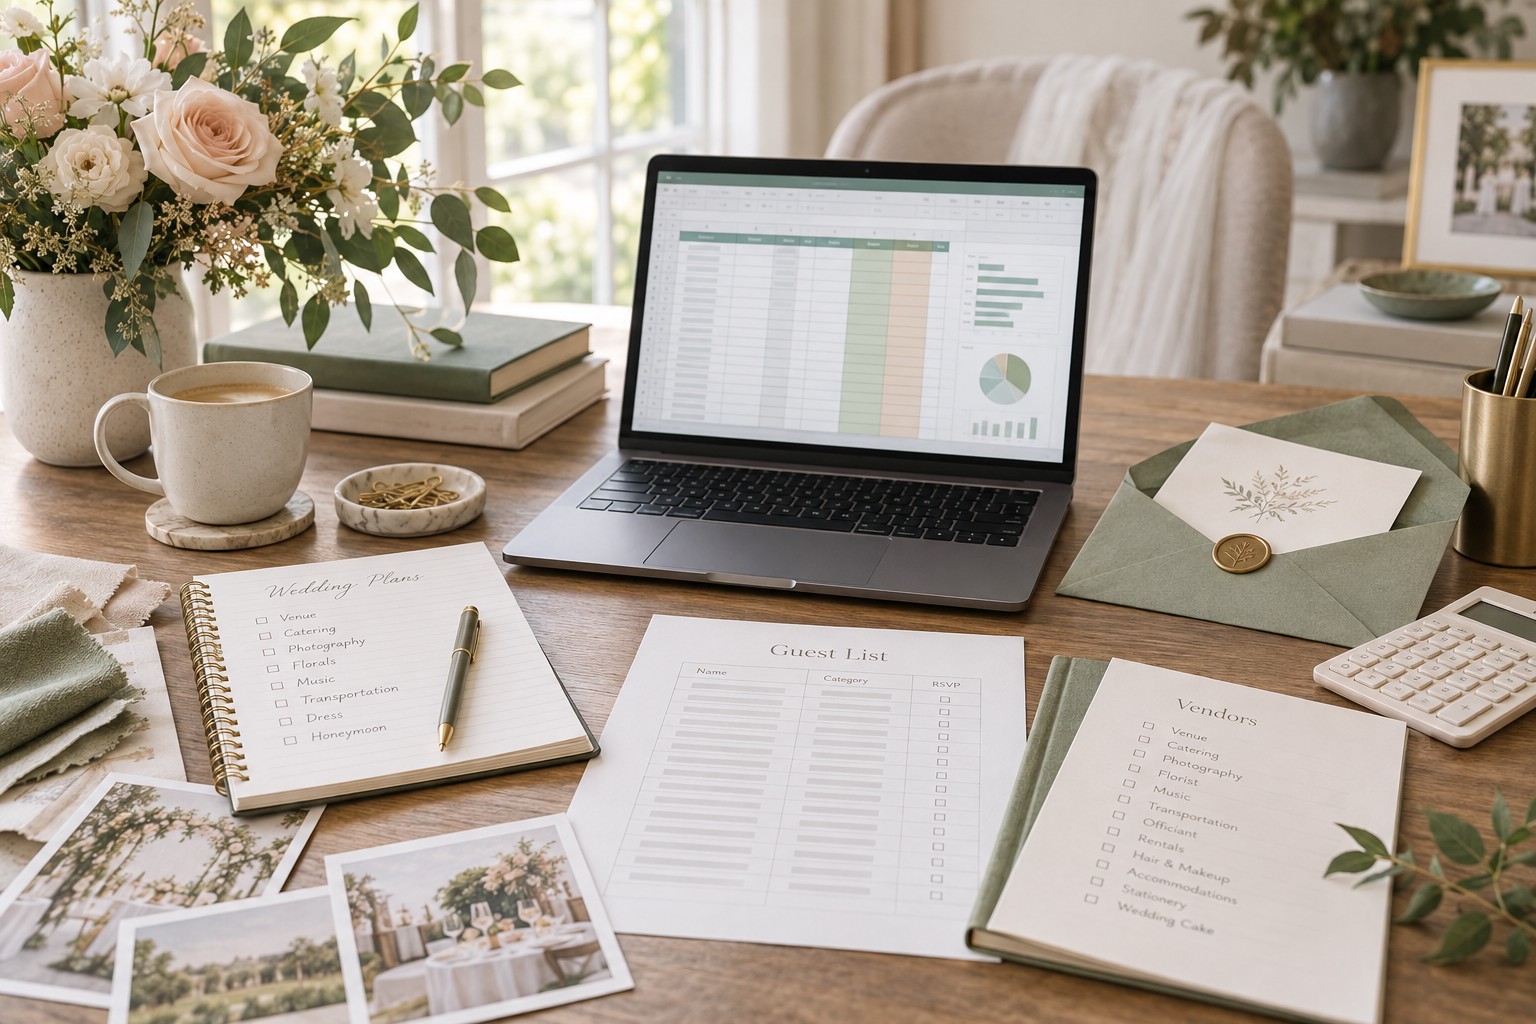
A wedding planning Excel spreadsheet can become the calm center of your planning, but only if it answers real questions quickly. What has been promised? What has been paid? Which guests still need a response? Who owns the next task? What must be handed to the coordinator before the wedding week?
The goal is not to build the biggest workbook. It is to build one that you and your partner can update without guessing where information belongs. This guide shows you how to set up a wedding planning Excel spreadsheet from a blank file, connect the most useful tabs, add simple formulas, and review the workbook each week.

You do not need advanced Excel skills. You need consistent names, a small number of dependable columns, and rules that make incomplete information visible. Start with the structure below, then add detail only when it helps you make a decision.
Decide what your Excel workbook must answer
Before opening Excel, write down the decisions your workbook needs to support. A spreadsheet becomes difficult when it stores everything but answers nothing. Your first version should help you see the planning picture at a glance and open the right detail when a decision needs more attention.
- How much of the working budget is estimated, committed, paid, and still due?
- Which guests are invited, which responses are missing, and which meal or dietary details need follow-up?
- Which vendors have been researched, contacted, booked, or paid?
- What tasks are due next, who owns them, and which tasks depend on another decision?
- What information will a planner, coordinator, family member, or trusted helper need later?
These questions point to five useful areas: setup, budget, guests, vendors, and timeline. You may later add seating, payments, ceremony details, or a wedding-day schedule. Do not create every possible tab on day one. Empty tabs create the feeling of progress without giving you a working system.
Use one workbook as the planning source of truth. That does not mean every conversation must happen inside Excel. It means that when a price, deadline, guest status, or vendor decision becomes official, you record it in the workbook. If you also use The Wedding Command Center as a planning resource, keep the confirmed details aligned so your partner and vendors are not working from different versions.
Finally, choose a naming convention before you enter data. Use the same vendor name everywhere, enter dates as real Excel dates rather than typed sentences, and decide whether amounts include tax, service charges, or tips. A small rule made early can prevent a large clean-up later.
Build the five core tabs in the right order
Create these tabs in order: Setup, Budget, Guests, Vendors, and Timeline. The order matters because the first tab establishes the values that other sheets will use. Keep the names short and stable so formulas remain easy to read.
1. Setup: enter the values that should not be repeated
Use the Setup tab for the wedding date, couple names, working currency, target guest count, starting budget, and the planning status values you want to use. You can also keep a short list of vendor categories and task owners here. This tab is not a dashboard. It is a controlled place for the values that other sheets may reference.
- Wedding date
- Working budget
- Target guest count
- Partner one, partner two, planner, and other task owners
- Vendor categories such as venue, catering, photography, attire, flowers, music, stationery, and transportation
- Status values such as Not started, In progress, Waiting, Booked, Paid, and Complete
Give the key cells clear labels and use them consistently. If you are comfortable with named ranges, naming the wedding date and working budget can make formulas more readable. If not, keep the Setup tab visible and use direct cell references carefully.
2. Budget: separate estimates, commitments, and payments
The Budget tab should show what you expect to spend and what is actually happening. Use one row per cost item or vendor charge, not one row for an entire category. This makes it easier to compare a quote with the final contract and to see which charges are still missing.
- Category
- Vendor
- Item or service
- Estimated cost
- Contracted cost
- Deposit paid
- Additional payments
- Balance due
- Due date
- Status
- Notes or contract link
Use a consistent rule for taxes, service charges, gratuities, and rentals. For example, you might record the contracted cost as the full amount you expect to owe, then record each payment separately. If a quote is not final, mark the status as Estimate rather than treating the number as a promise.
3. Guests: make every follow-up visible
The Guests tab needs enough information to support invitations, RSVPs, meals, seating, and day-of communication. A practical starting row includes household or group name, guest name, email, phone, invitation status, RSVP, meal choice, dietary notes, plus-one status, children, table, and thank-you note status.
Do not put several people into one cell if you will later need to count or filter them. Keep one guest per row when possible. If your invitations are managed by household, add a separate household or invitation group column. This lets you track the mailing without losing individual meal and seating details.
4. Vendors: track decisions and obligations together
The Vendors tab is more useful when it records the path from research to booking. Add category, vendor name, contact, website, quote date, quoted amount, contract status, deposit, final payment date, arrival or setup details, and notes. A simple status column can show whether a vendor is a lead, contacted, comparing, booked, or declined.
Keep vendor comparison notes factual and short. Record what each proposal includes, what is excluded, and which question is still unanswered. A separate row for every vendor is easier to filter than a large comparison paragraph.
5. Timeline: turn the plan into assigned next steps
Use the Timeline tab for tasks rather than general reminders. Each row should have a task, area, owner, due date, dependency, status, and next note. Examples include request catering proposals, review venue contract, finalize invitation wording, confirm meal counts, and prepare the coordinator handoff.
- Task
- Area
- Owner
- Due date
- Dependency
- Status
- Priority
- Notes or link
Sort the active view by due date, but keep the original task area available for filtering. Your timeline should make the next conversation obvious. If a task has no owner, it is not yet a complete task. If it has no due date, it is a possibility rather than a deadline.

Add formulas and controls that keep the file trustworthy
A few dependable formulas can do more for a wedding planning Excel spreadsheet than a complicated dashboard. Add formulas only after the columns are stable, and test them with a small sample before filling them down.
Calculate the budget without hiding the assumptions
If contracted cost is in column E, deposit paid in column F, and additional payments in column G, a balance formula might be =MAX(0,E2-F2-G2). The MAX function prevents a negative balance when a payment is entered twice, but it does not fix the underlying error. Add an alert column that flags payments greater than the contracted cost so an accidental duplicate is still visible.
At the top or bottom of the Budget tab, use =SUM(E:E) for committed costs, =SUM(F:F)+SUM(G:G) for payments, and =SUM(H:H) for the remaining balance. If your sheet includes headings or notes inside the same columns, use a bounded range such as =SUM(E2:E200) instead. Bounded ranges are easier to audit.
Count guests and surface missing responses
On the Guests tab, use =COUNTIF(F:F,"Yes") to count confirmed guests if RSVP is in column F. Use =COUNTIF(F:F,"Pending") to count follow-ups. For a more useful summary, count confirmed adults and children separately if those are important for catering or venue capacity.
Add a simple follow-up flag such as =IF(AND(E2="Sent",F2="Pending"),"Follow up"," "). The exact columns can differ, but the principle is the same: make the spreadsheet tell you where attention is needed rather than relying on memory.
Use real dates for deadlines and countdowns
Enter the wedding date and task deadlines as Excel dates. A typed note such as “six months before” cannot be sorted or compared reliably. If the wedding date is in Setup!B2, a days-until formula can use =Setup!$B$2-TODAY(). A task warning can use =IF(AND(D2<TODAY(),F2<>"Complete"),"Overdue"," "), assuming the due date is in D and status is in F.
Be careful with formulas that use TODAY. The result changes each time the workbook recalculates, which is useful for current planning but not ideal for a historical record. Before the wedding week, export or save a final reference copy if you need a fixed snapshot.
Use dropdowns and conditional formatting for consistency
Use Excel data validation to create dropdowns for status, owner, category, RSVP, and priority. Dropdowns reduce variations such as “Booked”, “booked”, and “Confirmed booking”, which would otherwise split your filters and counts.
- Highlight overdue incomplete tasks in a soft red.
- Highlight payment dates within the next 30 days in a soft yellow.
- Highlight missing RSVP, meal, or dietary data when an invitation is marked sent.
- Highlight budget rows where contracted cost is blank but status is booked.
- Use a calm green only for complete or confirmed information.
Do not use color as the only signal. Keep the status text visible so the workbook remains understandable when printed, exported, or viewed by someone who cannot distinguish your chosen colors.

Use the workbook as a weekly planning system
A wedding planning Excel spreadsheet only stays useful when it has a maintenance rhythm. Choose one weekly review time and make the review short enough that you will repeat it. The point is not to stare at every cell. The point is to close loops and agree on the next actions.
Start with the dashboard questions
- What changed since the last review?
- Which payments are due before the next review?
- Which guest responses or vendor answers are waiting?
- Which task is blocked by a decision?
- What information should be shared with a planner, coordinator, or family helper?
Keep a small “This week” view on the Timeline tab with filters for active tasks and near-term deadlines. You can also add a Notes or Decisions tab if your team needs a short record of why a choice was made. Keep decisions brief: date, decision, people involved, and the next action.
Protect the workbook from accidental confusion
- Keep a dated backup before major edits.
- Use a clear file name such as Wedding Planning Workbook and add the latest review date only to backup copies.
- Freeze the header row and turn each data range into an Excel table when appropriate.
- Protect formula cells if several people will edit the file.
- Leave a short Read Me note explaining the status values and payment convention.
- Do not duplicate a vendor row just because a new quote arrived. Update the quote field or create a clearly labeled proposal record.
If more than one person edits the workbook, agree on who owns each kind of update. One person may update guest responses, another may update vendor contracts, and both partners may review budget changes. Shared access is helpful only when the workbook still has one clear source of truth.
Prepare the final handoff before the last week
Near the end of planning, create a handoff view or export a clean copy that includes the final guest count, vendor contacts, payment status, arrival windows, important restrictions, ceremony and reception timing, and the person responsible for each open question. Remove private notes that a vendor does not need.
The handoff should be readable without explaining the whole workbook. Use plain labels, consistent times, and a short list of unresolved items. If your coordinator uses a different document, treat the Excel handoff as the source for confirmed facts and check that both versions agree before sharing.
Common mistakes that make an Excel wedding planner harder to use
- Building too many tabs first. Start with the five core areas and add a tab only when it answers a recurring planning question.
- Mixing estimates and confirmed costs. Use separate columns and a visible status so a rough quote is not mistaken for a contract total.
- Typing dates as prose. Use real Excel dates and keep explanations in a notes column.
- Using inconsistent status words. Add dropdowns and keep the list short.
- Hiding important information in comments. Put the value that drives a decision in a visible column, then use comments or links for supporting detail.
- Making one person the only editor. Share ownership, but agree on update rules before several people begin changing the file.
- Adding formulas without testing edge cases. Test a blank row, a paid-in-full row, a missing date, a duplicate payment, and a canceled vendor.
- Confusing a pretty dashboard with a working system. A simple filtered table that is current is more useful than a polished summary built on incomplete data.
The best wedding planning Excel spreadsheet is not the one with the most automation. It is the one that makes the next decision clear, keeps confirmed details together, and remains understandable when planning becomes busy.
Sources and methodology
This guide was informed by current wedding spreadsheet structures and Excel-specific checklist guidance, including the tab and formula patterns described by Pix Wedding and the Excel control examples from FormulaSmith. The recommendations here are editorial guidance for organizing a workbook, not a claim that one template fits every wedding.

FAQ
What should a wedding planning Excel spreadsheet include?
Start with Setup, Budget, Guests, Vendors, and Timeline. Add payments, seating, ceremony details, or a wedding-day schedule only when those areas need their own rows, filters, and review routine.
How many tabs should a wedding planning Excel spreadsheet have?
There is no universal number. Five core tabs are enough to build a useful first version. The right number is the smallest set that keeps related information together without forcing different decisions into one crowded table.
What formulas are most useful for wedding planning in Excel?
SUM is useful for cost and payment totals. COUNTIF counts RSVP or status values. IF and AND create follow-up alerts. MAX can prevent a negative balance display. Date subtraction and TODAY help surface upcoming or overdue tasks.
How do I track wedding vendor payments in Excel?
Keep the contracted cost, deposit paid, additional payments, balance due, and final payment date in visible columns. Use one row per vendor charge when a vendor has multiple installments, or use a separate payment log that links back to the vendor name.
How can I share an Excel wedding planning spreadsheet with my partner?
Use a shared storage location that both of you can access, agree on who updates each area, and keep a short Read Me note in the workbook. Review changes together weekly so the file supports decisions rather than becoming an invisible task list.
Should I use Excel or Google Sheets for wedding planning?
Choose the tool your planning group will reliably open and update. Excel is a strong choice if you prefer its formulas, tables, or offline workflow. A cloud-based sheet may be easier when several people need to edit at the same time. The structure and maintenance habit matter more than the brand of spreadsheet.
When should I stop adding features to my wedding planning spreadsheet?
Stop when a new feature adds more maintenance than clarity. If a dashboard does not change a decision, or a new tab duplicates information already stored elsewhere, leave it out. A smaller current workbook is safer than a large workbook no one trusts.
Leave a Reply